Showing posts with label sponge daubers. Show all posts

Monday, 19 May 2025

Four techniques – and seven cards – with Peaceful View

Peaceful View techniques stampin up

As soon as I saw the preview of the Stampin’ Up!® Annual Catalogue, the Peaceful View stamp set spoke to me. Even though it’s only one big background stamp, I knew I could get lots of mileage out of it.

These projects are just the start of my Peaceful View journey, I’m sure. Here I show you four different ways to use this lovely background stamp, plus some tips for getting the best impression.

Thursday, 24 September 2020

When card kits give you lemons... stamp with them!

Simply Citrus Kit stampin up

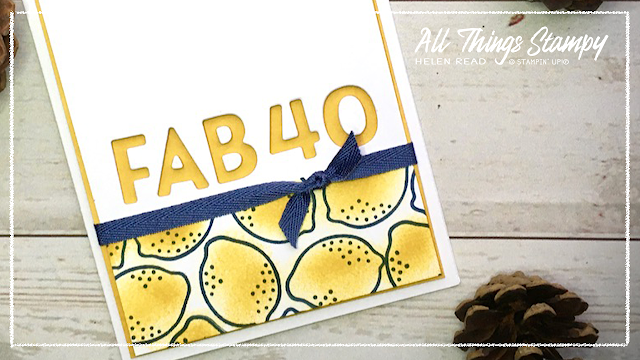
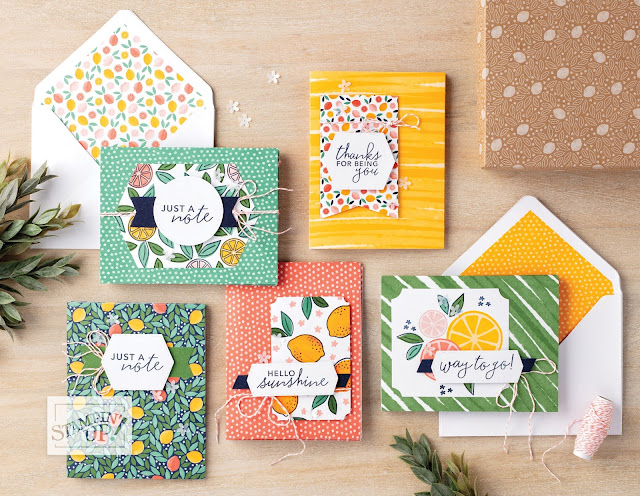
This lemon stamp is really cute... and you’ll find it in the Simply Citrus Card Kit I showcased on Monday. Here I’ve use it to make a 40th birthday card for a (young) friend. The rough colouring effecct is achieved with a sponge dauber; I simply sponged inside the lemons, not worrying too much if I went over the lines.

Simply Citrus Card Kit Stampin' Up

Yep, once that kit is completed, you can stamp to your heart’s content with the fab little stamp set that’s included. I have used it loads since completing my kit – the sentiments are really pretty and useful, too. 
 

Simply Citrus Kit stampin up

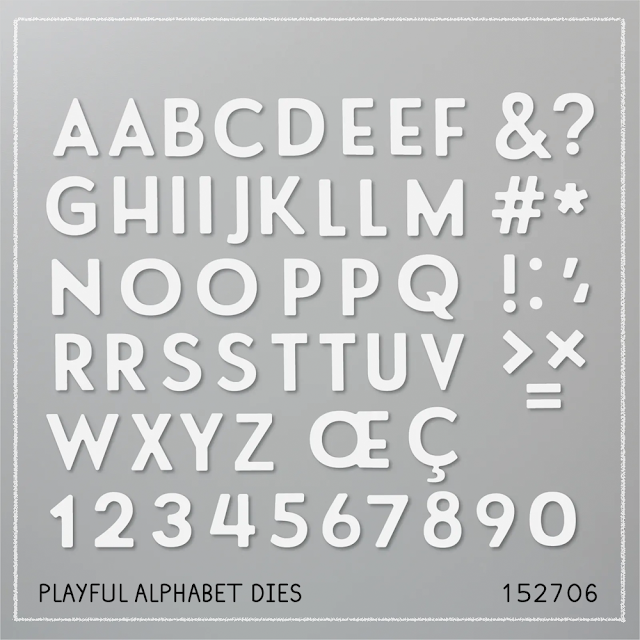
For this 40th birthday card, I’ve combined it with the Playful Alphabet dies, which are quite frankly, a must-have in my opinion. And I don’t say that lightly. 

Simply Citrus Kit stampin up

Simply Citrus Kit stampin up
I masked the line to stamp below using sticky notes. Sometimes the line doesn’t turn out quite as crisp as you'd like – and this is where the Misty Moonlight ribbon comes in!
 
 
Simply Citrus Card Kit Stampin' Up


Wednesday, 31 July 2019

Offset mirrored seahorses using the Stamparatus


I have always loved seaside images, so the new Seaside Notions stamp set was always going to be high on my wish list. The fact that it comes with lovely and practical greetings is a bonus.

I demoed this card at my Launch Party and will be making this or something very similar at some of my events this month, too. It's a twist on the mirrored image idea and you can find all the instructions if you download the tutorial from here:


Get the offset look by moving the Stamparatus plate down one notch before stamping the second seahorse. And you can achieve two-tone seahorses by inking in Terracotta Tile then adding some Soft Suede with a sponge dauber. 
 

Wednesday, 20 February 2019

Flowering Desert Week: cacti get the blues


Thinking – and stamping – out of the box... I opted for a blue colour scheme for this fun cactus card. I used the same arrangement of stamps, just changed the colours for all the blues. Too wild? I love it!


Thursday, 11 August 2016

Birthday Fiesta watercoloured cactus card


I’m loving the cactus vibe of the moment. Have you noticed? They’re everywhere… and you only see them once you start looking. I’ve seen them on pyjamas, a blouse, stationery, a watch, socks, wrapping paper and even pants! (That’s underwear, transatlantic chums.)

I found this background in a stash of watercoloured pieces recently and yes, I think the top half may be painted in a retired colour, Coastal Cabana, but it was such a lovely combo that I couldn’t bear not to use it. Substitute Pool Party and it will work just as well. 


The bottom of the found background wasn’t quite dark enough so I tore some scrap paper to create sand dunes and sponged away. The cacti themselves are stamped by sponging the stamp with different shades of green, to add interest. 

I felt it needed a long thin card so that’s what I made. I think I have some thing envelopes knocking around somewhere, but if I can’t find them, I’ll just make one with my envelope punch board. 


Tuesday, 14 April 2015

15 Stampin' Up!® products you can used for Mixed Media projects


Yes you CAN use SU products for mixed media, as I’ve been enjoying finding out lately. I decided to make a list of some of the items you can use. I bet you already have loads of these, so what are you waiting for? Get messy!

Wednesday, 28 January 2015

Ways to use Irresistibly Yours DSP (Sale-a-Bration)


I promised to show you several ways to use the new Irresistibly Yours Designer Series Paper and here they are... I’d love to hear of more ways that I haven’t covered if you know any. There is one other way to use this gorgeous paper that I haven’t mentioned... and that’s to leave it completely untouched for a really subtle and classy look. But if you’re looking for subtle and classy, you’ve come to the wrong place!

For those who haven’t yet seen this paper, it’s white with a glossy white pattern, opening up a world of possibilities because most inks will stick only to the matt section. So you apply your colour then polish it with kitchen paper to expose the white pattern again. It’s like magic!

Let’s take a look at the methods I’ve used in more detail. Clockwise, from top left...

Stamp on it
We’re stampers, right? So why not stamp on this fab paper. I particularly like combining methods for this, eg brayering a background on the flowery or leafy pattern, then stamping with Hardwood on top. Here, I’ve simply experimented with stamping some solid flowers and leaves.

Spritz it
I used six drops of reinker in a half-filled spritzer bottle; Coastal Cabana at the top and Old Olive at the bottom. Use more drops (or less water) for a more intense colour. This does take a while to dry but you could speed things up by using alcohol instead of water.

Colour with markers
I tried both kinds and decided this method was probably best for the striped pattern. Both types of marker worked well, although you do need to clean off the glossy areas quickly if you’re using Blendabilities.

Brayer it
Perfect for larger areas and, if you’re after a uniform colour, you can forget all those pesky brayering rules about starting at the edge of the paper and working your way in. Just brayer away until you get colour saturation. If you prefer a graduated look, then you need to remember all those rules about starting off the edge of the paper. Just play around until you get something you like!

Sponge it
Sponge Daubers are perfect striped paper; for other patterns, use an actual sponge. You can sponge just one area, various colours, or do the whole lot. Although, personally, if I was going for a uniform colour, I’d brayer it instead (see above).

DTP (Direct-to-Paper) it
This is a grungier technique but I had fun here creating a night sky using various blue ink pads (Lost Lagoon, Coastal Cabana, Marina Mist). I find the old-style ink pads are easier to use as they slide along the cardstock better. But, for fun, I tried simply dropping the new-style ink pads onto the cardstock, which created quite a pleasing effect.

So, now it’s time to get yourself some Irresistibly Yours DSP - which is FREE with a £45 purchase before the end of March. And don’t forget to let me know if you come up with any more methods of using it! My challenge now, I suppose, is to make all of these pieces of paper into finished projects. Don’t hold your breath!


The small print

This is my personal blog and my sole responsibility as an Independent Stampin' Up!® demonstrator. All images are © Stampin' Up!® All content including photographs, projects and text are © Helen Read, unless otherwise stated. Please feel free to copy my ideas for your personal use and inspiration - if you are a SU demonstrator you may use these ideas for your events but please give credit where it is due. Please do not use my ideas for monetary gain, competitions or publication. The images on this blog - including blog buttons - should not be copied and used elsewhere on the internet or on CDs.