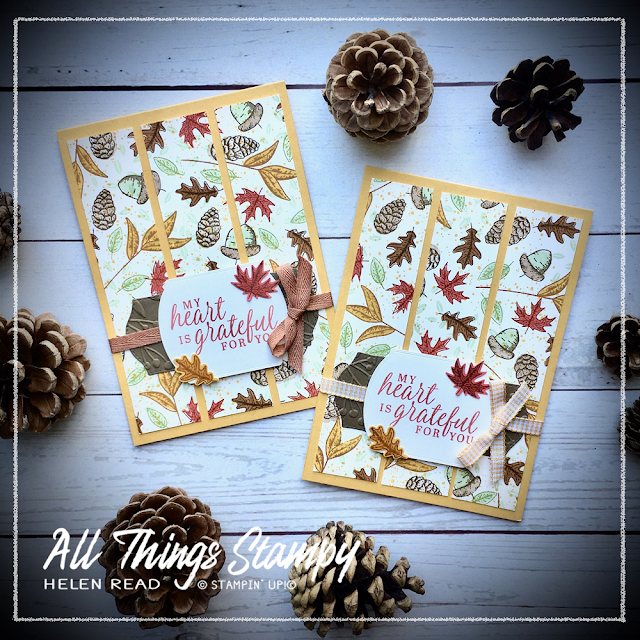
The theme of today's post is the wonderful
One-Sheet Wonder which is an old technique that never goes out of style.
Each
week in my customer Facebook Group and in our weekly Show & Tell
Zoom sessions I set a challenge. Last week this was to create a
One-Sheet Wonder then use it to make one or more projects.
I was
blown away by their creativity; we had dogs, leaves, flowers,
snowflakes, pine boughs and even cars – and some amazing projects made
with their sheets. Not everyone made cards;
some made scrapbook pages or boxes, too! Really, anything goes.
Best of all, everyone said they had really enjoyed
the challenge and loved making their One-Sheet Wonders.
If
you’re not familiar with the One-Sheet Wonder concept, it’s very simple.
It’s just a fancy name for making your own patterned paper so all you
have to do is take a sheet of any cardstock – it doesn’t have to be
white – and stamp all over it.
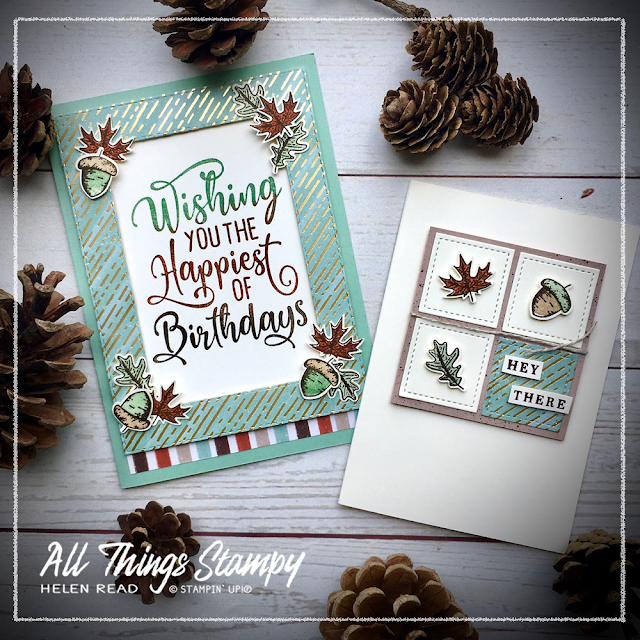
I’ve stamped here using the new
Beautiful Autumn stamp set – yes, this is my first Sneak Peek from the
new August-December catalogue. I bought the whole Suite of products
again because it’s just so lovely, but I have only had chance to use the
stamps and dies so far.
I wouldn’t say this was the ideal set
for a One-Sheet Wonder, mainly because the images are so small that it’s
quite time-consuming. This A4 sheet took me over an hour to stamp ...
but then I did use eight different ink pads!
However, I think it was
worth it; I have to blow my own trumpet a little and admit I think it
looks pretty fab. Hope you like it too!
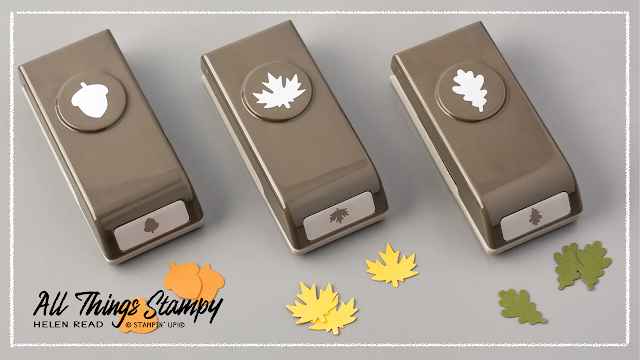
The Beautiful Autumn Bundle includes the Autumn Punch Pack; three fab medium-sized punches which create these gorgeous little leaves. The stamps are all two-step, too, so I stamped the outlines in a darker shade and then filled in with a lighter one. They’re photopolymer, so positioning is really easy.
To mat the greeting, I used the Tasteful Labels dies on Soft Suede cardstock and embossed them using the Greenery Embossing Folder. My obsession with leaves and trees means many of my products co-ordinate beautifully across different Suites.
My
main tip for creating a One-Sheet Wonder is to start with the largest
stamps and stamp randomly over the sheet, leaving roughly equal spaces
between them. Remember to keep turning the stamps so you don't end up
with a pattern.
Take the next largest stamp and stamp again in a
different colour. Repeat until you get to the smallest stamps. This
allows you to maximise the space and get as many images on there as
possible.
I usually say to start with the palest colour and work
your way through to the darkest colour, but this is one rule that is
definitely made to be broken!
When your sheet is stamped, you can
cut it up as you wish to make as many projects as you like. I simply cut my sheet into quarters, then cut each one down to fit onto a card front, slicing them into thirds. The excess strips were used to embellish the insides of the cards.
When
you cut up your sheet, you may find you have some empty areas around
the edges. Don't worry, you can fill these in with more stamping if
necessary.
Another tip to maximise your
One-Sheet Wonder is to stamp all over with your chosen colours, then cut
in half and add another colour to one of the pieces. You can repeat
this if you wish to get lots of different looks from one sheet.
One
of the main advantages of a One-Sheet Wonder is that it’s a time-saving
device if you have a lot of cards to make (unless you use tiny stamps and eight different ink pads!), which means it’s ideal for
your Christmas cards or for party invitations.
The other main advantage
is that it’s very therapeutic. You just stamp away merrily without
having to think too hard about what you’re doing. And we all need a bit
of mindless crafting these days, don’t we?


