Showing posts with label Dandy Wishes Dies. Show all posts

Thursday, 25 February 2021

Dandy Garden Suite: Garden Wishes or Dragonfly Garden - Part Two

Dandy Dragonfly Garden Wishes Stampin Up
 
Part two of my Dandy Garden Day projects features this little box of notecards. This set above shows the box and cards made using the Dragonfly Wishes bundle. 

Dandy Dragonfly Garden Wishes Stampin Up

However, once again I made samples using both the Garden Wishes and Dragonfly Garden bundles, and again guests could use the Designer Series Paper to add their dragonflies or bees, if their stamp set didn't feature the one they wanted. As you can see from the image above, I cut out the bee from Dandy Garden Designer Series Paper, even though there is one featured in the stamp set. 

We used Dandy Garden DSP to cover the box, just applying paper to the top, front and back. 
 
Wet adhesive such as Tombow is best when covering these Mini Paper Pumpkin Boxes as it gives you that all-important “wiggle room”. If you apply the DSP all while the box is flat, the paper will stretch so assemble the box first then apply adhesive to the top only, leaving DSP hanging over the front to cover the flap with about 5mm (3/16”) on each side and the bottom edge. 
 
Only when the top is stuck should you add adhesive to the front and back panels, then carefully smooth the paper around to adhere.

 
Dandy Dragonfly Garden Wishes Stampin Up

The first of our cards to go inside was arguably the most complex, although even this is not too fiddly. We stamped our tallest image on a white panel, popped this up onto the note card, showing a strip of co-ordinating DSP to the right. Then it's finished off with a dragonfly (stamped or cut from the paper), a greeting and a ladybird. 
 

The Ladybug Trinkets are hollow so the best way to stick them down is using Mini Glue Dots. Don’t have any Mini Glue Dots? (Why not, they’re amazing!) You could use a small piece of double-sided tape, but it will be fiddly!

Dandy Dragonfly Garden Wishes Stampin Up

This Designer Series Paper is too beautiful to hide so these cards show it off by making it a feature of both the cards and the envelopes.

Covering the envelope flap is really easy but be warned: 6x6" DSP is only wide enough to cover the flaps of a notecard envelope, not our standard C6. 

 Simply apply adhesive all over the envelope flap then, making sure you have the pattern the right way up (if that matters with your chosen design), stick the full piece of DSP to the flap, butting it up neatly to the fold. Then turn it over and cut it out freehand, using scissors. 

Dandy Dragonfly Garden Wishes Stampin Up

These cards are scaled right back but are no less striking for their simplicity. The card on the left features dandelions stamped onto separate cardstock and cut out with the dies. ‘Hello’ looked a bit lost on its own so I stamped it three times. 

The card on the right has its flowers stamped directly onto the notecard, with a popped up dragonfly cut out from the DSP. 

Dandy Dragonfly Garden Wishes Stampin Up
 

Even simpler are these two note cards, with no colouring, just the image stamped in a colour directly onto the card. In both cases, the inset is cut out from the DSP. Did you know the bee from the Dandy Wishes dies fits the DSP perfectly? So you can stamp and cut or just cut them out of the paper if you prefer.

Similarly, the Dragonflies Punch fits both the stamp set and the DSP. You can punch both the largest and medium dragonflies from the paper although not at the same time. You will need to rough cut them out first to avoid spoiling the surrounding dragonflies. 

Dandy Dragonfly Garden Wishes Stampin Up

Since the ladies shared their projects in our private customer group at the weekend, orders for one or both of these amazing bundles have been flooding in. If you would like to order any of the products you see here, remember the best time to do so is before the end of the month, as orders over £45 will qualify for a free Sale-a-Bration item. You can either contact me and I will place the order for you – if you are local you an even hop on to my order and save shipping costs – or shop via my store. If you use February host code D6PKN76U, I’ll send you a thank you gift in March!

 
Please do check you are shopping with me at the store, as if you leave and return, it may default to a different demonstrator and/or lose the host code.
 
And if you have any questions about ordering, or would like to know more about maximising the value by purchasing the Starter Kit, please message me using the details on my website.


Thursday, 18 February 2021

Spring-themed blog hop with Dandy Wishes Dies

 
What’s your favourite season? Schitts Creek fans may channel their inner Moira Rose and answer ‘awards’ but for me it has to be spring. I love it when the days start to warm up and nature comes back to life, with daffodils and catkins and birds nesting and... you get the idea.
Spring blog hop stampin up

So I jumped at the opportunity to take part in a spring-themed blog hop with Stampin’ Up!® demonstrators around the world. I signed up ages ago but when it came to making the projects, for some reason I struggled.

I think it’s because my desire to play with new stamps clashed wildly with my pedantic nature. That ruled out Sweet Strawberry (late summer), Enjoy the Moment (autumn) and Garden Wishes (summer again).

Dandy Wishes Dies Hey Birthday Chick Stampin Up

Eventually I forced myself to cast pedantry aside and play with my Dandy Wishes Dies to create some non-specific flower/seed heads. I cunningly decided to meet the requirements of the theme by adding ‘Hello spring’ using the wonderful Playful Alphabet Dies and by masking off a sentiment stamp from Hey Birthday Chick. 
 
FOAM ADHESIVE SHEETS Stampin Up

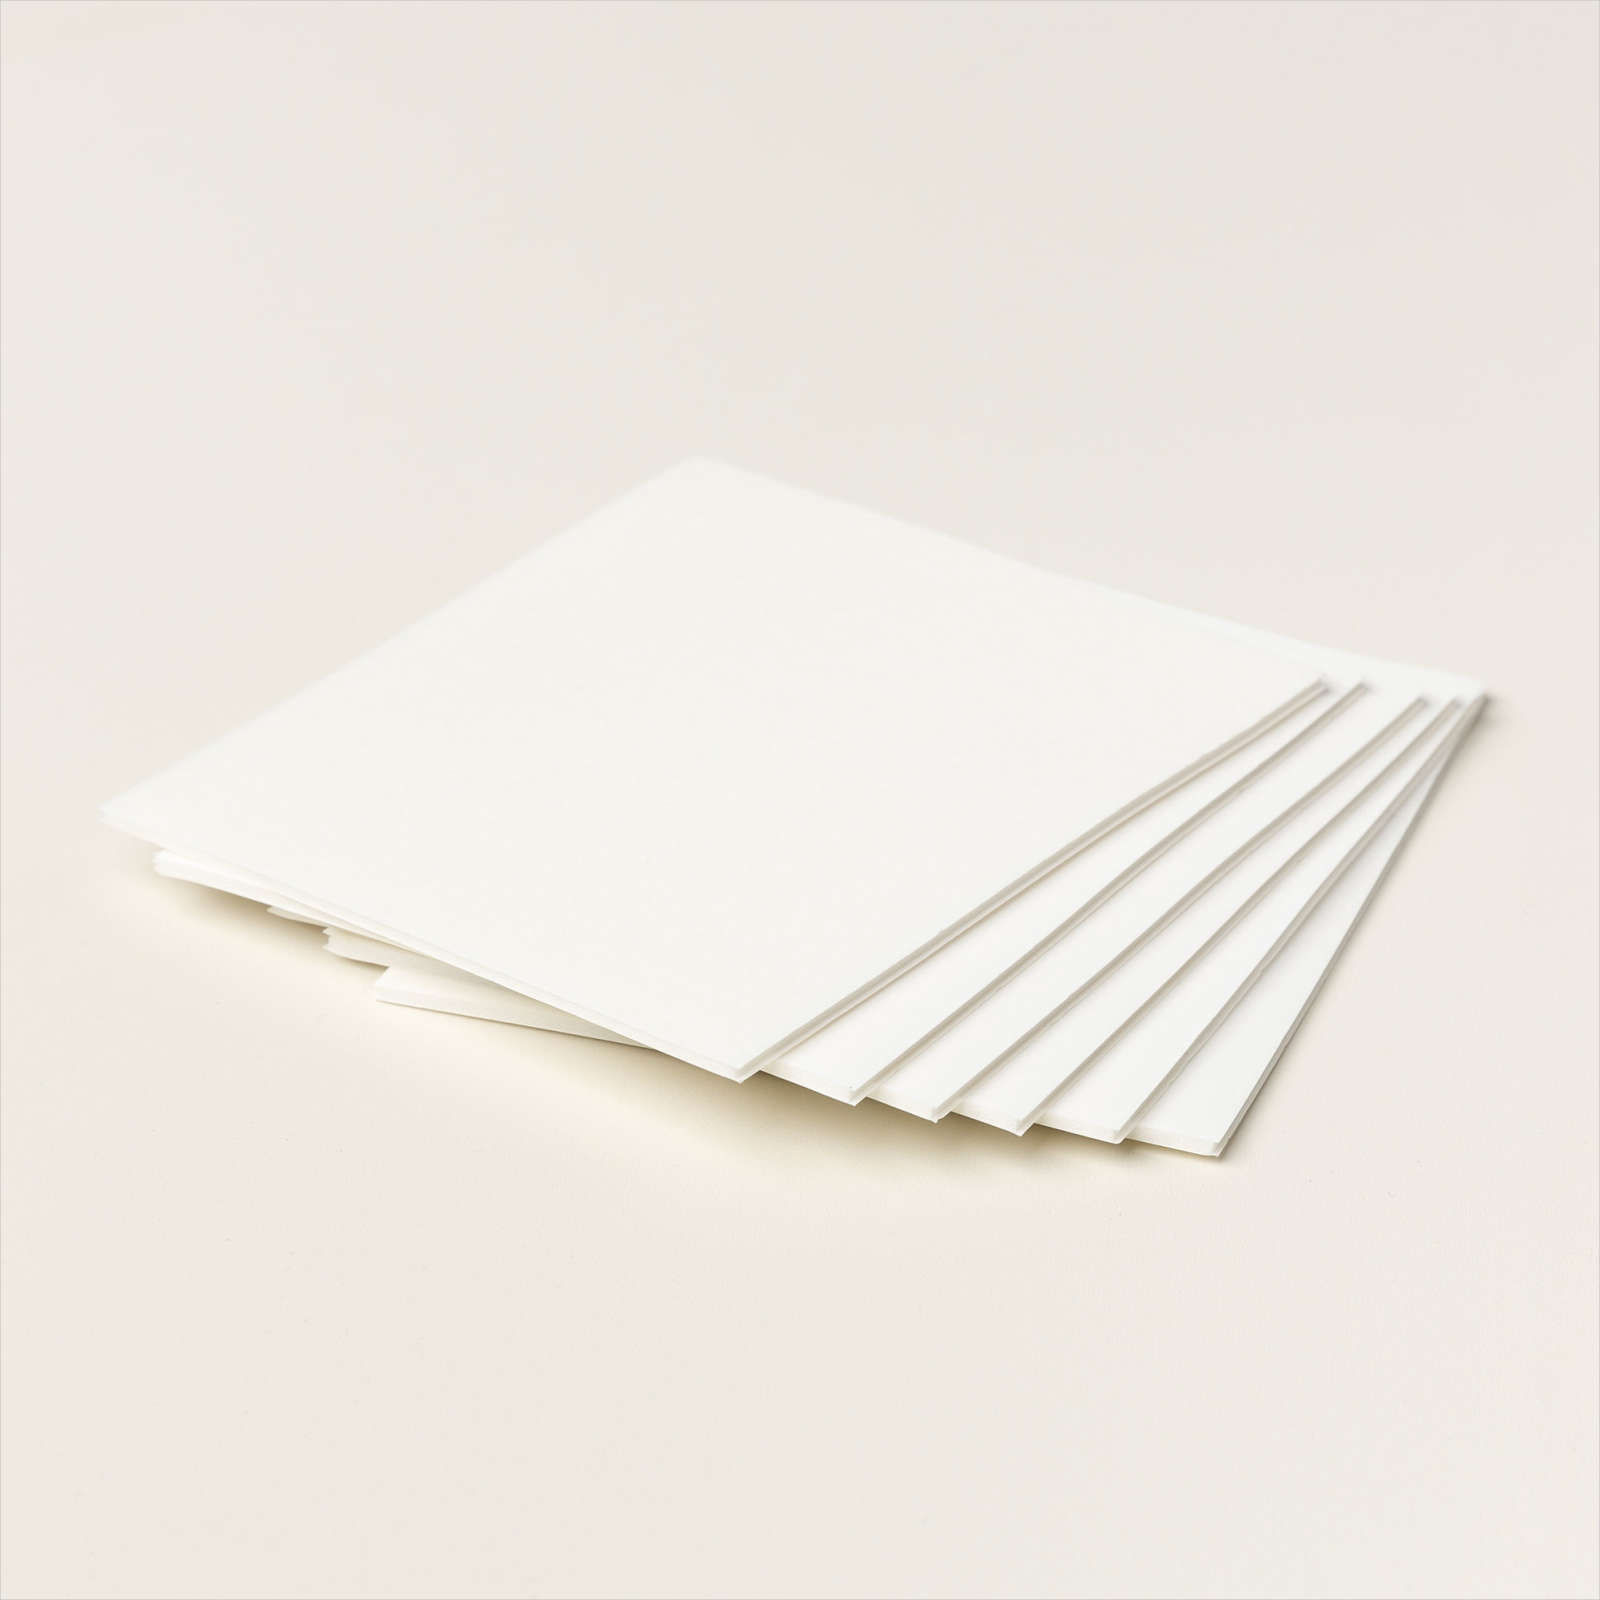
Here I have to give a massive shout out for the Foam Adhesive Sheets which are – and I don’t use these words lightly – a game changer. Use these on your small die-cuts and you won’t have to fiddle around cutting up pieces of Dimensionals and your projects will look neater, too.


Dandy Wishes Dies Hey Birthday Chick Stampin Up

Just as I’d reached the ‘it’ll do’ stage of project making, out of the craftermath of another project, this little chick crept onto the project and practically fell into place, fortifying my rather tenuous theme. So I let him stay. 

How I created the background

I created the background for this card using my Granny Apple Green ink pad and some Shimmery White cardstock. 
 
I’ll let you into a secret: I’m a pretty impatient crafter. I know, right? Who knew? 
 
So when I discovered that my Granny Apple Green ink pad needed re-inking but I didn’t have a refill, I lost patience with trying to squeeze the pad to get ink into the lid and simply swiped it across the bottom edge of my paper. This was pretty ugly, so I used a big paintbrush and some water to wash it upwards to create this background. Then I simply cut off the ugly bit! I love its vibrancy and the fact it was so quick!

Dandy Wishes Dies Hey Birthday Chick Stampin Up

Chickens now firmly on my mind, I created the second card using Hey Birthday Chick again. I’m so happy to see the return of this crazy-haired chick – and I know my customers are, too! I coloured the chicken using Stampin’ Blends in Pool Party (light and dark), Daffodil Delight (light and dark) and Pumpkin Pie (dark).
 

How I created the background

This time I used my new Blending Brushes to apply Coastal Cabana ink at the top and Granny Apple Green at the bottom. I avoided the sun area at the top, then added some Daffodil Delight in a circular motion, before popping up this ‘sun’ (it’s really part of a flower head from the Dandy Wishes Dies) which I’d die-cut from a rejected watercoloured piece from a few days before. Waste not, want not!

Finally, I completed my background effect by spattering some diluted Whisper White Craft Ink onto the top section using a small paintbrush. 
 
Dandy Wishes Dies Hey Birthday Chick Stampin Up

Again, I used the Dandy Garden Dies, this time in Basic Black for a silhouette effect.

‘Let’s celebrate spring’ is a mash-up of two sentiment stamps in the Hey Birthday Chick stamp set. I masked off the ‘YOU’ and stamped ‘Let’s celebrate’, then masked off all but ‘spring’ to stamp separately on a scrap of Granny Apple Green cardstock. 

You can get more mileage from your die-cut pieces by cutting them up. Here I’ve trimmed off the outer edges of the lower die-cut seed head to get a different look for contrast. And I’ve trimmed away the cake from the chicken image so it looks like it’s pecking at the words instead.

And now it’s time to see what everyone else has created. Please head to these blogs to see some spring-themed inspiration from around the world...


Monday, 18 January 2021

Serene cards with the Dandy Garden Suite

 Dandy Garden Dandelion Wishes Stampin Up

Have I mentioned how much I love the Dandy Garden Suite? Thought so. But is that going to stop me telling you again? No way! Here are some of the projects I’ve been making with this Suite lately.

I needed to replenish my stock of ‘Thinking of You’ cards after my Mum totally cleaned out my last batch. She said she needed two cards so I sent her everything I had so she could choose and the box came back empty. 

Dandy Garden Dandelion Wishes Stampin Up  

This set is just perfect for simple, understated cards for such an occasion, so I made a handful by stamping the tall flowers image from Dragonfly Garden onto white cardstock and lightly colouring the image using Stampin’ Blends. The greeting on this card comes from Peaceful Moments. 

Dandy Garden Dandelion Wishes Stampin Up

On most of the cards, I adding some background using our fabulous new Blending Brushes. These are so easy to use and create lovely soft backgrounds. On top of this I flicked some clean water to create a speckled effect, a technique I love for its simplicity.  The greeting on this card some from Field of Flowers. 

Dandy Garden Dandelion Wishes Stampin Up

Dandy Garden Dandelion Wishes Stampin Up

Dandy Garden Dandelion Wishes Stampin Up
 

I mounted them onto some card blanks I’d made previously (I keep a box of these on hand from leftover Make & Takes and projects where I change my mind partway through) and soon rustled up a batch of these landscape cards, finishing off with a greeting from Woven Heirlooms and some Linen Thread.

Dandy Garden Dandelion Wishes Stampin Up

For something a bit more complex, I used a big chunk of my craft supplies, starting with the Dandy Wishes Dies. These coordinate with the Garden Wishes stamp set and are available as part of a bundle, too.

The image panel is created using Tasteful Labels Dies, which are probably the most-used dies in my craft room since they were released last summer. The greeting here is from Happiest of Birthdays, which is probably my most-used greeting stamp set of the past 12 months, too. The background is one of the Greenery Embossing Folders, another much-loved product in this house. 

Dandy Garden Dandelion Wishes Stampin Up

Inside I used Happiest of Birthdays again, along with a dandelion image from the
Garden Wishes stamp set. 

Dandy Garden Dandelion Wishes Stampin Up
  

The entire Dandy Garden Suite is a must-have, in my opinion! If you’d like to order any of the items shown here, or indeed any other Stampin’ Up!® products, please head on over to my store and, if you use the host code YK2NNMYW, I’ll send you a little thank you gift in February! 

To make it easy for you, please shop using this link (opens in new window)

Does your wish list come to more than £99? Please get in touch and I will help you get more for your money and unlock discounts all year round.  Please message me via my website.


Monday, 4 January 2021

Best Suite ever? Dandy Garden featuring Dragonfly Garden and Garden Wishes

Stampin Up Dandy Garden Dragonfly Wishes

When I say the Dandy Garden Suite is my favourite of all time, I do not use those words lightly. I have been a Stampin’ Up!® demonstrator for 13 years now and this is honestly the most gorgeous suite I have ever seen. I’ve liked plenty of suites in the past and loved many of them a lot... but none has spoken to me like this one.

Stampin Up Dandy Garden Dragonfly Wishes

Last week I held my annual Twixmas Party, albeit this time on Zoom. In fact, the Zoom format worked so well for this event that I think this one will definitely remain on Zoom in the future, even when we are allowed to meet again. Nobody had to worry about the weather, and guests could celebrate with a glass of fizz if they wished.

Stampin Up Dandy Garden Dragonfly Wishes

We had games, prizes and demonstrations. For this demo I used the Zoom polling feature so the guests could choose what I made. This was the winning design; guests voted for the Dragonfly Garden stamp set, the Blackberry Bliss colourway and finally to embellish with a die-cut bee from the Dandy Wishes Dies set rather than a dragonfly using the new Dragonfly Punch. Of course, I had some variations to show them afterwards, too, so everybody got to see their choices in the end, even if they didn’t cast a winning vote.

Stampin Up Dandy Garden Dragonfly Wishes

I took the opportunity to demonstrate the gorgeous new Blending Brushes which feature in the new January-June Mini Catalogue (p70, £11.25 for three). These are SO luscious and so easy to use. Even my 20-year-old son – who normally shows zero interest in craft supplies – picked one up and said “why are these so nice?”


They look like sponges in the catalogue photo but are actually very dense brushes with the softest bristles. You can rinse them under the tap when you’ve finished and because they are synthetic, they dry very quickly, although having three in a pack means you can switch between colours without risking getting water on your project.

Stampin Up Dandy Garden Dragonfly Wishes

It was also the first public outing for my Mini Stampin’ Cut & Emboss Machine, nicknamed Little Roland. This fits the Greenery Embossing Folders perfectly and is more than adequate for the vast majority of our dies, including the Stitched Nested Labels Dies I’ve used here.

Stampin Up Dandy Garden Dragonfly Wishes

Little Roland and the Dandy Garden Suite all go live tomorrow with the launch of the January-June Mini Catalogue, which is when Sale-a-Bration goes live, too!

Here are some tips for shopping wisely:

Stampin Up Dandy Garden Dragonfly Wishes

The Blending Brushes give you a soft, natural-looking background which offsets these images perfectly. The wildflower image requires very little colouring, so giving it a hint of a background allows the image to stand out.

Stampin Up Dandy Garden Dragonfly Wishes


Friday, 4 December 2020

Sneak Peek: 10 cards using the Dandy Garden Suite

Dandy Garden Wishes Dragonfly Stampin Up
 

During December we demonstrators get the privilege of ordering from the new Jun-Jul Mini Catalogue - this is one of my favourite perks! Another perk was if we attended OnStage@Home we could order EVEN EARLIER from a smaller selection of products so I quickly snapped up a whole bunch from the Dandy Garden Suite.

This is a new mega-suite of products and, if you love the natural world as much as I do, you will LOVE it. So as a special end-of-week treat, here are not one but TEN projects using this fabulous Suite!

Indulge me while I wax lyrical about this gorgeous Suite for a moment. There are TWO gorgeous stamp sets – one with a co-ordinating dragonfly punch and one with co-ordinating dies.

There is an absolutely stunning pack of 6"x"6" Designer Series Paper packed with deep, rich colours, bold floral designs as well as delicate detailed monochrome sheets.

There’s a pack of fine laser-cut paper, including detailed dragonflies, intricate seed heads and delicate leaves. There are tiny bronze-effect ladybirds. And remember that beautiful woven linen thread we had before? It's back - but in Mossy Meadow.

I'm so excited about this suite that I'm sharing everything I've made with it so far. Some are adaptations of projects from the Stamp & Share section of OnStage@Home and others are actually completely from my own head (I know, right!).

Take a look at what I’ve been making...

Dandy Garden Wishes Dragonfly Stampin Up

These were some of the most fun to make as I got to use a new tool. We have some new blending brushes which are so pleasing to use and so effective – they give you a much smoother effect than blending with sponges.

I stamped my main images in Mossy Meadow, coloured them with Stampin’ Blends, then blended ink with the new brushes around the edges of the cardstock. Inspired by Stampin' Up!® concept artist Melody Hyde, I then stamped around the images with a greeting stamp, repeatedly and by stamping off onto scrap paper first. I really liked this effect when Melody demonstrated it at OnStage@Home.

Dandy Garden Wishes Dragonfly Stampin Up


I LOVE these dies, they are JUST what I've been craving. And don't they go perfectly with the Dandelions Embossing Folder which I've had for months but – gasp! –hadn’t used until I made this card. 


Dandy Garden Wishes Dragonfly Stampin Up

This Suite is perfect for the monochrome look. There are several sheets of DSP which are monochrome;in Misty Moonlight (as shown here), Blackberry Bliss (yum!), Bumblebee and Calypso Coral. Shall I tell you a secret about this card? It was supposed to have a folding back front, but I used the cutting blade instead of the scorer! Oops.

Dandy Garden Wishes Dragonfly Stampin Up

A splash of Bumble Bee goes so well with Misty Moonlight – this is one of our OnStage@Home Stamp and Share projects which we made during the event. 

Dandy Garden Wishes Dragonfly Stampin Up

Dandy Garden Wishes Dragonfly Stampin Up

Dandy Garden Wishes Dragonfly Stampin Up

Dandy Garden Wishes Dragonfly Stampin Up

Dandy Garden Wishes Dragonfly Stampin Up

This last card was a Northern Lights background which hadn’t gone quite to plan. It wasn’t working for the Christmas card I had planned but I think it looks great behind this Dandy Laser-Cut Paper and combined with some much-maligned Purple Posy.

I hope you love this Suite as much as I do as I will be holding a Big Event with it in February. Watch this space or my website for details. 

And if you can’t wait that long and want to get your hands on these fabulous products NOW, please get in touch about purchasing the Starter Kit. I would love to have you in my team so I can help you get the best value out of your Stampin’ Up!® crafting. Please get in touch via my website here. 


The small print

This is my personal blog and my sole responsibility as an independent creator and craft coach. All content including photographs, projects and text are © Helen Read, unless otherwise stated. Please feel free to copy my ideas for your personal use and inspiration. Please do not use my ideas for monetary gain, competitions or publication. The images on this blog - including blog buttons - should not be copied and used elsewhere on the internet or on electronic files for sale or otherwise.