


So I jumped at the opportunity to take part in a spring-themed blog hop with Stampin’ Up!® demonstrators around the world. I signed up ages ago but when it came to making the projects, for some reason I struggled.
I think it’s because my desire to play with new stamps clashed wildly with my pedantic nature. That ruled out Sweet Strawberry (late summer), Enjoy the Moment (autumn) and Garden Wishes (summer again).

Eventually I forced myself to cast pedantry aside and play with my Dandy Wishes Dies to create some non-specific flower/seed heads. I cunningly decided to meet the requirements of the theme by adding ‘Hello spring’ using the wonderful Playful Alphabet Dies and by masking off a sentiment stamp from Hey Birthday Chick.
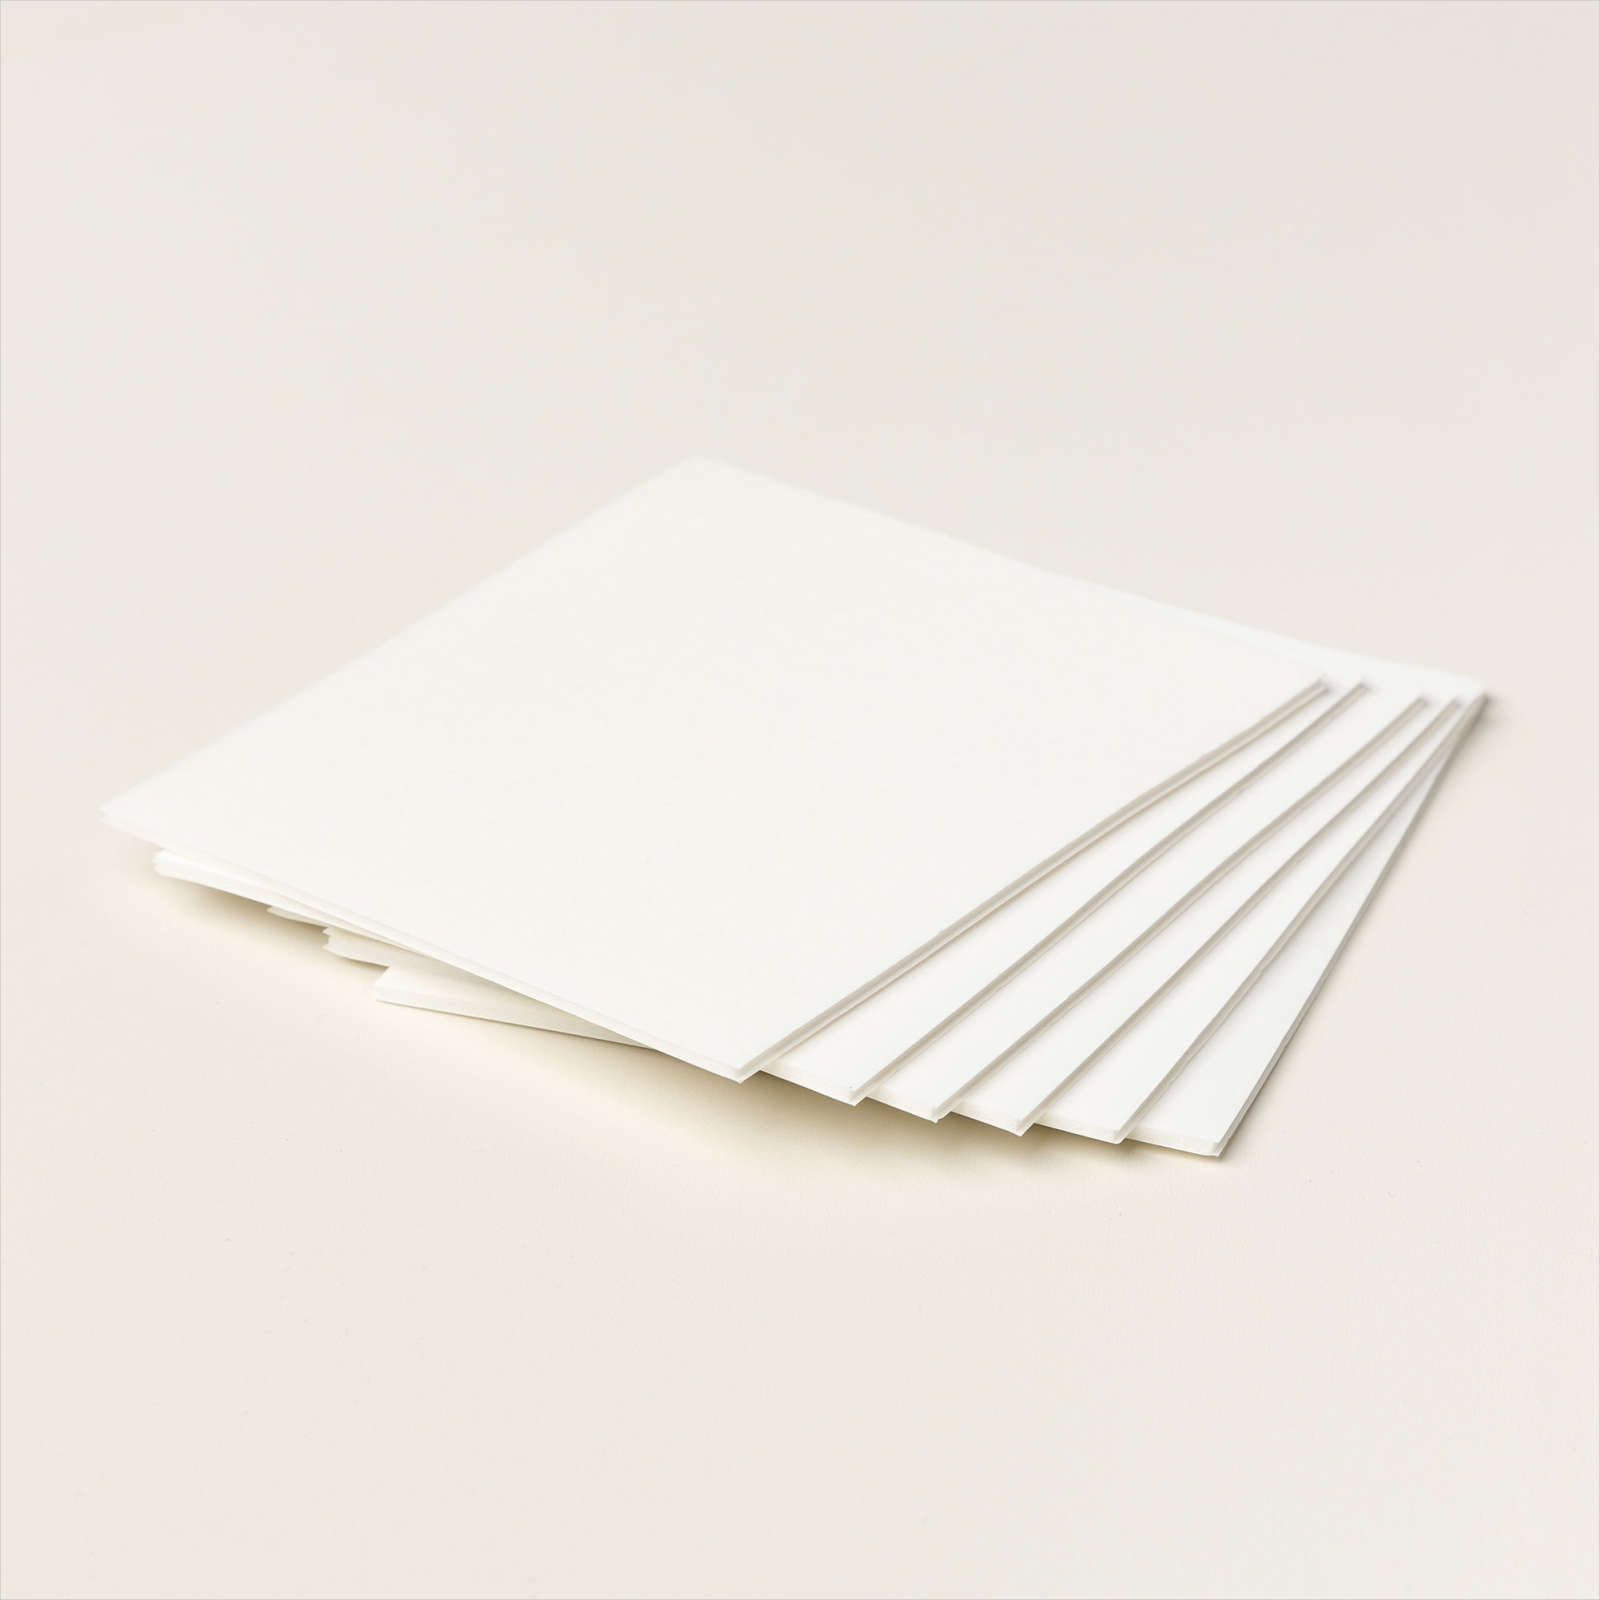
Here I have to give a massive shout out for the Foam Adhesive Sheets which are – and I don’t use these words lightly – a game changer. Use these on your small die-cuts and you won’t have to fiddle around cutting up pieces of Dimensionals and your projects will look neater, too.

Just as I’d reached the ‘it’ll do’ stage of project making, out of the craftermath of another project, this little chick crept onto the project and practically fell into place, fortifying my rather tenuous theme. So I let him stay.
How I created the background
I created the background for this card using my Granny Apple Green ink pad and some Shimmery White cardstock.
I’ll let you into a secret: I’m a pretty impatient crafter. I know, right? Who knew?
So when I discovered that my Granny Apple Green ink pad needed re-inking but I didn’t have a refill, I lost patience with trying to squeeze the pad to get ink into the lid and simply swiped it across the bottom edge of my paper. This was pretty ugly, so I used a big paintbrush and some water to wash it upwards to create this background. Then I simply cut off the ugly bit! I love its vibrancy and the fact it was so quick!

Chickens now firmly on my mind, I created the second card using Hey Birthday Chick again. I’m so happy to see the return of this crazy-haired chick – and I know my customers are, too! I coloured the chicken using Stampin’ Blends in Pool Party (light and dark), Daffodil Delight (light and dark) and Pumpkin Pie (dark).
How I created the background
This time I used my new Blending Brushes to apply Coastal Cabana ink at the top and Granny Apple Green at the bottom. I avoided the sun area at the top, then added some Daffodil Delight in a circular motion, before popping up this ‘sun’ (it’s really part of a flower head from the Dandy Wishes Dies) which I’d die-cut from a rejected watercoloured piece from a few days before. Waste not, want not!
Finally, I completed my background effect by spattering some diluted Whisper White Craft Ink onto the top section using a small paintbrush.

Again, I used the Dandy Garden Dies, this time in Basic Black for a silhouette effect.
‘Let’s celebrate spring’ is a mash-up of two sentiment stamps in the Hey Birthday Chick stamp set. I masked off the ‘YOU’ and stamped ‘Let’s celebrate’, then masked off all but ‘spring’ to stamp separately on a scrap of Granny Apple Green cardstock.

You can get more mileage from your die-cut pieces by cutting them up. Here I’ve trimmed off the outer edges of the lower die-cut seed head to get a different look for contrast. And I’ve trimmed away the cake from the chicken image so it looks like it’s pecking at the words instead.
And now it’s time to see what everyone else has created. Please head to these blogs to see some spring-themed inspiration from around the world...

