I love using my Stampin’ Up!® supplies to branch out into other
techniques so have been having lots of fun creating cool backgrounds to
go with the Let’s Set Sail bundle.
I’ve always been a fan of
nautical and seaside-themed products so this stamp set with matching
punch really floats my boat. (See what I did there?)
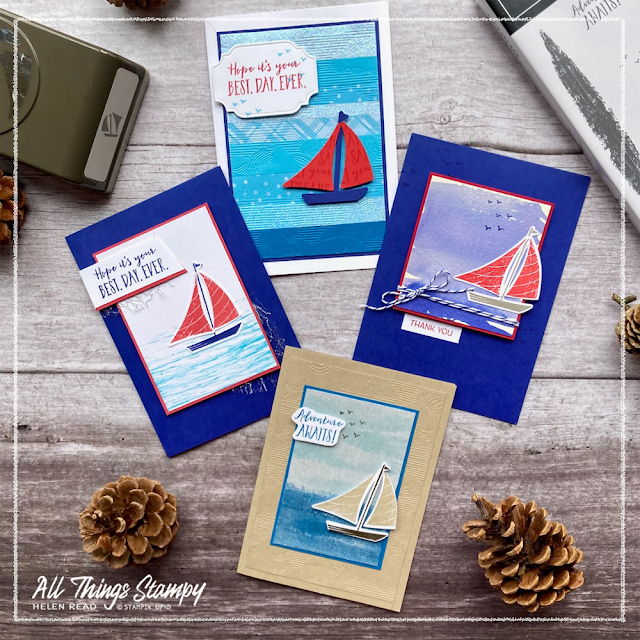
Here are four cards I made with the Let’s Set Sail bundle, each showcasing a different background technique. Best of all, most of them don’t require any special equipment.
Let me share some tips for creating these fun backgrounds for your seaside-themed cards...
First up is this really fun background which – even better – uses up your scraps. When making cards or other papercraft projects, we all end up with scraps – and often they are narrow strips.
I gathered up my narrow strips of Tahitian Tide cardstock, Designer Series Paper and glimmer paper, along with a strip of Pacific Point, and glued them all to an old piece of grid paper. Any paper will do but it must be paper and not cardstock or the finished piece will be too thick for the next stage.
I trimmed this piece to size and then ran it through the Into The Clouds Embossing Folder. This brings it all together and makes a very fun background.
I punched a boat using the Sailboat Builder Punch and positioned it at the top of one of the strips to look like it was floating in the sea. Fun!
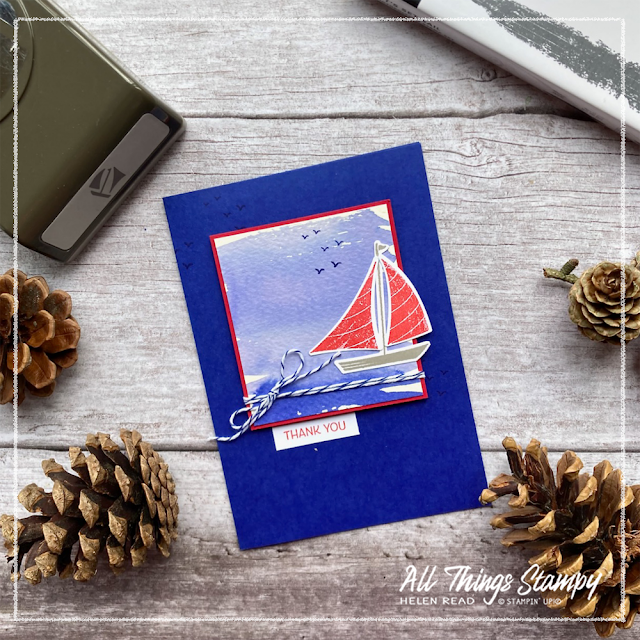
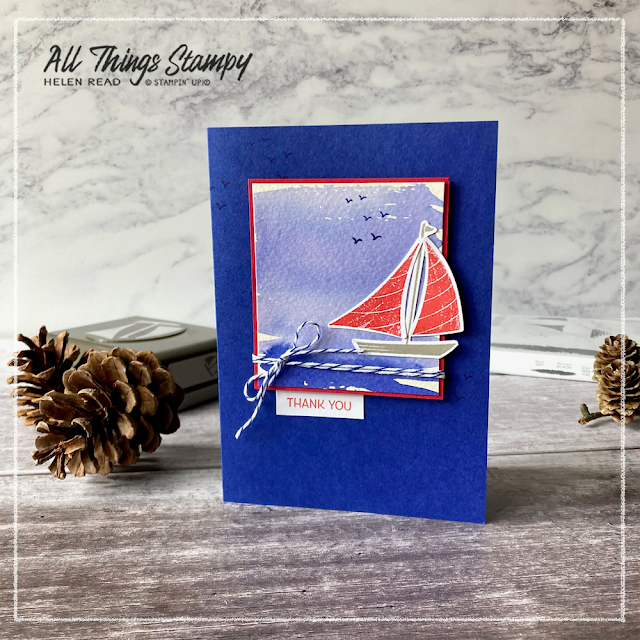
Next up is this lovely washy watercolour background, which I created using Starry Sky ink and a water painter on watercolour paper.
You can create a palette of ink by holding any of Stampin’ Up!®'s water-based Classic Stampin’ Pads upside-down and squeezing hard. But if you don’t like messing up your ink pads, or you find it’s too difficult to squeeze them, just press your ink pad onto a large clear block or other non-porous surface.
To pick up the ink, either use a water painter (which carries the water in its barrel) or simply use a paintbrush and a pot of water. See what I mean in this short video.
This washy effect provides the perfect background for the boat from Let’s Set Sail. The red sails (Poppy Parade) are echoed in the layer of the same colour.
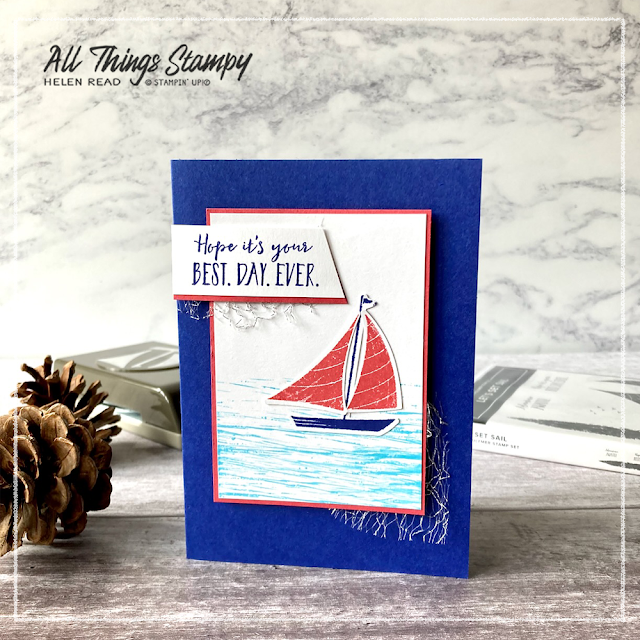
My third background is especially fun as it’s created with rubber bands!
Gather up a selection of rubber bands and wrap them around a clear stamping block. Overlap them, criss-cross them or leave them straight, it’s up to you. Just have a play around to see what results you prefer.
Then you simply use your rubber banded block as a stamp. Repeat your stamping until you have the effect you desire.
Once you are happy, stamp and punch the boat from Let’s Set Sail and stick it in position, then finish off the card. I used a little Metallic Mesh Ribbon to give the impression of fishing net.
My final card has a lovely linen texture because I have stamped directly onto Linen 12x12 Paper. This is a gorgeous speciality paper from Stampin’ Up!® It’s self-adhesive; I confess I’m not entirely sure of the benefits of that feature. Just stamp on it and see how the texture of the paper turns simple stamping into a lovely canvas effect.
I have used the long stamp from Let’s Set Sail in Balmy Blue for the sky, leaving some areas unstamped to give the impression of clouds. For the sea I used Pacific Point, stamping repeatedly to fill the lower third of the paper, and missing the odd area to look like waves.
I hope you like these ideas for creating a fun background for the Let’s Set Sail stamp set. Which one is your favourite?
If you are in the UK and would like to order, please
visit my store and, if you use the August 2022 host code ZPZ3ZRHC, I’ll send you a thank you gift in the following month.
Does
your wish list come to more than £99? Please get in touch and I will
help you get more for your money and unlock discounts all year round.


No comments:
Post a Comment
Thank you so much for taking the time to comment.