Sorry I can't update the blog right now. Please find me on Facebook

Friday, 4 December 2020

Sneak Peek: 10 cards using the Dandy Garden Suite

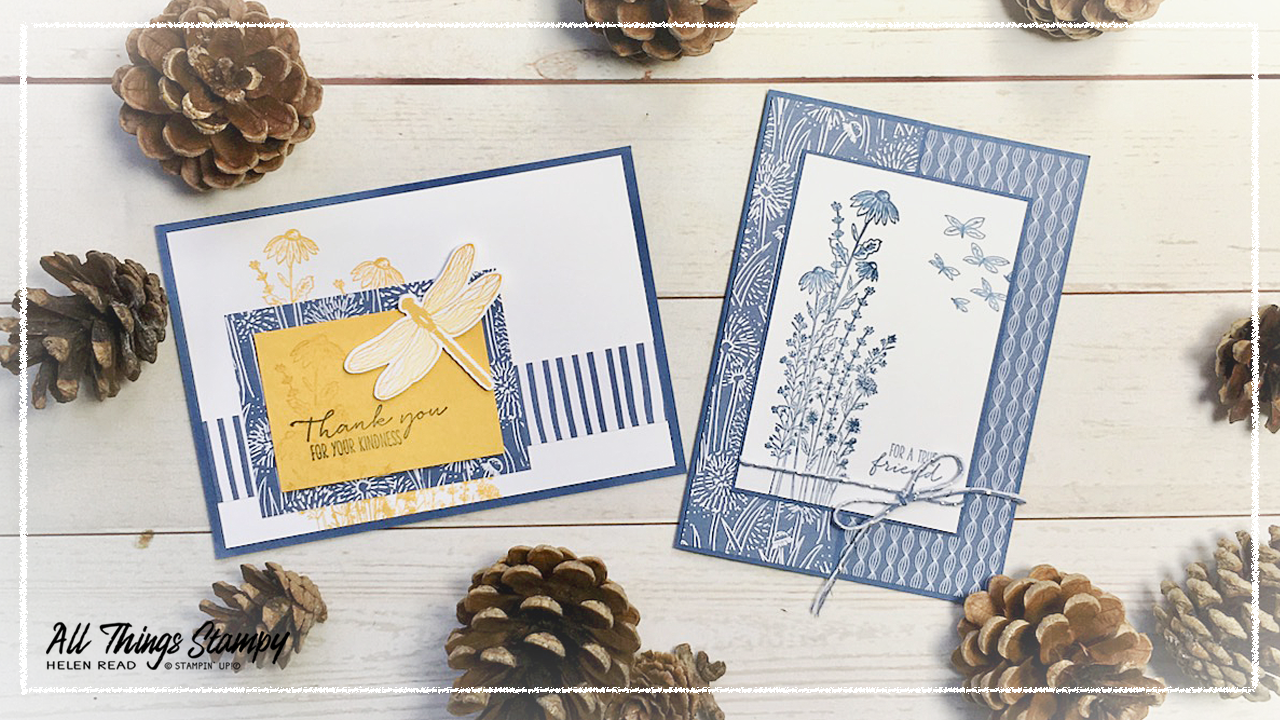
Dandy Garden Wishes Dragonfly Stampin Up
 

During December we demonstrators get the privilege of ordering from the new Jun-Jul Mini Catalogue - this is one of my favourite perks! Another perk was if we attended OnStage@Home we could order EVEN EARLIER from a smaller selection of products so I quickly snapped up a whole bunch from the Dandy Garden Suite.

This is a new mega-suite of products and, if you love the natural world as much as I do, you will LOVE it. So as a special end-of-week treat, here are not one but TEN projects using this fabulous Suite!

Indulge me while I wax lyrical about this gorgeous Suite for a moment. There are TWO gorgeous stamp sets – one with a co-ordinating dragonfly punch and one with co-ordinating dies.

There is an absolutely stunning pack of 6"x"6" Designer Series Paper packed with deep, rich colours, bold floral designs as well as delicate detailed monochrome sheets.

There’s a pack of fine laser-cut paper, including detailed dragonflies, intricate seed heads and delicate leaves. There are tiny bronze-effect ladybirds. And remember that beautiful woven linen thread we had before? It's back - but in Mossy Meadow.

I'm so excited about this suite that I'm sharing everything I've made with it so far. Some are adaptations of projects from the Stamp & Share section of OnStage@Home and others are actually completely from my own head (I know, right!).

Take a look at what I’ve been making...

Dandy Garden Wishes Dragonfly Stampin Up

These were some of the most fun to make as I got to use a new tool. We have some new blending brushes which are so pleasing to use and so effective – they give you a much smoother effect than blending with sponges.

I stamped my main images in Mossy Meadow, coloured them with Stampin’ Blends, then blended ink with the new brushes around the edges of the cardstock. Inspired by Stampin' Up!® concept artist Melody Hyde, I then stamped around the images with a greeting stamp, repeatedly and by stamping off onto scrap paper first. I really liked this effect when Melody demonstrated it at OnStage@Home.

Dandy Garden Wishes Dragonfly Stampin Up


I LOVE these dies, they are JUST what I've been craving. And don't they go perfectly with the Dandelions Embossing Folder which I've had for months but – gasp! –hadn’t used until I made this card. 


Dandy Garden Wishes Dragonfly Stampin Up

This Suite is perfect for the monochrome look. There are several sheets of DSP which are monochrome;in Misty Moonlight (as shown here), Blackberry Bliss (yum!), Bumblebee and Calypso Coral. Shall I tell you a secret about this card? It was supposed to have a folding back front, but I used the cutting blade instead of the scorer! Oops.

Dandy Garden Wishes Dragonfly Stampin Up

A splash of Bumble Bee goes so well with Misty Moonlight – this is one of our OnStage@Home Stamp and Share projects which we made during the event. 

Dandy Garden Wishes Dragonfly Stampin Up

Dandy Garden Wishes Dragonfly Stampin Up

Dandy Garden Wishes Dragonfly Stampin Up

Dandy Garden Wishes Dragonfly Stampin Up

Dandy Garden Wishes Dragonfly Stampin Up

This last card was a Northern Lights background which hadn’t gone quite to plan. It wasn’t working for the Christmas card I had planned but I think it looks great behind this Dandy Laser-Cut Paper and combined with some much-maligned Purple Posy.

I hope you love this Suite as much as I do as I will be holding a Big Event with it in February. Watch this space or my website for details. 

And if you can’t wait that long and want to get your hands on these fabulous products NOW, please get in touch about purchasing the Starter Kit. I would love to have you in my team so I can help you get the best value out of your Stampin’ Up!® crafting. Please get in touch via my website here


Tuesday, 1 December 2020

Winter Solstice Card for Holiday Blog Hop

Winter Woods Playful Alphabet Solstice Stampin Up

Christmas may get most of the attention but there are many more December celebrations around the world and it is these which are the theme of our international Holiday Blog Hop, which has been set up to promote #stampingdiversity.

Winter Woods Playful Alphabet Solstice Stampin Up

One of the oldest celebrations in the world is Winter Solstice, which has been around since long before Christianity. In fact, many Pagan traditions surrounding the Winter Solstice – cutting mistletoe, gift giving, decorating trees – were absorbed into Christmas celebrations and continue to this day.

Here in the Northern Hemisphere, the Winter Solstice is on 21st December; the shortest day and the longest night. I always welcome its arrival as it marks the turning point of the year and means the days will once again start to lengthen. 

Winter Woods Playful Alphabet Solstice Stampin Up

To celebrate, I made this card using a variety of products and – surprise, surprise – a whole lotta sponging. Actually, I used a brand new Stampin’ Up!® product from the upcoming January-June Mini Catalogue. It’s a set of three Blending Brushes which are just amazing for getting all the look of sponging with a lot less risk of smearing. For ease, I’m going to use the term ‘sponging’, even though I used the brushes.

To get the huge setting sun (or is it a rising moon?), I die-cut a large circle from a piece of scrap paper to leave the aperture template, then laid a separate curved hill on top. I gently sponged inside here using Daffodil Delight.

Next I used the circle of scrap paper to act as a mask on top of the yellow sun, so I could sponge around in Seaside Spray and Night of Navy to represent the sky.

Winter Woods Playful Alphabet Solstice Stampin Up


On top of this I stamped the row of trees from Winter Woods. Something was missing, though – you can’t have a huge sun/moon casting light over trees without some shadows. So I hand-cut a long, narrow triangle from another piece of scrap paper and used this as a mask to sponge with some more Seaside Spray. I didn't worry about creating shadows of the foliage as I knew my words would be covering this area.

I inked up part of the Season’s Greetings stamp from Peaceful Boughs with a Night of Navy marker and used this to stamp towards the bottom. 

Winter Woods Playful Alphabet Solstice Stampin Up

Next I used the Playful Alphabet Dies to cut out the word ‘solstice’ from some In Color Designer Series Paper in Seaside Spray (oops! This is the old design!) – first backing it with a foam adhesive sheet to give it dimension and make it easy to stick down. Spacing was something of an issue, as you can see, and there was only just enough room on my piece of cardstock. This wouldn’t be an issue in North America, as their card bases are slightly wider.

I finished off with some Seaside Spray Scalloped Linen Ribbon and some cut-out leaves using Beautiful Autumn, one of my favourite sets from the Aug-Dec Mini Catalogue. 

Winter Woods Playful Alphabet Solstice Stampin Up

Inside I echoed the DSP and leaves from the front and added a greeting from Peaceful Boughs, which seemed perfect for the occasion.

I hope you like my Winter Solstice card and it has inspired you to create a project for different holidays. Please now visit the rest of the blogs in the hop to see some amazing projects from talented Stampin’ Up!® Demonstrators around the world.


Winter Woods Playful Alphabet Solstice Stampin Up

If you would like to order any of the products shown here, please visit my online store and shop using the December host code SX4NGWRH.


Monday, 30 November 2020

Baby due in January – the Mini Stampin’ Cut & Emboss Machine

Mini Stampin cut emboss machine
 

Get the nursery ready because I have some exciting news!

I’m delighted to announce that the Stampin’ Cut & Emboss Machine’s baby is due in January 2021. Demonstrators can order this fab little machine from Tuesday so I’ll be popping one onto my pre-order straight away.

Customers can order from 5th January, which happily is during Sale-a-Bration, so can choose a free gift, too!

I have the full-sized Stampin’ Cut & Emboss Machine and have been really impressed with it. I love that it fits on top of my trolley and that the rolling action is so smooth and easy compared to my old machine. This one is available now, but I urge you NOT to order it from my website. 

Why? Because if you talk to me, I can help you get it cheaper if you choose it as part of your Starter Kit. 

Stampin cut emboss machine

I will definitely be ordering the the Mini version on 1st December because I know that the vast majority of die-cutting I do is small and so the little machine will a be a great space-saver on the desktop. 

 Mini Stampin cut emboss machine 

Here they are side by side, so you can see the difference. If you have the Greenery Embossing Folders, you’ll see they are sized to fit in the Mini perfectly, with its 3.5" (8.9cm) platform. 

Mini Stampin cut emboss machine

If you'd like to get your hands on the Mini early, you can purchase it as part of the Starter Kit from tomorrow, when you can also order from the new Jan-Jun 2021 Mini. I’d love to welcome you into my team and help you get the absolute best value out of your Stampin’ Up!® crafting experience.

If that’s not for you, remember you can start ordering this on 5th January, which is also when the Jan-Jun 2021 Mini Catalogue goes live and Sale-a-Bration begins! Just get in touch via the email address listed on this page, or through my Facebook page.

And please come back tomorrow afternoon for another worldwide blog hop - this time on a winter holiday theme. See you then!


Thursday, 26 November 2020

Coming Home beach huts

Coming Home Stampin Up

Fancy a bit of respite from relentless Christmas projects? A week or so ago, I challenged my regular customers to create a project inspired by a place they love.

I was making this card anyway and am all for pinning the challenge to the card, rather than the other way round, so decided this was inspired by Findhorn Beach in Scotland.  Here’s a pic I took on a very blustery day there in 2017.
 
Coming Home Stampin Up

The ‘beach huts’ on my project are actually little houses stamped with the Coming Home stamp set and coloured in using Stampin’ Blends. Pool Party, Old Olive, Daffodil Delight and Calypso Coral, in case you were wondering. The sand is a mix of Ivory and Daffodil Delight. 
 
Coming Home Stampin Up

I created the sea by tearing some Whale of a Time Designer Series Paper. I only have scraps of this left after using it for lots of classes this summer, so couldn’t resist adding the little fussy-cut turtle. I don't think they get turtles off Findhorn but they are occasional visitors to Scottish waters, so that’s good enough for me.

Get perfectly placed houses by stamping with the Stamparatus. The stamps are designed to work like this. Using the top hinge, stamp one house, move the plate to the right one slot then repeat. Keep going until you have as many houses as you need. 


Coming Home Stampin Up

If you’d like to order anything you see here, please visit my store and, if shopping in November 2020, please use the host code RMK743TS. The host code allows me to earn Stampin’ Rewards which I use to order thank you gifts for my online customers.


Monday, 23 November 2020

Starburst Christmas card with Pine Woods Dies

Pine Woods Stampin Up

Crafty Friday finally happened! We had to postpone for a week because some of the kits took SO LONG to arrive. In fact we gave up on one of them and my husband drove another one over to the lady's house; inevitably, the first kit arrived in the post the next day! It had taken nine days to arrive.

I’ll only show you one of the cards we made here as the other one was a direct copy of this

Yes, we were sponging again and I thought it was a good opportunity to have a go at the Starburst technique. We all began by making our templates. I always take a pretty rough and ready approach to crafting, winging it as I go. One lady, however, measured all her angles using a protractor! It was to be expected, I suppose, as she is a retired maths teacher.

Starburst technique Stampin Up

These are the three stages of template making. Others have suggested making these out of window sheets or other acetate but I’m not convinced; I think that would allow ink to pool and make it more likely to smudge and blob.

We sponged on to the Pretty Peacock cardstock in whatever colour ink we had to hand. I had Pretty Peacock, of course (to me, ink pads are like Pokemon; gotta catch ’em all!)  but others achieved good results with Just Jade and the now retired Island Indigo. I really like this colour combination; Pretty Peacock, Just Jade and just a splash of red. 
 
Pine Woods Stampin Up

The greeting panel is from the same die set as the sprigs of evergreen; the Beautiful Boughs dies, which was released last year but never goes out of style. 

I ran out of the red ribbon from the All The Trimmings Ribbon Combo Pack which I’d used for the samples as I’d had to donate my prepared kit due to the postal issues. Therefore, during the actual session, I used this gorgeous Just Jade gingham from the Flowers For Every Season Ribbon Combo Pack instead.

Pine Woods Stampin Up

These Pine Woods Dies are one of my favourite products ever. Both of these trees have open foliage which pops out but, as you can see, the back one, in Mint Macaron, has retained these pieces. That’s because I was lazy and didn’t clean out the die. But you know what? I like the effect!
 
To get the greeting, from In The Pines, onto two separate lines, you have severa; options. The stamp set is photopolymer, so cutting it up is really easy. But that felt a bit drastic for one card. Another option is to mask each section off using tape or a sticky note, but that is fraught with danger. Instead, I inked and stamped each word separately using a Stampin’ Write Marker, cleaning the stamp very thoroughly in between. 
 
Pine Woods Stampin Up

If you’d like to order anything you see here, please visit my store and, if shopping in November 2020, please use the host code RMK743TS. The host code allows me to earn Stampin’ Rewards which I use to order thank you gifts for my online customers.


Friday, 20 November 2020

Merry & Bright Online Extravaganza - 10% off almost everything in the Annual Catalogue

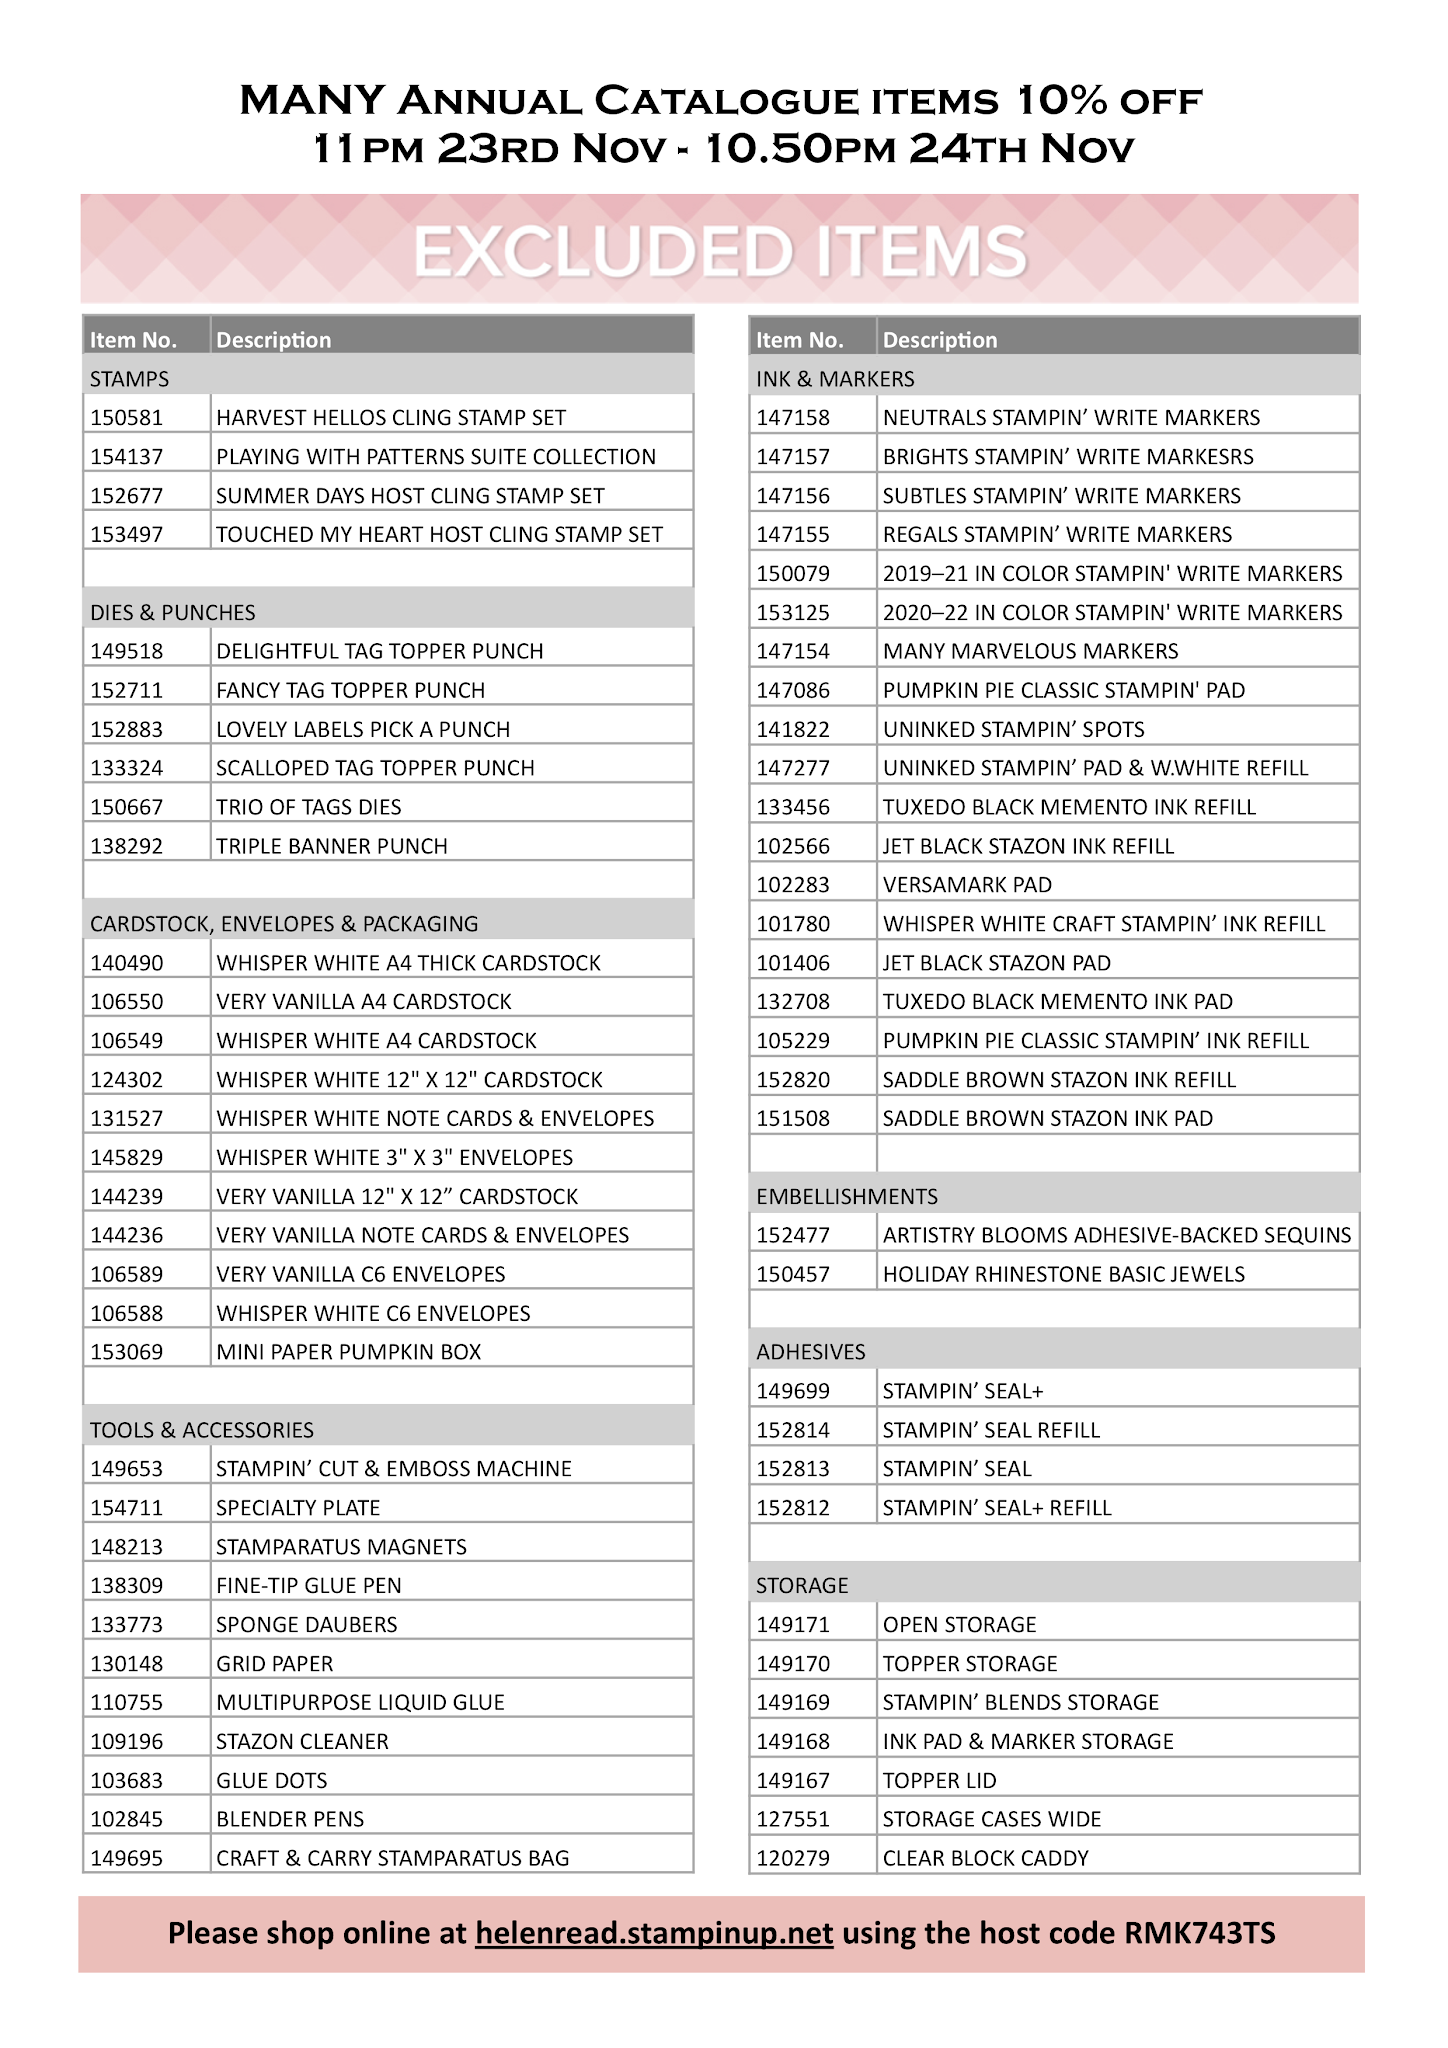
Like discounts? You can save 10% off ALMOST EVERYTHING in the Annual Catalogue for one day only! Starts 11pm on the 23rd November and runs until 10.50pm on the 24th. 
 
There are a few exceptions for supply reasons, so please download the PDF to see what's NOT included. Remember, if it’s in the Annual Catalogue and available, as long as it’s NOT on this list, it should be 10% off. 


Monday, 16 November 2020

Nine ideas for Snowman Season

Snowman Season Stampin Up

We are rapidly approaching Christmas – I know, right? This year has been so weird that some days I have to remind myself it’s November.

In preparation for the Big Day, I have been running craft sessions using the Snowman Season stamp set, after taking quick bookings in one day during the Flash Sale. I held three sessions – two short daytime events and a longer Saturday morning. 

Guests signed up for all three sessions, which included the stamp set and instructions so they could make the cards even if they couldn't attend. This is how I send out my kits – packed in plant-based biodegradable cello bags in boxes made from recycled card, held together with paper tape.  Just doing my bit to avoid plastic waste!

Snowman Season Stampin Up

These sessions were popular both with the guests and with me; I cannot tell you how much easier it is to design projects when everyone has the same stamp set! Having said that, preparation coincided with my holiday in the Lake District so I inevitably turned to other talented crafters for inspiration.

So in one mega blog post, let’s take a look at the projects we made...

Snowman Season Stampin Up

I love this one, which was heavily inspired by Mary Fish. I switched to the Evergreen Forest 3D Embossing Folder because it’s new and I love it. I cut my snowy hills with the Pine Woods Dies, although I expected the guests to cut them freehand. Sorry, ladies!

I coloured the images using ink pad lids and blender pens – my most-used method because I always have both on hand. But what about black? You can’t squeeze the Memento Tuxedo Black ink pad to get ink in the lid, so simply swipe the pad onto a clear block or other shiny surface and pick up your colour from there. Because it’s water-based, it will clean off easily.

Snowman Season Stampin Up

Our second project for the first session was this little notecard which we stamped all over in Pool Party. A simple but fun design which I blatantly CASEd from Kim Quade.

Snowman Season Stampin Up

The Saturday session saw us tackle five cards, starting with this cute little notecard. To get the shading behind the snowman, we just sponged directly onto the die-cut label (which I’d pre-cut using the Tasteful Labels dies), then the snowman is stamped separately, fussy-cut and popped up on Dimensionals. Yes, even his little twig arms! The sprigs are punched using the Sprig Punch – I wasn’t die-cutting that lot for 10 people, sorry!

Snowman Season Stampin Up

More sponging for this card – I’m all about the sponging at the moment, have you noticed? For this one, we cut a snowy hill freehand from scrap paper (you can also tear it for a softer effect) and used it as a mask for sponging. You need a very light tough on the sponging here. The sky is also sponged, working from the corners inwards. 

Snowman Season Stampin Up

I love this design, which is an almost direct copy of one by Laura Mackie. We named the snowmen Tom, Dick and Harry so I had a frame of reference when talking the ladies through this project. 

The trick here is to stamp the two right images (Dick and Harry) twice. Stamp them once on the background, along with Tom’s twig arms. Then trace the ground onto some scrap paper, cut this out and use as a mask for sponging the Pool Party. (My sponging is a little rough because I made this one on holiday and didn’t have my sponges with me so compromised using a tissue!)

Next stamp all three snowmen onto some Whisper White cardstock and cut them out. This means you can cut off those fiddly twig arms as they will be there on the background for you. Then you can add all the cut-out images to the card base, popping up for some dimension.

Snowman Season Stampin Up

Another blatant copy here, this time of a project by Karina Chin. The only change I think I made was to use Feels Like Frost Designer Series Paper, which is SO versatile because of its white and silver side. This means you can sponge or brayer it in any colour to match your project. 

Snowman Season Stampin Up

Just to mix things up a little, we made a snowman-free card simply by stamping and sponging onto some Whisper White cardstock and cutting it into three equal strips. Want to make this one quicker and easier? Use Designer Series Paper and a punched greeting label instead – you’ll have a batch of Christmas cards in no time!

Snowman Season Stampin Up
 

This is one of my favourite cards of the sessions, with this cheery little snowman who looks like he’s practising his yoga and saluting the sun. Not a wise move for a snowman, if you ask me. To get an even flag, you can use one side of the Tailored Tag Punch, which I did here. 

Snowman Season Stampin Up

Our final project was this snow globe-inspired card. I took inspiration from Bonnie O’Neill but changed things up a little as it seemed a shame not to use my Snow Globe Scenes dies. Working on the theory that if you’ve got it, use it, I mounted this onto a scalloped circle from the Layering Circles Dies, too. Cutting round the greeting freehand gives you an interesting shape – and it’s really easy to do, too.

I hope you’ve been inspired by these Snowman Season projects, many of which can be adapted to other images, too. 

If you’d like to order anything you see here, please visit my store and, if shopping in November 2020, please use the host code RMK743TS. The host code allows me to earn Stampin’ Rewards which I use to order thank you gifts for my online customers.


The small print

This is my personal blog and my sole responsibility as an Independent Stampin' Up!® demonstrator. All images are © Stampin' Up!® All content including photographs, projects and text are © Helen Read, unless otherwise stated. Please feel free to copy my ideas for your personal use and inspiration - if you are a SU demonstrator you may use these ideas for your events but please give credit where it is due. Please do not use my ideas for monetary gain, competitions or publication. The images on this blog - including blog buttons - should not be copied and used elsewhere on the internet or on CDs.