Stampin’ Up!’s Countryside Inn Suite is so beautiful – especially the Designer Series Paper with its shades of blue and delicate patterns. I couldn’t resist using it for the demonstrations at my catalogue launch event at the weekend.
I wanted to show the guests a few features of this Stampin’ Up!® suite. First of all, something which surprised me because I hadn’t read the catalogue properly; the Countryside Corners stamp set is all one stamp, not several separate ones as I thought.
After my initial disappointment I realised this actually makes it much more user-friendly because it gives the stamp rigidity. If it was lots of different stamps, it would be hard to mount them on your block straight, and you’d end up with all sorts of weird shapes. It also means you can stamp all the borders in one go and then die-cut them using the coordinating Countryside Corners dies.
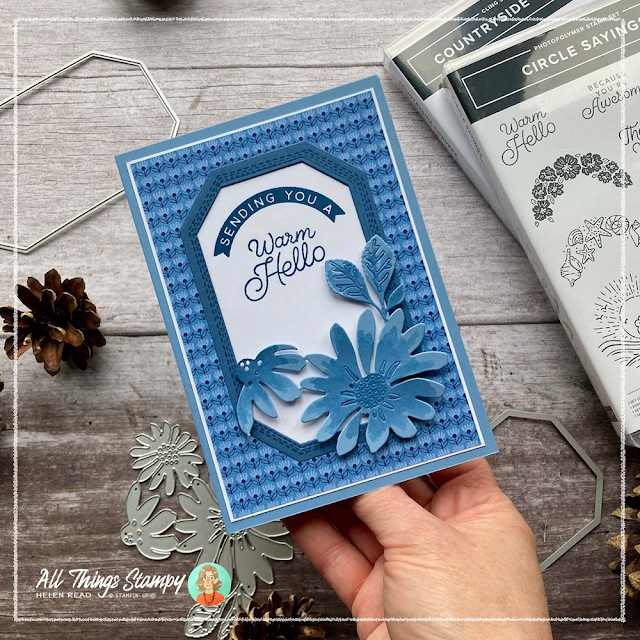
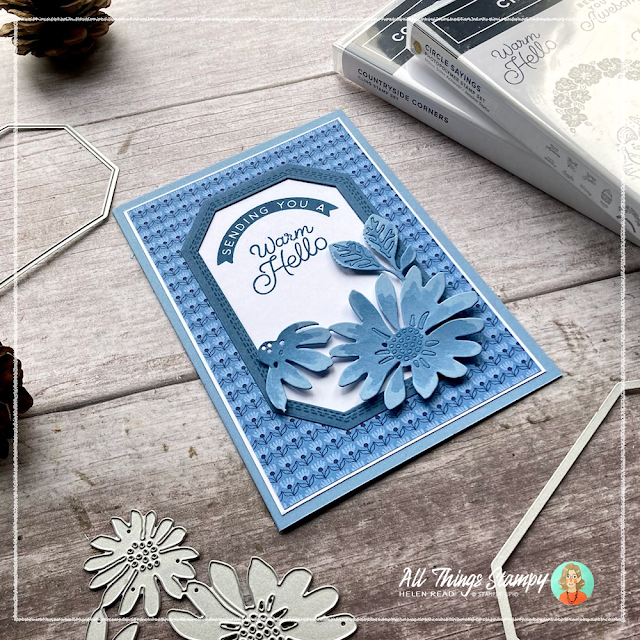
For my first card I die-cut the long octagon from some Countryside Inn Designer Series Paper to create a border which I mounted onto some white cardstock.
Next I stamped the image on to Misty Moonlight cardstock and die-cut it again to create the border shape to attach on top.
I then stamped using Circle Sayings onto the white: “Sending you a” and then “Warm Hello”, all in Misty Moonlight because I just love it and am so glad it’s back in the collection.
Finally I used my Cheerful Daisies dies to die-cut this beautiful cluster of flowers and leaves from Boho Blue cardstock. I trimmed away one flower to make the size and shape more suitable, then coloured it loosely using a water painter and some Misty Moonlight ink. This I popped up on top using Stampin’ Dimensionals, for a beautiful monochromatic card in warm blues.
My second card shows a few more of the patterns from the Countryside Inn Designer Series Paper pack – although not my favourites which have rabbits and birds and foxes! These are some of the gorgeous animal designs on one of the catalogue samples...
But for my project, I stuck with the floral theme to tie in with this bough of flowers from Circle Sayings.
Although they are not part of the same Suite of products, I think this floral stamp goes with this paper perfectly and I also wanted to show how it works on other shapes, not just circles.
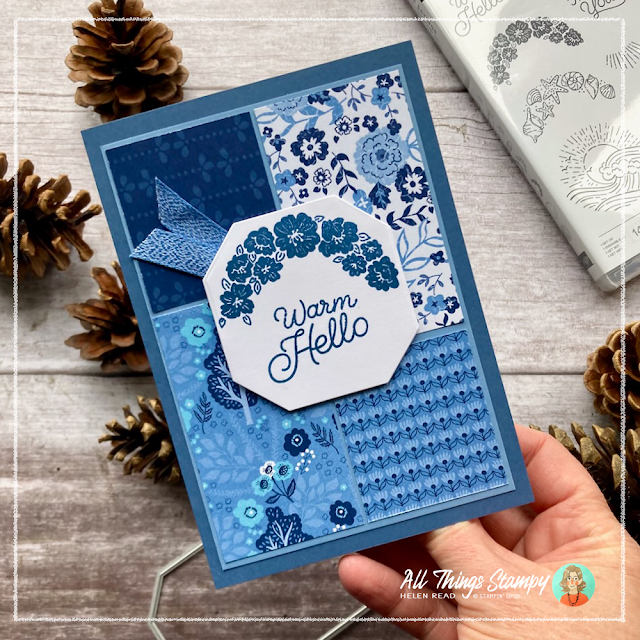
So I began by die-cutting my long octagon shape from white cardstock, then carefully placed the same die on top of this shape to make a shorter version. If you’re a perfectionist, you could even measure it so the shape is the same length as it is wide. This way you can extend the versatility of your dies to make different sized octagons and banners.
For the background on this card I mixed up a few patterns from the Countryside Inn Designer Series Paper – they all go together perfectly – and arranged them on some Boho Blue cardstock.
This patchwork-effect card is CASEd (copy and share everything) from Julie Sutcliffe at The Paper Haven.
If you are like me and struggle to get measurements perfect, stick to two paper designs and start by cutting one long 4.5cm strip from some 12"x12" paper. This ensures all the widths are the same and you can simply cut into the four pieces, two measuring 5cm and two at 8cm.
Flip two of them over to reveal the reverse pattern, then space them out on the Boho Blue piece (13.8cm x 9.5cm) so there’s an equal border around them. Any anomalies will be covered by your centre element.
Another tip... when you’re as short of ribbon as I am, a simple flag gives you the texture and interest you want with just a very small scrap. I must get some more of this as it’s all gone on my In Color Shares.
I hope you like my Countryside Inn projects and are tempted to make your own. Remember, if your wish list comes to more than £99, please get in touch and I will
help you get more for your money and unlock discounts all year round.


No comments:
Post a Comment
Thank you so much for taking the time to comment.