Saturday was my long-awaited Spring Craft Day – a day of creating beautiful projects using the Dainty Delight bundle and the now-retired Dainty Flowers Designer Series Paper.
All through Sale-a-Bration, I used my rewards for this gorgeous paper so I would have enough for everyone to receive half a pack in their kit. Anyone who upgraded to include the bundle received a full pack.
And I was really glad I’d been hoarding it because by the time I came to place my final order, the paper had all gone and I couldn’t order any for the late bookers. Luckily I had just enough for everyone.
The projects included this “wow” card, a fancy Easter box and then, to make sure it was relaxing, lots of simple cards, many of which which let the pretty paper do the work.
I did warn the ladies that this “wow” card would take up half of the day – and it did. This is a beautiful Pop-Up Vase Card which I confess took me quite a while to master.
To make sure I knew what I was doing, I made another on for my Mum for Mother’s Day. She loved it so much she took it to her WI group to show them!
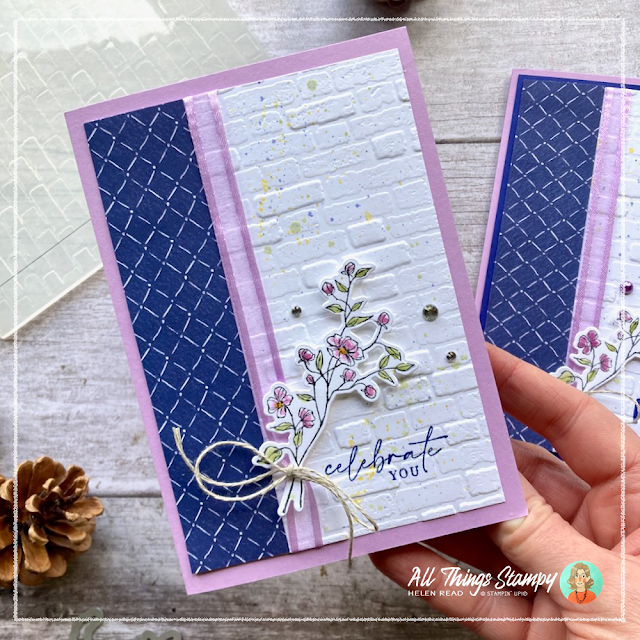
I love the look of the flowers against the brick wall – and the ink spattering adds a touch of colour.
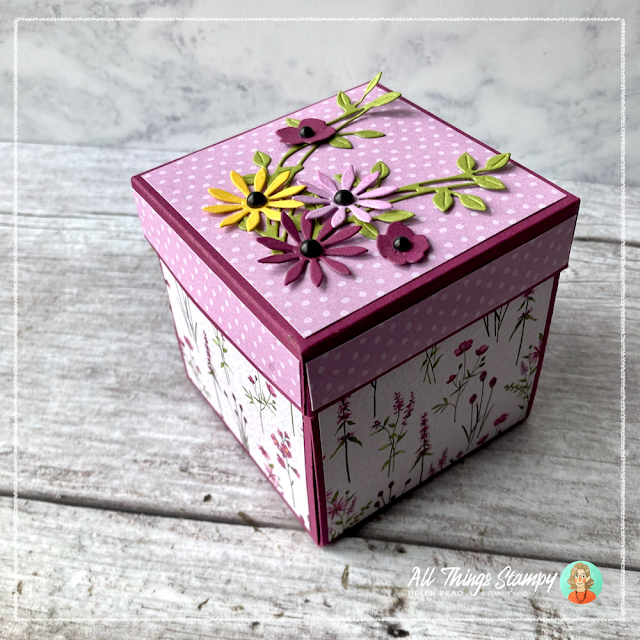
The box is quite exciting; you take off the lid and it opens itself to reveal a tray of Easter goodies. But I must stress that this is simpler than it looks.
I had to warn them right at the start of the day that this chocolate was NOT for eating! In fact, I even provided them with decoy chocolate so they wouldn’t be tempted.
The box is ideal for showing off any Designer Series Paper so, even though this Dainty Flowers Designer Series Paper is no longer available, you can adapt the box to use other papers and colours.
Tutorials for both of these projects will be sent to everyone who orders from my online store before the end of April.
The Dainty Delight stamp set lends itself perfectly to delicate projects like this card, in beautiful Blushing Bride.
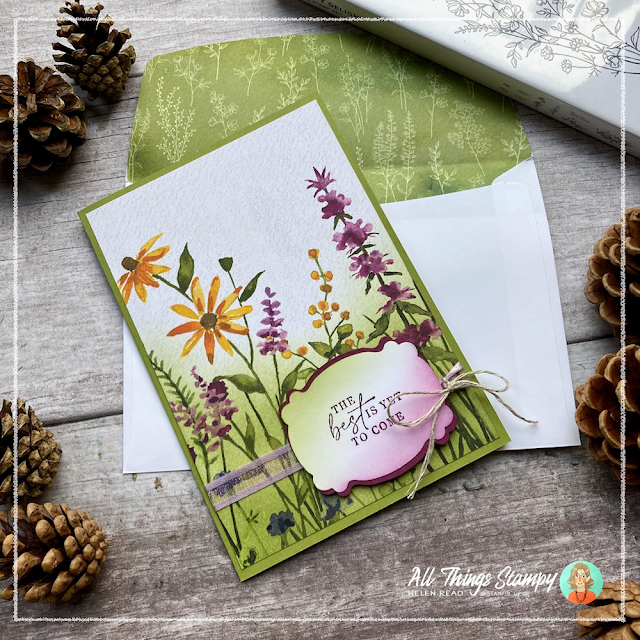
To make this card, I stamped the flowers repeatedly then coloured them in using my Blender Pens and ink pad lids. I spattered over the front with various inks, then added a greeting (stamped with Biggest Wish) which I cut out freehand, then added an Old Olive cardstock border, again simply by cutting freehand. This is based on a card made by the talented Kim Fee of Simply Fairies.
A matching envelope, using some of the Blushing Bride Dainty Flowers Designer Series Paper, takes this project to the next level. This is simply made by covering the flap of the envelope, then trimming it with scissors.
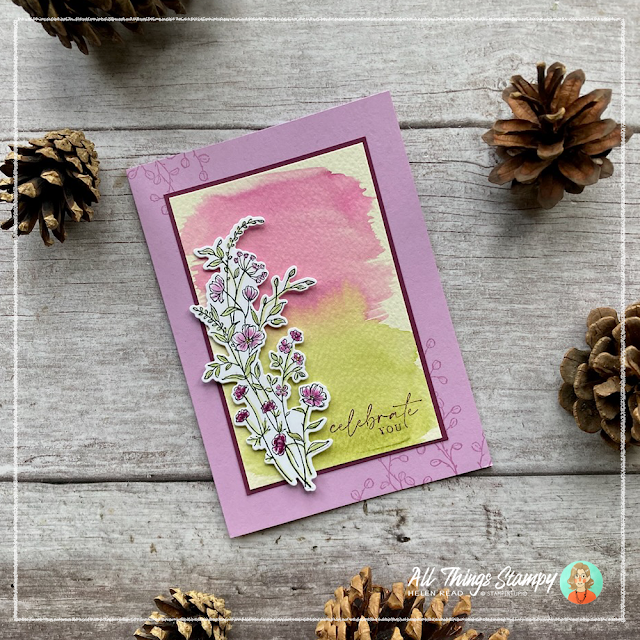
There was more fun with ink and water for this card, which began with colour washes on watercolour paper. I used a Water Painter to add swishes of Rich Razzleberry and Old Olive, but a good old-fashioned paintbrush and water would do the same job.
It’s important to let the paper dry fully before stamping on top, to avoid smudging.
This is mounted on Rich Razzleberry cardstock and placed on a Fresh Freesia card base.
Next I stamped and die-cut the largest flower image and popped this up on top. Simple, but effective.
The rest of the cards rely heavily on the Designer Series Paper to do the work, so the ladies could have a relaxing afternoon, chatting while they crafted.
This one uses a panel from one of the sheets, overlaid onto the lovely blue design paper and a Blushing Bride card base. A simple greeting, some torn Starry Sky cardstock and some linen thread finishes it off.
Another oval panel is used on this card, this time with the addition of some die-cut flowers. I cut one of these flowers from a scrap of watercolour paper, then coloured it in, just so I could give the flower a little more depth and texture.
The greeting is once again stamped on white, then cut out freehand, then mounted onto darker cardstock (Mossy Meadow in this case) and cut out freehand again to create a narrow coloured border.
A vertical panel of Designer Series Paper provides them main image on this card. This pack of paper really does make cardmaking easy – I wish it was still available!
The card is finished off with a greeting label, with some stamped flowers and a hint of ink added with Blending Brushes.
Finally, possibly the simplest card of all, inspired by a sample in the Sale-a-Bration brochure itself. This is a panel of Dainty Flowers Designer Series Paper, coloured using a Blending Brush and some Old Olive ink.
Some Fresh Freesia ribbon is laid across the front with a Linen Thread bow tied around it, and it’s finished off with a stamped greeting label.
To create a border around any greeting label, simply punch again from coloured cardstock and cut in half with scissors. Spread it out behind the white label and you have an instant border. See how in this quick video


awesome ideas for Dainty Delight....are there tutorials for these now that your retreat is done....tfs
ReplyDeleteYes, as I mention above, tutorials are available to everyone who purchases via my store between now and the end of April 2023.
DeleteOh ok I missed that....I am a craft only Demonstrator so if it says order I move on....but I do love your ideas and pray you get many orders with these have a great day
DeleteNo problem. I checked out your profile and you're in the US anyway, so my tutorial would be no good to you as it's in metric for A4 cardstock.
Delete