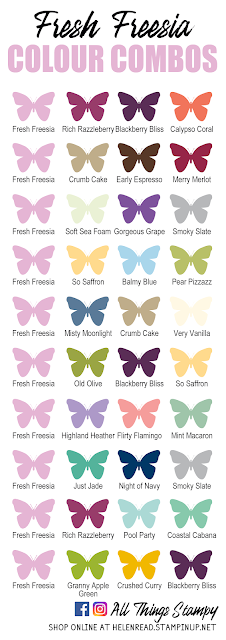
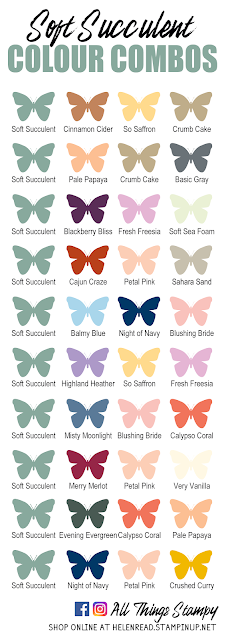
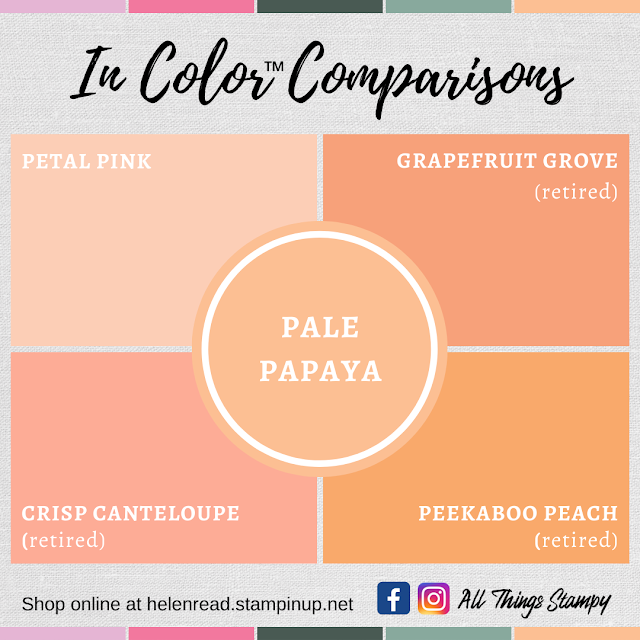
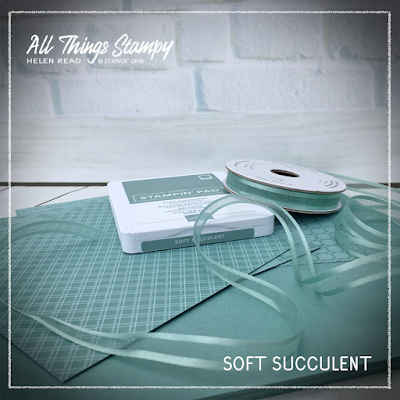
Scroll down past the colour combinations to see how the new colours compare to our existing and past shades. Often people will point out that a new colour is very similar to an old one; if this ever happens, I advise them that this is a fabulous opportunity to dig out their old ink pads and use them with the new cardstock, ribbon and embellishments. I cannot stand waste so, if you’re not a demonstrator, there’s absolutely no need to replace those old pads if they still have life in them.
Thursday, 29 April 2021
50 new Stampin’ Up!® In Color colour combinations
Want to get your hands on these colours?
Monday, 26 April 2021
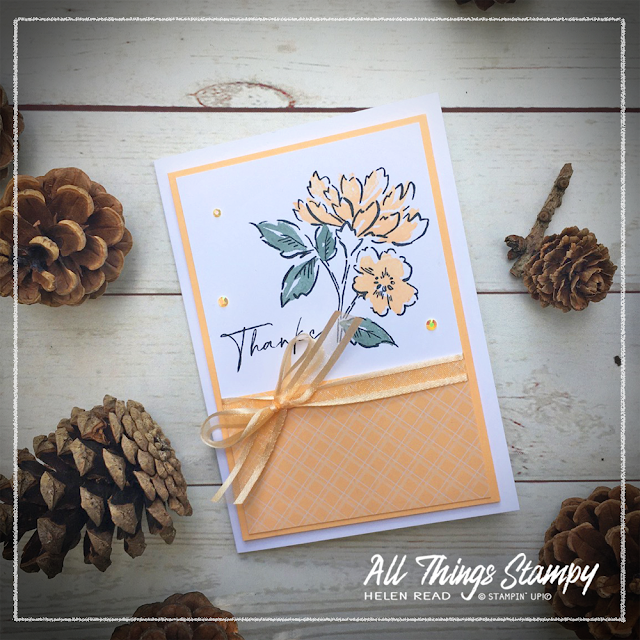
Sneak peek: Hand-Penned Petals with Stampin’ Up!®'s new 2021-23 In Colors
Polished Pink
Fresh Freesia
You’ll love this because it’s like nothing we have already, at least not for years. It’s reminiscent of the old colour Orchid Opulence from times past but softer and gentler. Even if it doesn’t float your boat on its own, stick it with Blackberry Bliss and it will definitely capture your heart.Pale Papaya
Evening Evergreen
If you are in the UK and would like to order, please visit my store and, if you use the April host code TRPKSXWR, I’ll send you a thank you gift in May!
Monday, 19 April 2021
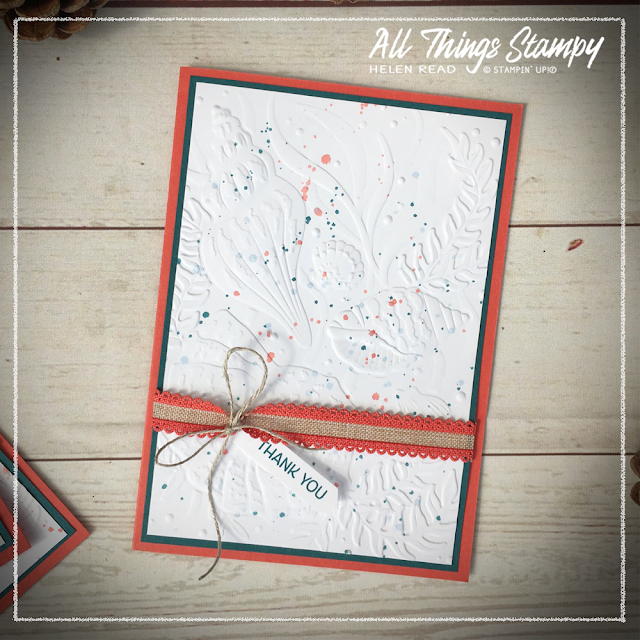
Seashells Embossing folder thank you cards
I had a splashy fun time creating these cards as customer thank yous.
Pretty much everything was covered in speckles of ink by the time I'd
finished.
These are just a few of the cards I made; I rashly
packed up the others before I remembered to take any pix. Oops -
thankfully I remembered just in time.
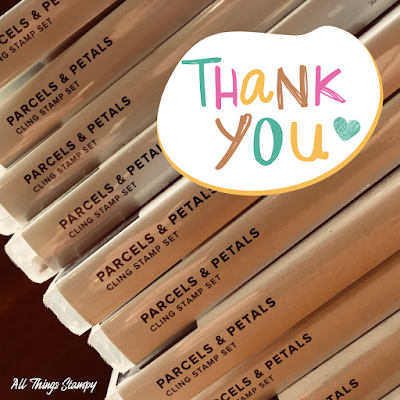
I sent these out to everyone who shopped with me in March. Those who used the host code also received a thank you gift of a retiring stamp set, Parcels & Petals. This is SUCH a bargain set that I couldn't resist ordering one for everyone. Well, not quite everyone; the lady who already had one received something different. Yes, I really did go through them all to check.
I used the Seashells 3D Embossing Folder, which is a relatively new addition to my craft stash. It goes perfectly with the Friends Are Like Seashells Bundle but I haven’t had chance to use them together yet.
For these relatively quick and easy cards, I simply speckled some pieces of Basic White cardstock using a wet paintbrush to pink up ink from the ink pad lid and then spatter it across the paper.
Monday, 12 April 2021
Enjoy the Moment - five card ideas with one stamp set
One of the things I love about papercrafting and Stampin’ Up!® projects is the versatility. You can take one design and reuse it with different products – which is why our catalogue used to be called an Idea Book & Catalogue. SU actually dropped the name because nobody bothered to say it all – we just called it the catalogue.
This stamp set, Enjoy the Moment, is actually one of my favourites from the January-June Mini Catalogue, but I confess I haven't used it as much as I should. Fortunately, it’s carrying over into the new Annual Catalogue, which comes out in May so I will have plenty more chances to create with it.
What I did do was spend time attempting to recreate some of the designs from my Dandy Garden Day using Enjoy the Moment instead.
Happily,
many of the projects were easily adapted. This is exactly the principle
of CASEin (Copy And Share Everything). You don't have to copy something
exactly; you can always take inspiration from a project even if you
don’t own the same stamp set, or paper, or colours.
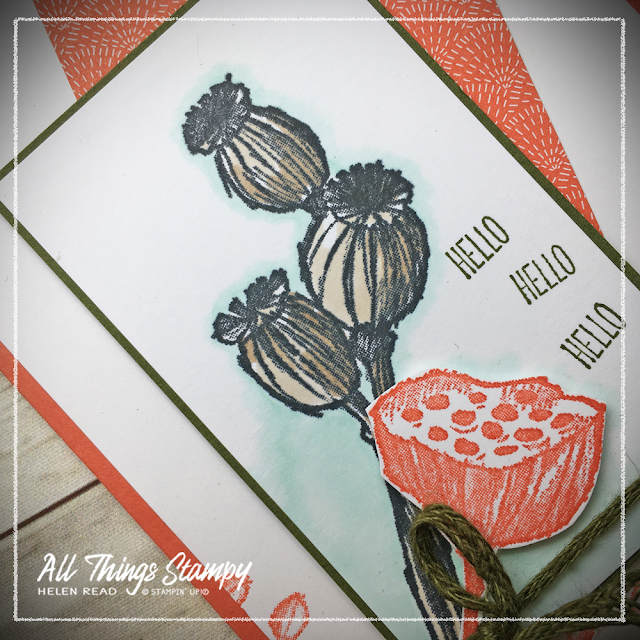
This card is very similar to the original which you can see here. I just changed the images and moved the braided linen thread to a different position. The ‘hello’ is actually from Garden Wishes and because it’s so small, I’ve stamped it three times, and I’ve coloured around the main image using the Light Pool Party Stampin’ Blends marker.
This, too, is a version of a card from the Dandy Garden Day. I created the background in the same way, using Blending Brushes and spatters of diluted ink, loosely followed the same card design but omitted the ribbon, changed the greeting panel and of course the images.
I love creating ‘messy’ backgrounds like this as they give your images extra depth and are of course very fun to do!
I strayed into new territory for the rest of the cards, including this note card. As you can probably see, I had begun colouring around the image in Pool Party but decided I wasn’t keen so went for the Blending Brushes instead, using much darker shades of Old Olive, Mossy Meadow and Soft Suede.
It was a little blotchy (it looks worse in the photo, I promise!) so I attempted to disguise this with some stamping and finally by running it through the Subtle Embossing Folder (retiring soon!). It’s all set at an angle on some Dandy Garden Designer Series Paper.
Don’t give up on a project if it doesn’t go to plan. Keep sponging, blending, ageing, embossing, stamping... whatever floats your boat. Worst case scenario will see you throwing it in the recycling after all. The best case scenario will see you creating something wonderful!
This is another fun background technique. Lots of blending with the Blending Brushes to create a dark, moody background. This has a vague ombré effect, with darker ink at the bottom of the card. On top of this I have stamped ‘Happy Birthday’ repeatedly without reinking, overlapping the words over and over again, to create an interesting effect. This really helps the seed heads to stand out; of course it also helps that I popped them up on Stampin’ Dimensionals.
Finally I created this simple Thinking of You card using the large greeting from Rooted In Nature. I masked a vertical line and applied Misty Moonlight ink using a Blending Brush, then stamped the images on top, popping up a couple to add interest. I kept it fairly simple because I feel that cards of this type shouldn’t be brash, as their purpose is to convey sympathy rather than show off our skills!
The Enjoy the Moment stamp set is available in the January-June Mini Catalogue. If you are in the UK and would like to order, please visit my store and, if you use the April host code TRPKSXWR, I’ll send you a thank you gift in May!
Monday, 5 April 2021
Hydrangea Hill Kit By Mail
For the main image here I have cut out some flowers from the Designer Series Paper; it’s a bit fiddly but if you don’t have the stamps, it works pretty well. If you’d rather stamp, the Hydrangea Haven stamp set coordinates perfectly. Alternatively, you could use the retiring stamp set, Beautiful Friendship, which also features a gorgeous hydrangea stamp.
I’ve covered the sides with Mercury Glass Acetate Sheets, and the top with the Hydrangea Hill Designer Series Paper. It’s a really simple project, but looks effective because all the colours go together so beautifully.
- Half a pack of Hydrangea Hill Designer Series Paper, cut down to 6"x12"
- Quarter pack of Hydrangea Hill Mercury Glass Designer Acetate (one of each design, cut down to 6"x6")
- Half a pack of Pastel Pearls (not shown in pic)- 2 metres of Gorgeous Grape 3/8" (1cm) Sheer Ribbon
- 2 metres of 3/8" (1cm) Fine Art Ribbon
- 3 sheets of Gorgeous Grape A4 cardstock
- 3 sheets of Highland Heather A4 cardstock
- 3 sheets of Old Olive A4 cardstock


