No new products today – just some great examples of how you can
create beautiful projects where the die-cuts are the stars of the show.
I
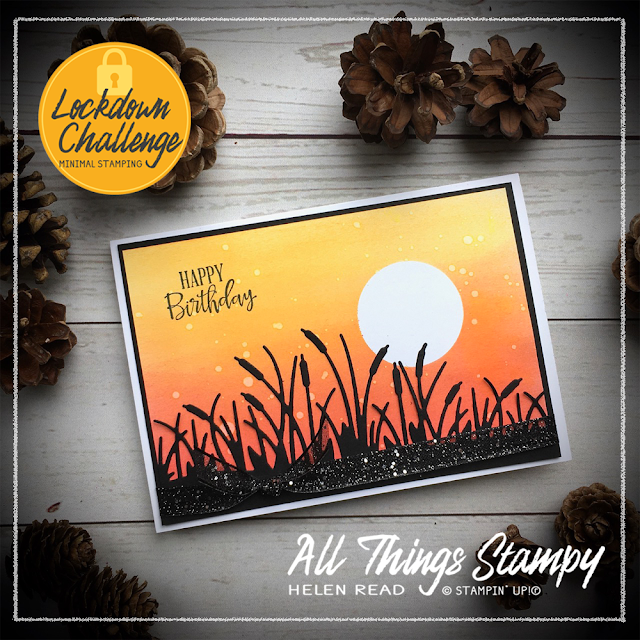
had fun creating backgrounds to show off the Friendly Silhouettes Dies.
Let me walk you through them.
For these first two projects, I
masked a circle using a punched/die-cut sticky note, then brayered the
background using Crushed Curry and Poppy Parade ink pads. You could
sponge, too – but if you do, make sure you sponge away from the centre
of the mask or you could dislodge it.
For the top card, I then
lightly splashed with water from a fine paintbrush. Allow to dry, then
dab it dry with a tissue. This creates this lovely effect which can look
like seed heads blowing on the breeze, fireflies, rain or, on a dark
blue background, like snow. It’s such a simple effect and so versatile.
For this
card, I brayered as before, but instead of splashing, I used that same
very fine paintbrush to paint fine lines following the edge of the
circle. With ideas clearly way above my station, I call this the Van
Gogh technique.
For the third card, I took the leftover template from the bullrushes in the first card and used this as a mask. I sponged with Pumpkin Pie to create a background image, then removed the mask and brayered around the top edge of the card in Melon Mambo. The beauty of brayering is that you can give it a go in any colours and get some lovely effects.
Want to have a go at fun techniques like this? If you’re in the UK, why not talk to me about joining my remote classes?


No comments:
Post a Comment
Thank you so much for taking the time to comment.