Are you looking for adaptable ideas for the Trucking Along bundle from Stampin’ Up!? You’ve come to the right place.
I would like you to bear with me a little for this post please as I know the Trucking Along bundle isn’t currently available in the UK but I am hoping it will return.
As for the paper I have used, I am afraid that is now retired. However, I am bending my own rules slightly these days due to the cost-of-living crisis. By buying this Harvest Meadow Designer Series Paper paper from the Clearance Rack a few months ago, I was able to keep the cost of my class down so that more customers could attend.
I know for a fact there are many other Designer Series Paper packs which would work just as well with the following card designs. A few examples:
- For masculine cards: Let’s Go Fishing (161534)
- Keeping the blue theme: Countryside Inn (161467)
- Christmas cards: Winter Meadow (162133) or One Horse Open Sleigh (162118)
- Christmassy AND blue theme: O Holy Night (161986)
Then just switch the cardstock, ink and trim colours to match your chosen paper.
I set my classgoers a mammoth task to make these four projects in a morning before our pub lunch. But there was no pressure really as most had their own stamp set so they could finish off at home later.
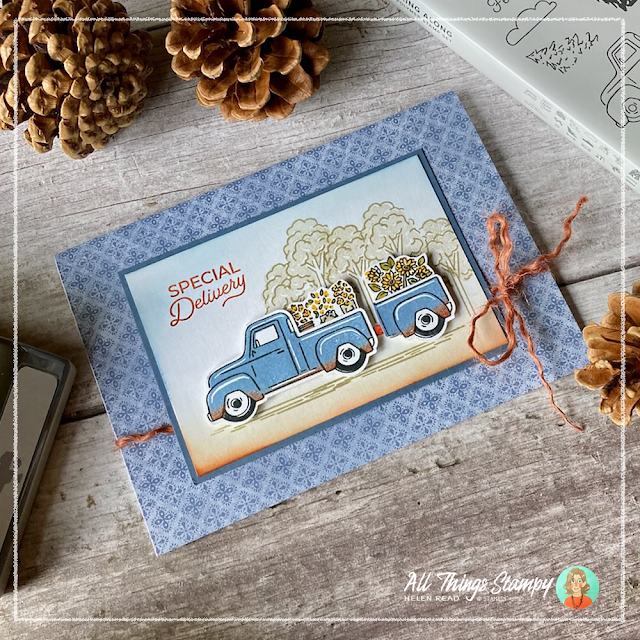
As always, I start with the most complicated card, which is this truck and trailer card, featuring lots of techniques. However, I always give the guests the option to scale the project back if they prefer.
The ground and sky are given some colour and depth using ink on a Blending Brush. For the trees, I created a mask so the trees didn’t overlap. I stamped the outline in Crumb Cake and the inner section using Crumb Cake stamped off on scrap paper.
Like the tree, the truck is a two-step stamp, so you stamp the outline in black, then stamp the centre in Boho Blue for this project. One fun technique used here is to add a dab of Cajun Craze (or Pecan Pie or Copper Clay – all will work) to the base of the inner image using a sponge dauber before stamping. This gives the truck a little rust around the edges.
To get the little trailer, you simply stamp the truck twice, then trim off the cab. It’s remarkably effective. The eagle-eyed will notice that I also added a tiny piece of Cajun Craze cardstock to join the trailer to the truck.
Another fun trick here is to split the jute trim. It’s three-ply so you can make it go three times as far if you like. I found it a bit bulky for this project so removed one strand. The strand around the card is now two-ply, and I’ve used the remaining strand to tie a bow around this.
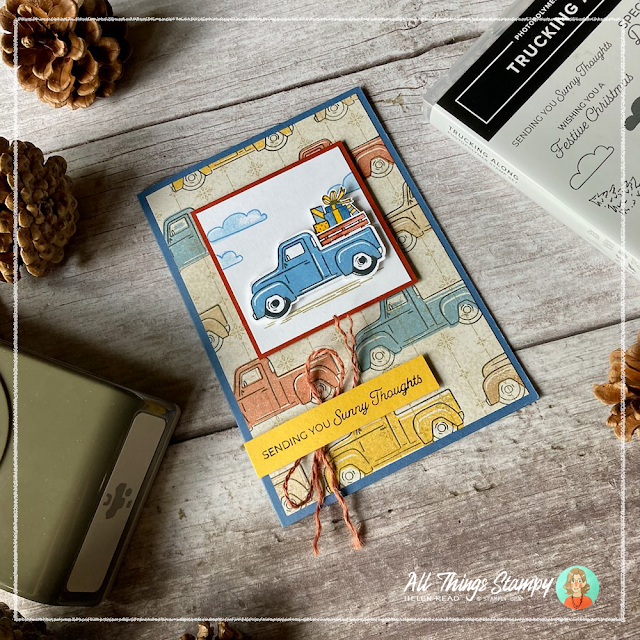
For this second card, you need any pale-coloured Designer Series Paper which doesn’t have a strong pattern. Then you can stamp directly onto the paper with your trucks, adding coloured bodies as you see fit. I lost count of the people who thought this was special Trucking Along paper which they hadn’t noticed!
The sides of the back and the presents are both stamped separately and I have another trick here for you. When you fussy-cut them out, make sure you leave a little tab at the base, which gives you something to add adhesive to. If you forget, you can just use tape behind instead but it will be more fiddly.
I love the cloud image in this set – it also doubles up as a tarpaulin on the back of the truck. And, like the truck and tree, it’s a two-step stamp so you can add colour if you wish.
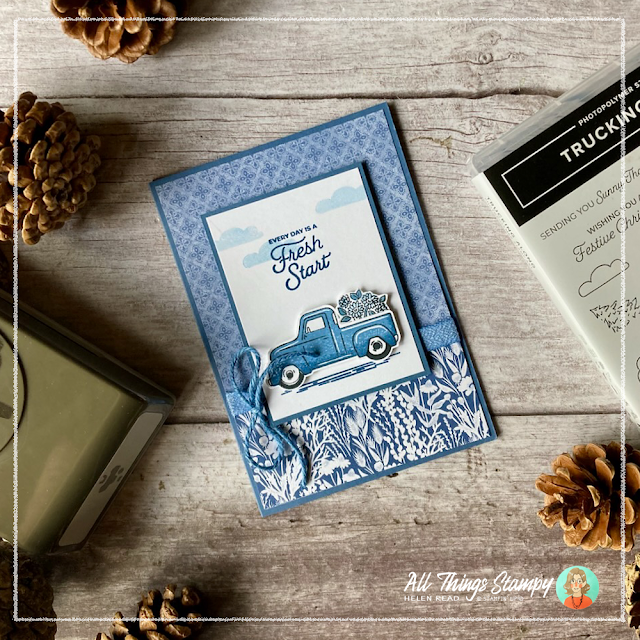
Those who love blue will love this card – and this is one which will be easily adapted if using Countryside Inn Designer Series Paper. It’s all Misty Moonlight and Boho Blue.
This time, instead of Cajun Craze “rust”, I used a dab of Misty Moonlight to add some depth to my image.
Instead of trying to tie a
bow with the bulky Boho Blue ribbon, I laid a strip of ribbon across
the front and taped it at the back of the Designer Series Paper. Then I
used a piece of Boho Blue jute trim to tie the bow; same colour, less
bulk.
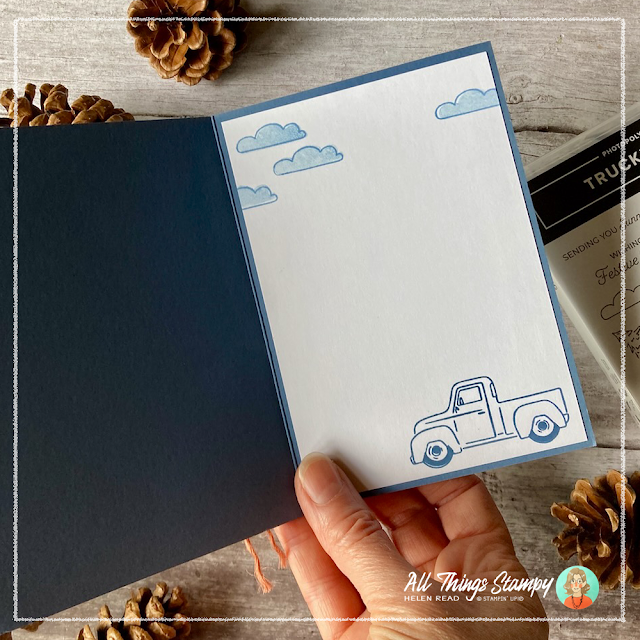
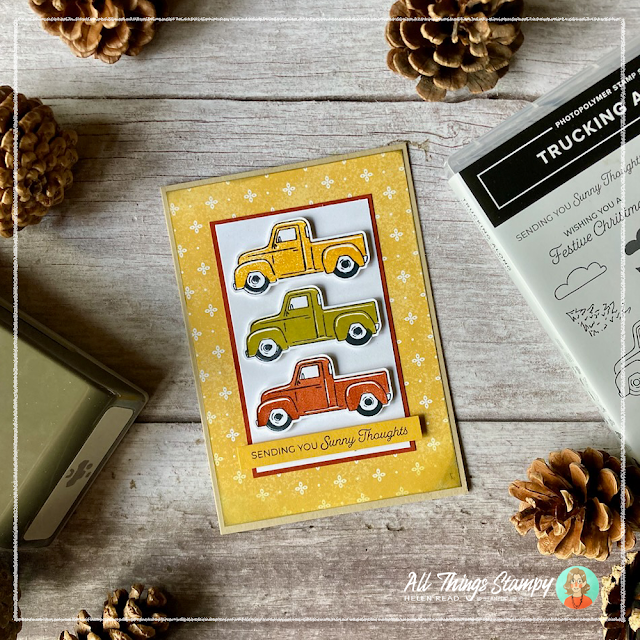
Finally, I love this simple card featuring three different coloured trucks. I like to find three colours which blend well together and arrange the trucks from lightest to darkest, top to bottom. Mine are Crushed Curry, Wild Wheat and Cajun Craze.
I also added some Crumb Cake to the corners of the Designer Series Paper using a Blending Brush. It’s fun to modify your Designer Series Paper in this way, and you can often find new uses for it. In this case it adds to the grungy feel I think this set suits; in other cases you can completely change the colour of your paper to match your project or, like I did above, make your own paper by stamping a new pattern on top.
I hope you like my Trucking Along projects and, if you’re not lucky enough to own this bundle yet, please bookmark this page or save some of the images to Pinterest so you can come back for inspiration later.
It’s always worth reminding you that if you have a BIG wish list, your best option is to join my Stampin’ Up!® team as a demonstrator. For a no-obligation chat, please get in touch and I will do my best to answer your questions.








No comments:
Post a Comment
Thank you so much for taking the time to comment.