Are you ready for a sneak peek? Today I have three projects using the brand new Under the Moon and Simply Said Stampin’ Up!® stamp sets plus two tiny peeks of two new colours. These fab products will be released to customers on Wednesday 1st May.
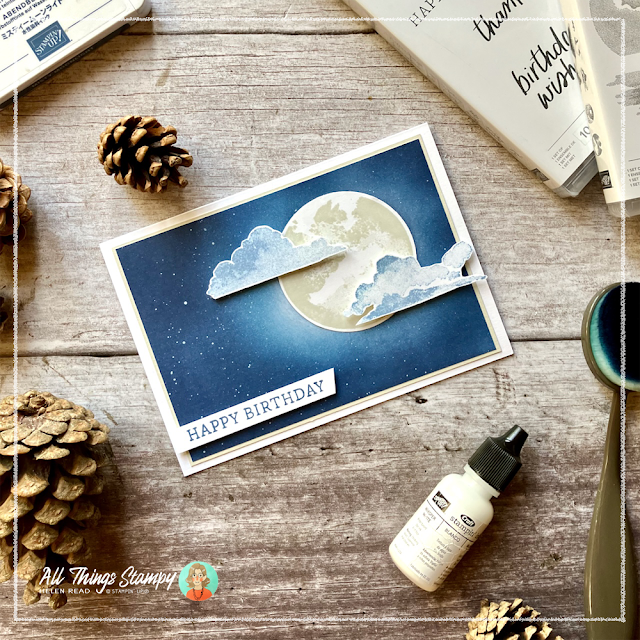
First up is this moody birthday card which didn’t go quite to plan but, as I always say, there are no mistakes in stamping so I fixed it.
The moon image is ever so slightly smaller than our largest punch, which is the 2 3/8" circle punch from Stampin’ Up!®, so I made a mask using scrap paper, sticking it down with Tombow Multi-Purpose Adhesive. If you allow this to dry clear it becomes a temporary adhesive.
I used a Stampin’ Up!® blending brush to create a night sky in Misty Moonlight, doing my best to keep it paler around the edges of the circle. I added some Night of Navy around the edges of the cardstock for extra depth.
Leaving the mask in place I flicked white ink across the cardstock. I do this by squirting a little White Craft Stampin’ Ink into a little dish (I have old Stampin’ Up!® embellishment pots going back years, just for this purpose) and watering it down ever so slightly. I then flick it across the project using a standard paintbrush. Beware that it does take a while to dry.
I removed the mask for the big reveal and doh! I hadn’t been patient enough to allow the adhesive to dry enough to become temporary, so I ended up tearing the white cardstock.
No matter; instead of stamping the moon in the white circle left behind, I stamped it onto another piece of white and stuck it flat on top. I’ve stamped it in my new favourite Stampin’ Up!® colour: Basic Beige. This is the colour we have needed for a long time!
TIP: If you don’t like the white border around the moon, you could use the 2" circle punch. You’ll lose some of the edges of the image but that doesn’t matter. You may even have a circle die which is a perfect fit.The clouds are two beautiful stamps from the Under the Moon stamp set, and I’ve stamped them here in Boho Blue before fussy-cutting them out. They are popped up on Stampin’ Dimensionals. You can see from the close-up image how the stamp is cleverly designed to create shading and dimension effortlessly, in one impression.
The sky layer is mounted onto Basic Beige cardstock, and then on a Thick Basic White card base.
The greeting comes from another new Stampin’ Up!® stamp set: Simply Said. This is going to be everyone’s go-to greeting set this year I think, particularly here in the UK where many of us like our greetings to be plain and simply and not overly sentimental.
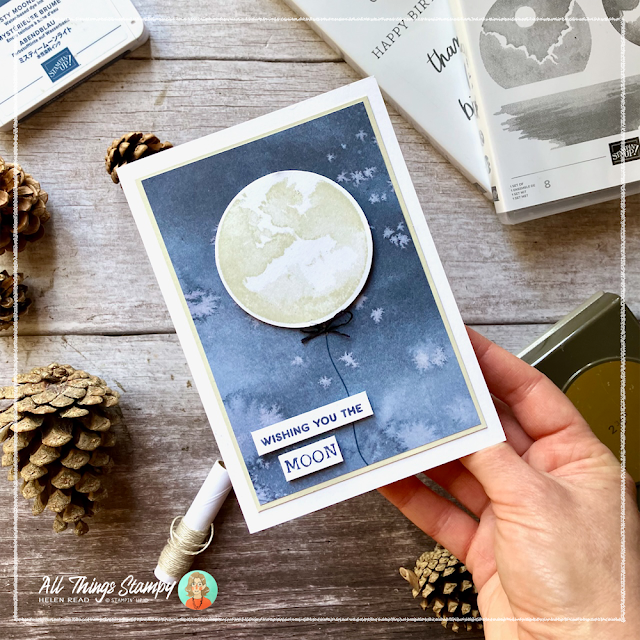
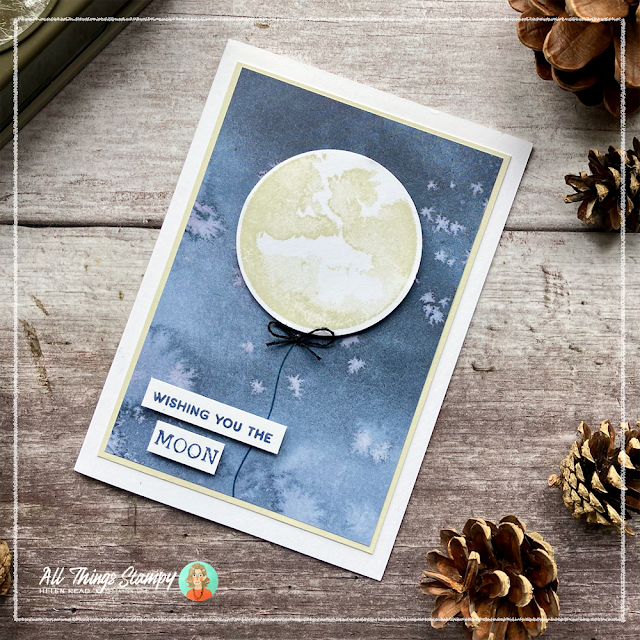
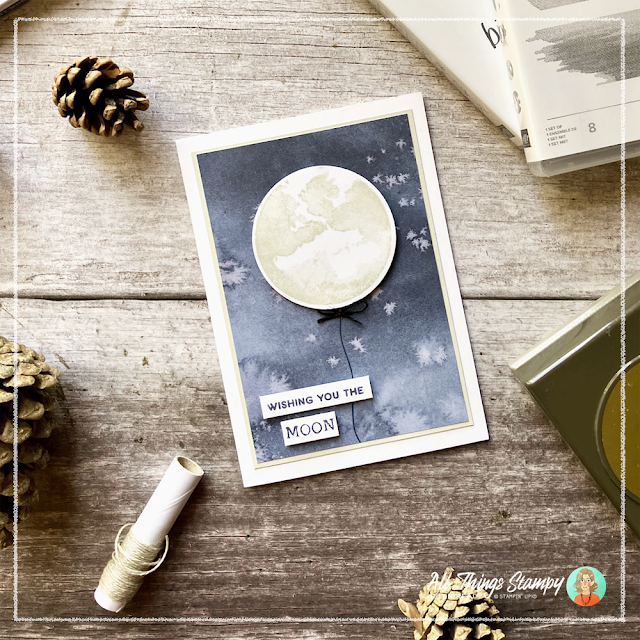
My second card is a little out of the box, turning the moon into a balloon.
The background this time is from Winter Meadow Designer Series Paper, which gives you the look of watercolouring with salt without having to wait for it to dry.
Again, I used Basic Beige to stamp the moon, and punched it out using the 2 3/8" circle punch.
For the string of the balloon as I used the fabulous Stampin’ Up!® Online Exclusive stamp set, Sweetly Scripted. The Save the Date stamp has a long wavy line, so I turned this sideways and used it to create the balloon string.
There are no sentiment stamps in the Under the Moon stamp set so I made my own by inking different stamps using a Night of Navy Stampin’ Write Marker. I used Stampin’ Up!®’s Cheerful Daisies stamp set to ink up "Wishing you the", leaving off "brightest birthday", then had to be extra creative to find the word MOON. For this, I used the new Stampin’ Up!® set Simply Said, which has several sentiments in the same font and size. This meant I could ink up individul letters to create “MOON”.
Next I needed some navy twine for the balloon tie, so dyed some Linen Thread using Night of Navy ink. This takes YEARS to dry so I am sincerely hoping it doesn’t transfer to my lovely Basic Beige moon.
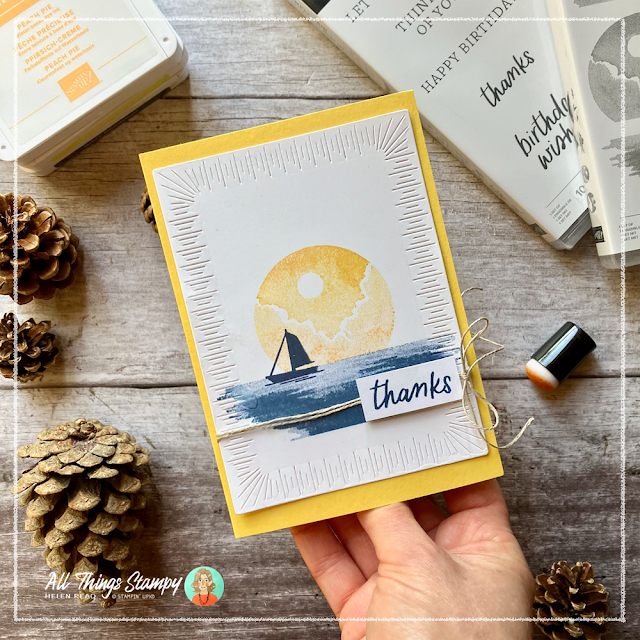
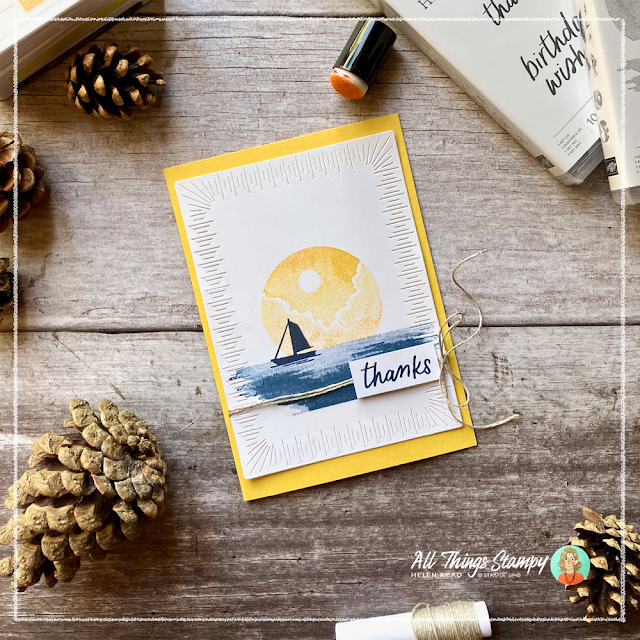
My final card is a CASE of the Stampin’ Up!® catalogue sample, adapted to the supplies I have. Copying – or near copying – a sample from the catalogue is a great way to get your mojo moving.
I inked the second moon image from the Under the Moon stamp set in Daffodil Delight, then added some Peach Pie – a new Stampin’ Up!® In Color™ – using a sponge dauber.
The sea is stamped in Misty Moonlight, and the yacht is stamped in Night of Navy to make it really pop.
I don’t have the dies used in the Stampin’ Up!® catalogue samples so used the Radiating Stitches dies, which are an Online Exclusive. I wrapped some Linen Thread around the stamped die-cut image before mounting onto a Daffodil Delight card base.
Finally, I stamped and popped up a THANKS greeting – stamped with Simply Said – and tied a Linen Thread bow at the right.
I hope you like my Under the Moon projects. This may be a set you overlook when the fabulous new Stampin’ Up!® catalogue goes live, but I would urge you to take another look. Sometimes it’s nice to swim against the tide and turn away from all those flower sets!







I love this new stamp set and your projects are fabulous, Helen.
ReplyDeleteBeautiful cards! Can't wait to start playing with this set :)
ReplyDelete