I’ve been seeing lots of gorgeous projects using Apple Harvest from
Stampin’ Up!® so I just had to pop it on to my last order. It’s a
beautiful stamp set but I confess there is one thing about it which
irritates me... and that’s that you would never get an apple tree with
fruit and flowers at the same time! Still, that’s artistic licence I
suppose.
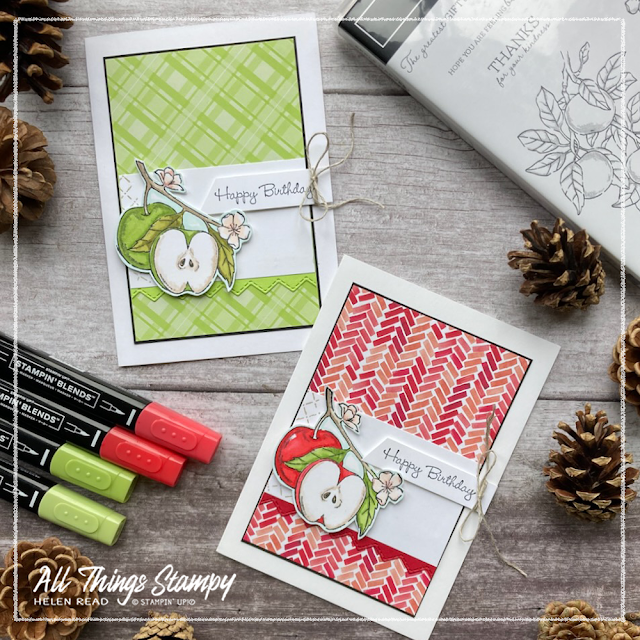
I created two cards using the Apple Harvest stamp set,
one with green apples and one with red. Both were coloured using
Stampin’ Blends alcohol markers.
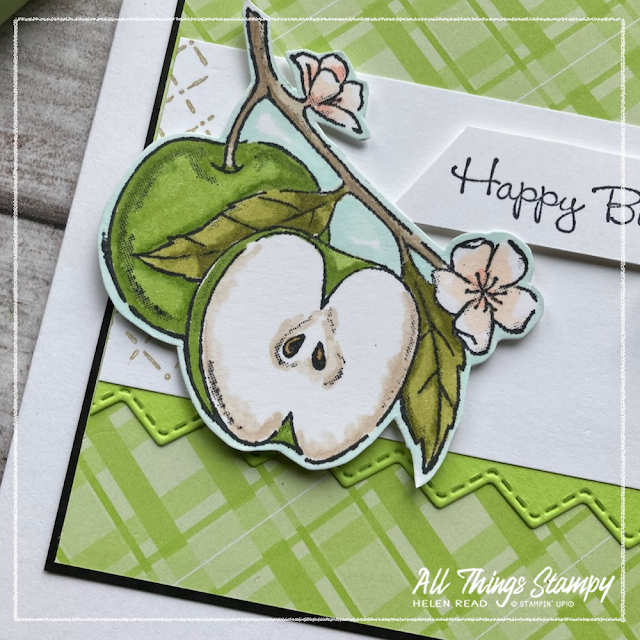
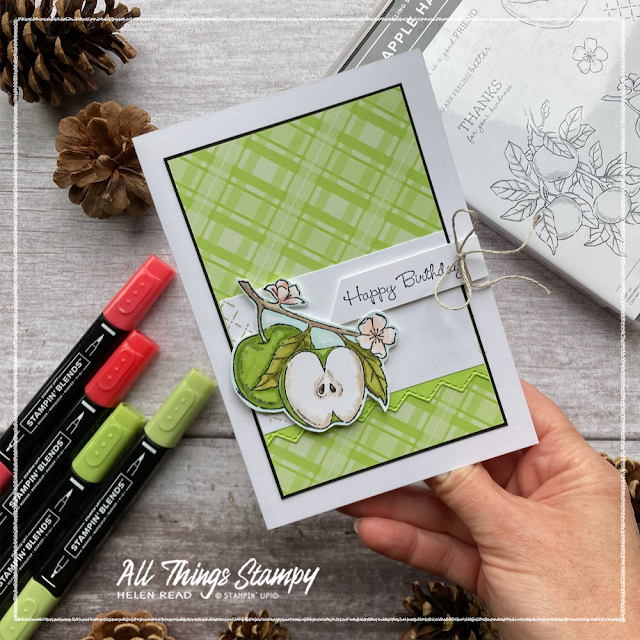
For the green card I started with Dark Granny Apple Green Stampin’ Blend around the edges, filling in with Light Granny Apple Green. The leaves are Dark and Light Old Olive. I’m less pleased with the outcome of this one than the red one as I think it could do with a little more blending.
The branches are coloured with Light and Dark Crumb Cake, while the flowers (which shouldn’t even be there!) are Light Petal Pink with a tiny hint of Light Calypso Coral.
What to do about the cut side of the apple? Eventually I used one of the skin-tone markers – a relatively new addition to the Stampin’ Blends alcohol markers range – on the pips (it doesn’t really matter which one as the area is so small) and the Ivory Stampin’ Blend around the edges of the apple. To soften this slightly as it was still a little dark for my liking, I used the Colour Lifter on top. This is actually misnamed as it pushes colour to the other side of the cardstock rather than lifting it away, but it does the job.
Finally I went around the whole of the outline using the Light Pool Party Stampin’ Blend. This is a popular trick which really helps your image to pop out. You don’t have to use Pool Party but it’s a favourite.
The background paper for the green Apple Harvest Card is the 2022-24 In Color Designer Series Paper in Parakeet Party, to give the impression of a table cloth. I used a hint of zigzag border (Basic Border Dies) in the same colour on top.
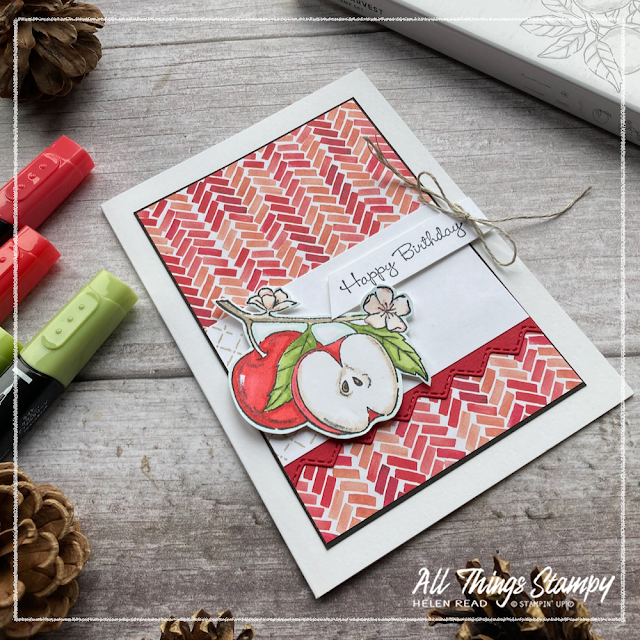
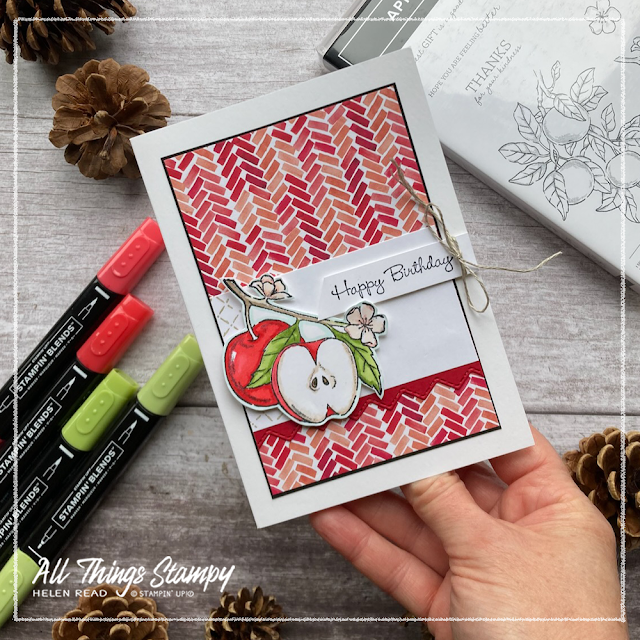
I coloured the red card in the same way, but used Light and Dark Pool Party Stampin’ Blends for the apple, with Granny Apple Green for the leaves.
This time I mounted the image on to some of the gorgeous Painted Christmas Designer Series Paper, which has returned for another year. This red pattern is perfect for the apples, as it is reminiscent of a woven basket.
Did you know?
Here are my tips for colouring with Stampin’ Blends (alcohol markers) from Stampin’ Up!
➡️ Always use a water-based ink to avoid smudging.
➡️ Always replace the cap when not in use, to prevent the alcohol ink from evaporating.
➡️ Always colour each small section at a time, so the inks blend more easily before drying out.
➡️ Using the Colour Lifter (which is actually a colour "pusher") can soften the edges, such as in the centre of the cut apple.
➡️ Going round the outside edge with Light Pool Party (or other light blue/grey) gives your image depth.
Some
people (me!) like to use the dark marker first then blend with the
light. Others colour with the light then add dark for depth. Just try it
and see which you prefer.
If you are in the UK and would like to order, please
visit my store and, if you use the September 2022 host code BS9X4R4N, I’ll send you a thank you gift next month.




.png)
No comments:
Post a Comment
Thank you so much for taking the time to comment.