Did you know it’s World Watercolouring Month? Or #WorldWatercolorMonth to be more precise? So I am delighted to be taking part in a blog hop celebrating this fabulous technique.
Please read on for some tips and tricks for watercolouring using Stampin’ Up!® supplies and some inspiration using the new Stylish Sketches stamp set from the Sale-a-Bration Brochure.
I love creating watercolouring techniques using my Stampin’ Up!® supplies. Plus, messing around with ink and water is ideal in this hot weather as everything dries quickly so you don’t have much waiting around.
The three cards you see here are made with Stylish Sketches, a gorgeous rubber stamp set which is free to Stampin’ Up!® customers who spend £45 during July or August. It was one of the first SAB items on my shopping list because, as you’ll probably know if you’re a regular visitor, I love wildlife images.
My first tip for watercolouring using Stampin’ Up!® stamps is to say that proper watercolouring paper will get you the best results.
Always use a permanent ink such as Stazon. This stops your black
outline ink from bleeding and ruining the effect.
However, stamping onto watercolour
paper is tricky because of the texture. This is where the Stamparatus
comes into its own; simply hold your paper in position with the
magnet provided and you can stamp in the same place three or four times
for a really crisp image.
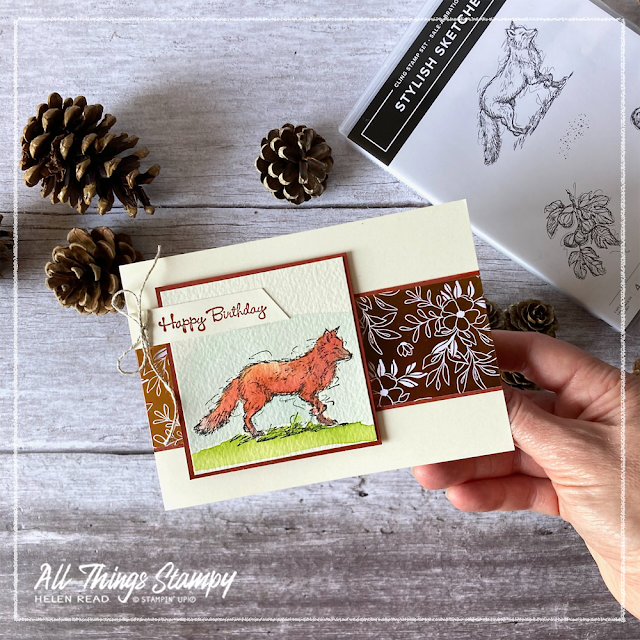
The first card I made uses the gorgeous fox, which I painted using Cajun Craze ink. The background is created using Balmy Blue and Granny Apple Green ink. You can paint with Water Painters, which contain water in the barrel so you can squeeze out more as you need it, or a traditional paintbrush.
Watercolouring with Stampin’ Up!® classic ink pads is a really cool way to get fully coordinated projects – plus you have lots of colours to hand without having to buy any extra equipment.
Method 1 - squeeze the closed ink pad
This can be tough with the new-style Stampin’ Up!® ink pads, so hold the pad upside-down. The base is softer than the lid so this makes it easier.
When using your ink pad as a palette, it’s so important to dry them off fully before closing again. You also need to dry them fully before squeezing to add more ink. But for quick, on-the-go colouring of small areas, this method can’t be beaten.
Method 2 - ink a clear bock
This method is for you if you:
- don’t like getting your ink pads messy
- have trouble squeezing the ink pad hard enough
- are inking a larger area, or lots of images.
When colouring an image such as this with watercolour techniques, it’s important to allow each colour to dry before applying a different one – which is why it’s ideal for summer crafting in warm weather. In winter you can speed things up with a heat tool or hairdryer.
For this project I have added a
touch of glamour to an otherwise simple design with a strip of the
gorgeous copper from the Splendid Day Designer Series Paper pack, which I think picks up the Cajun Craze of the fox nicely.
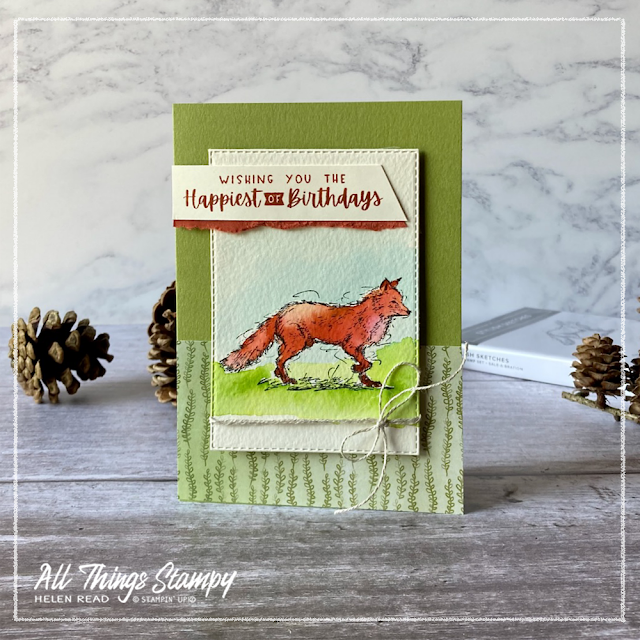
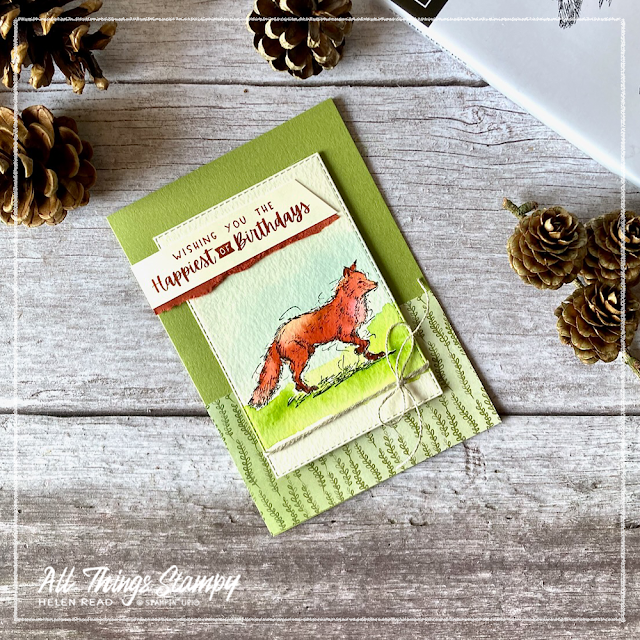
My second fox card has a more earthy feel thanks to Happy Forest Friends Designer Series Paper. I’ve cut out the image using Stitched Rectangles dies.
As you can see there is much more shading on this fox. I know it sounds obvious but this is achieved by adding more water to get paler areas, or more ink for darker shading.
Behind the sentiment label is nothing fancy; just a torn strip of Cajun Craze cardstock to pick up the colour of the fox. The “weight” of the sentiment strip is balanced by the linen thread bow positioned diagonally opposite.
Finally, my duck card steps things up considerably, with a Diorama Dies border and some fussy-cut fig leaves. After saying I always use proper watercolour paper, I confess here that I didn’t for the fig leaves because fussy-cutting thick watercolour paper is hard work. Instead I kept the water to a minimum and used standard Very Vanilla cardstock.
Also after saying you should allow your colours to dry before switching, you’ll see here that I didn’t do this because I wanted to get this washy effect, To achieve this look – which is called wet on wet watercolouring – make sure you add your new new colour while the old one is still wet. It’s really effective when you want a more dreamy blended background.
Please visit the other blogs in the hop to see lots more watery inspiration!
I hope you are inspired to try some watercolouring techniques. If you are in the UK and would like to order any products to help you in your watercolouring adventures, please
visit my store and, if you use the July 2022 host code F3TW47TV, I’ll send you a thank you gift in August.
Does
your wish list come to more than £99? Please get in touch and I will
help you get more for your money and unlock discounts all year round.


Beautiful cards!
ReplyDeleteAll of your cards are so pretty! Love the watercoloring with these stamps!
ReplyDeleteStunning cards Helen, I absolutely love this stamp set x
ReplyDeleteLove these cards
ReplyDelete