Have you ever tried the bubble background technique using your Stampin’ Up!® ink refills? It’s so much fun and the results are amazing, as you can see from these Bird’s Eye View projects.
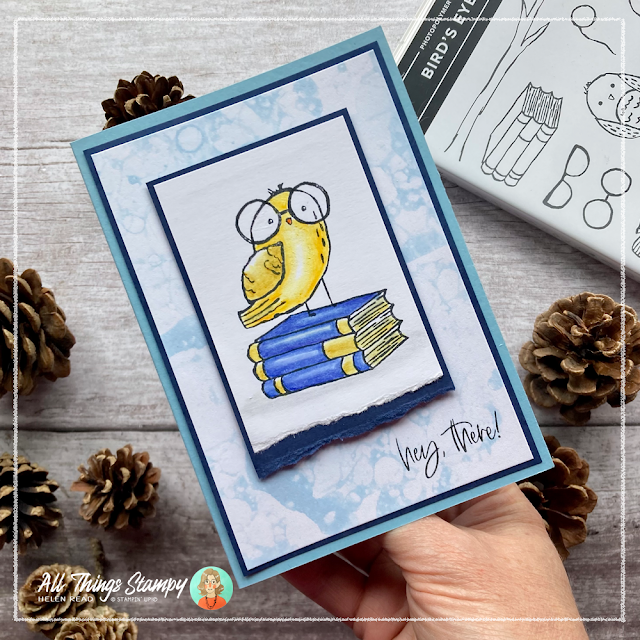
I thought it created the most perfect background for this book image from the Stampin’ Up!® stamp set Bird’s Eye View as, to me, it looks a little like the marbled end papers you often find in vintage books.
We created projects using this technique at a WI craft class I run each month here in Derbyshire. It was fun to see how all the backgrounds turned out – each one of them different, even though exactly the same technique was used.
To create your marbled effect, all you need is a straw and a cup of water with a little washing-up liquid/dish soap in it, plus a few drops of dark ink. To create this Balmy Blue effect, I used some old Dapper Denim ink.
You could of course use a paler ink but you would need a lot more of it. I prefer to use less of a darker colour, to reduce waste.
Next take your straw - paper or reusable of course. I used some brown paper straws I bought from eBay. Blow through the straw into the cup and bubbles will form, creating a foamy dome.
Gently tap the foam with your cardstock and you will create a lovely bubbly background.
If you have a large piece of cardstock, as the ladies in the class did here, you may need to repeat the process. I did it once in each corner until the whole piece was covered.
To finish my card I stamped one of the fab birds from the Bird’s Eye View stamp set on top of a pile of books, then added a fun pair of glasses. I coloured them using Watercolour Pencils and Blender Pens.
I tore the bottom edge to add interest, then mounted it on a piece of Night of Navy cardstock, tearing the bottom edge of that, too.
I used a greeting from Charming Sentiments to finish my card, stamping on top of the now-dried bubble background.
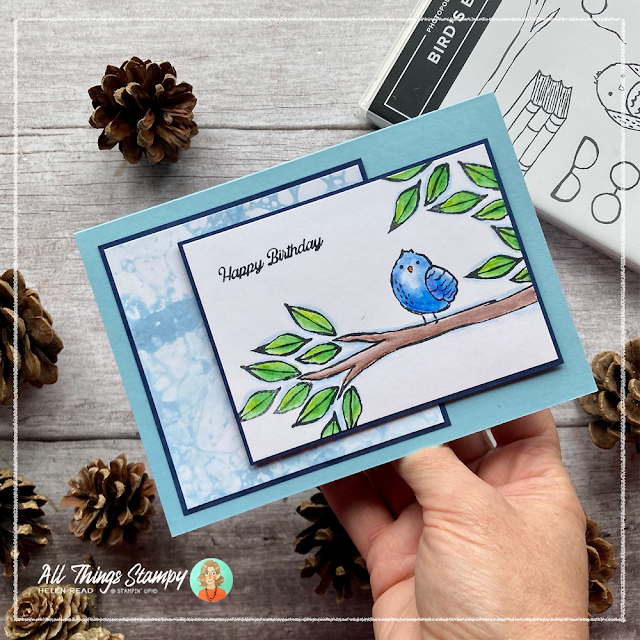
There are many Stampin’ Up!® stamp sets you could use with this fun technique but I wanted to make another using Bird’s Eye View, so this time created my background to give the impression of the sky.
I built a fun birdie scene using Bird’s Eye View to stamp the tree, leaves and bird, then added a greeting from Let’s Go Shopping, another Stampin’ Up!® stamp set. Again, the images are colouring using Watercolour Pencils and Blender Pens.
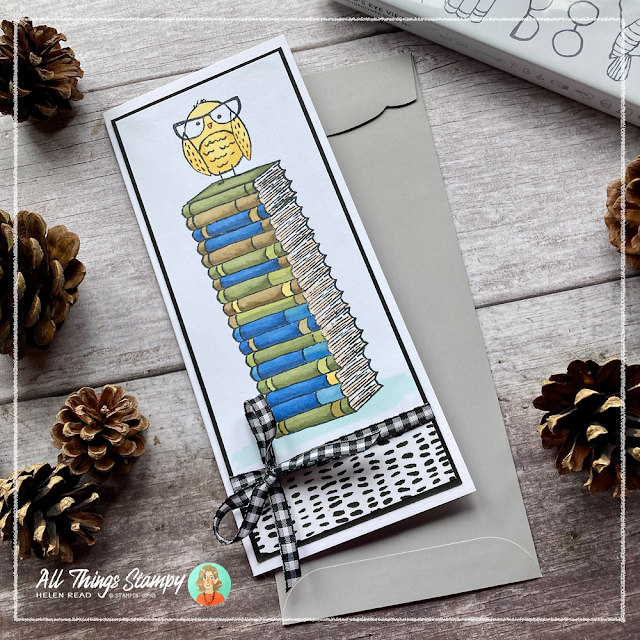
I had another fun Bird’s Eye View project brewing in my head, this time involving the masking technique.
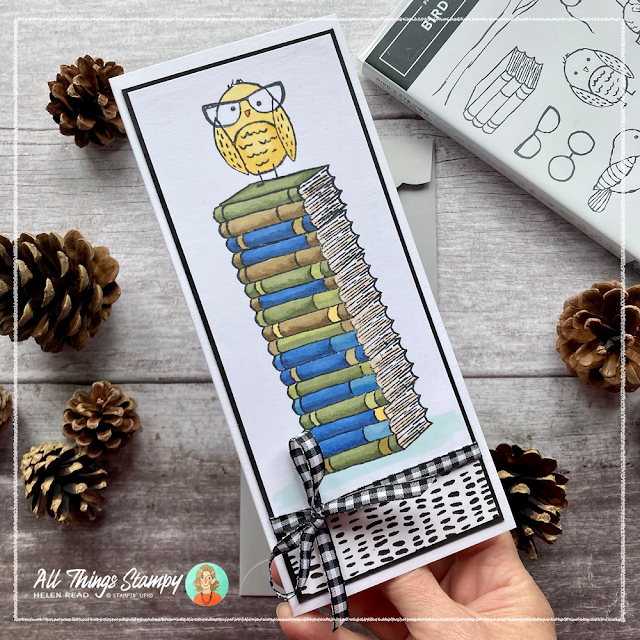
To make this slimline card, I made a sticky note mask of the books image, then used this to stamp an ever-growing pile of books. I could have gone higher but felt the pile was beginning to lean a little, so I stopped, stopping the pile with a bespectacled bird.
This time I coloured the images using Stampin’ Blends, using Old Olive, Balmy Blue, Soft Suede, Night of Navy, Daffodil Delight and probably several others!
The paper – which is reminiscent of the bird’s feathers – comes from Zoo Crew and the Black and White gingham ties it all together.
I hope you are inspired by my Bird’s Eye View projects and are tempted to add this cute stamp set to your next Stampin’ Up!® order. If you are in the UK and don’t already have a demonstrator, I would love it if you ordered through me.
Please message me via my website if you have any questions
Does
your wish list come to more than £99? Please get in touch and I will
help you get more for your money and unlock discounts all year round.


.png)


I've been a stamper for 18 years, and I have *never* seen that technique before. It looks like fun!! I can't wait to try it for myself, thank you for posting this!
ReplyDelete