Are you ready for a sneak peek of the upcoming September-December Mini Catalogue from Stampin’ Up!®? Spoiler alert: the catalogue is FAB.U.LOUS.
I love bears so the stand-out suite for me is definitely Beary Christmas and I’ve already made the decision to feature this cute bundle at my Stampin’ Up!® Craft Day in November.
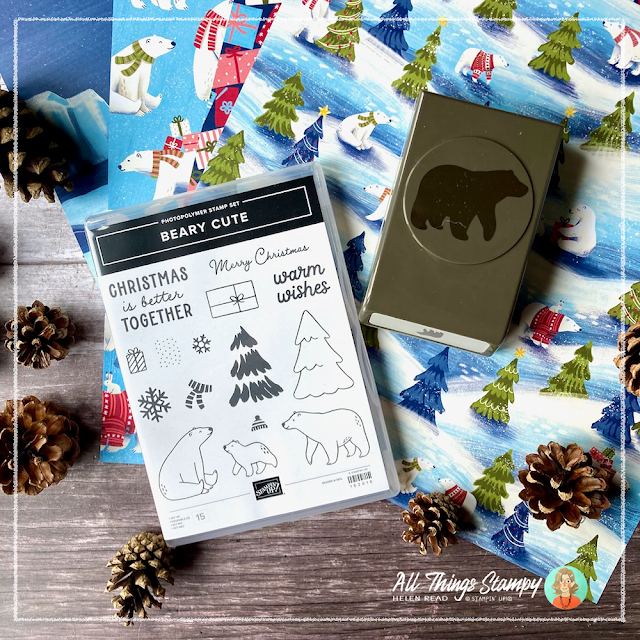
As well as the fab Beary Cute stamp set and punch, there is beautiful Beary Christmas Designer Series Paper featuring the same bear so you can punch it out, as well as lots of gorgeous festive patterns. Love it!
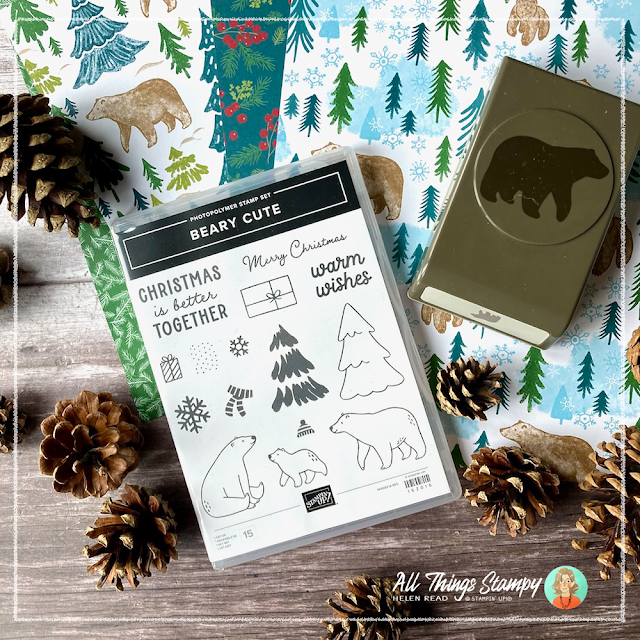
But there’s more! At the front of the Stampin’ Up!® Mini catalogue you’ll find A Walk in the Forest Designer Series Paper, which also features this same bear and lots of beautiful festive patterns in woodland colours – right up my street.
When making my first Beary Cute projects, I couldn’t resist using both sets of papers, as I simply couldn’t decide. I made the same simple card design using different papers for three very different looks.
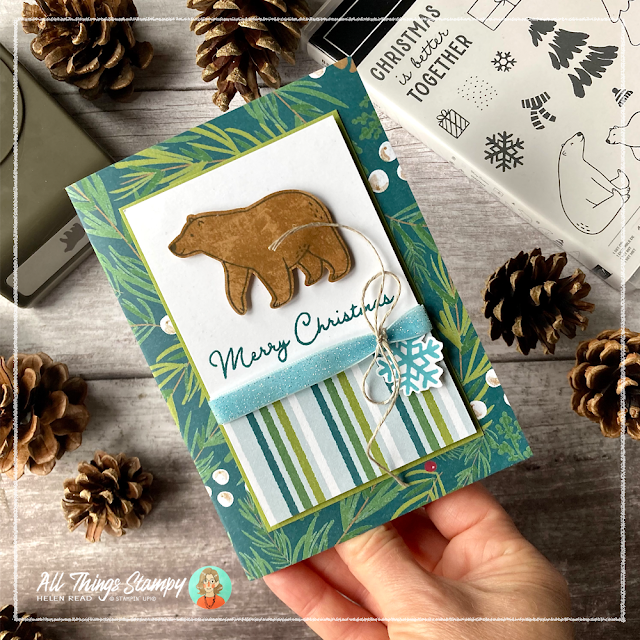
First up was this nature-inspired card using beautiful A Walk in the Forest Designer Series Paper. This paper really stood out to me as it’s in my colours and features bears and trees. So to discover than £2.50 from every sale of this paper will go to good causes was an excellent bonus.
I began by covering the whole of a Basic White card blank with this beautiful pine design. I used a second piece from the pack – the stripes – to cover the bottom section of a piece of white cardstock.
Merry Christmas – from the Beary Cute stamp set – is stamped in Pretty Peacock and then the bear is popped up on Stampin’ Up!® Dimensionals.
The join between paper and cardstock is covered with a simple strip of this gorgeous new Balmy Blue Sparkle Ribbon. It's velvety and sparkly: what's not to like? It is a little bulky so I kept things simple and tied a piece of linen thread around in a bow.
To finish off, I stamped a snowflake using the same Beary Cute stamp set and fussy-cut this out as an embellishment. I have been avoiding plastic gems for some time now as they are not recyclable; I don’t think anyone has noticed to be honest!
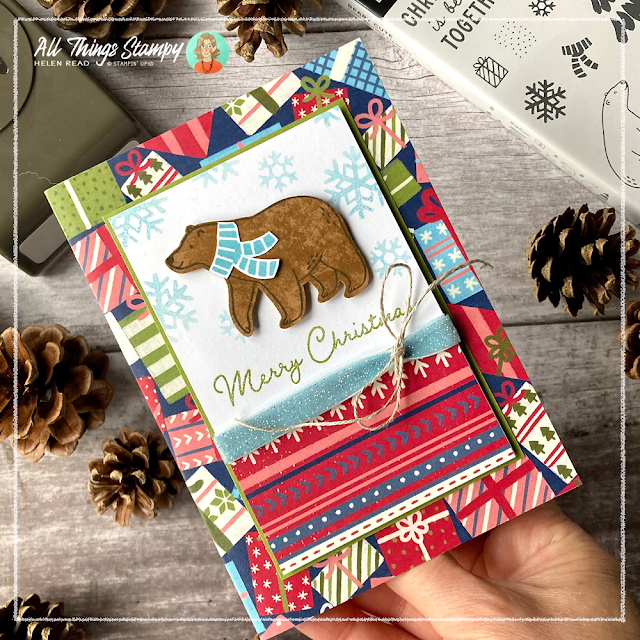
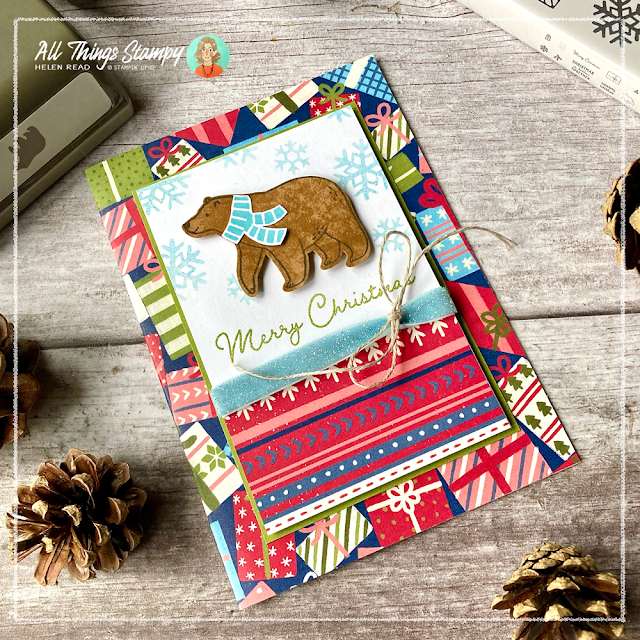
For my second card I used the Beary Christmas Designer Series Paper for a much brighter Christmassy look.
I love this paper featuring presents so used that to cover my card front, with some coordinating striped patterns on my main front panel.
This time I stamped the background white using the snowflakes from Bear Cute, stamping off in Balmy Blue for a paler look.
I am particularly proud of
the bear, which I stamped in black on Pecan Pie cardstock, then had the
inspired idea to use one of the tree stamps to add Pecan Pie ink,
giving the appearance of a furry texture, before punching it out.
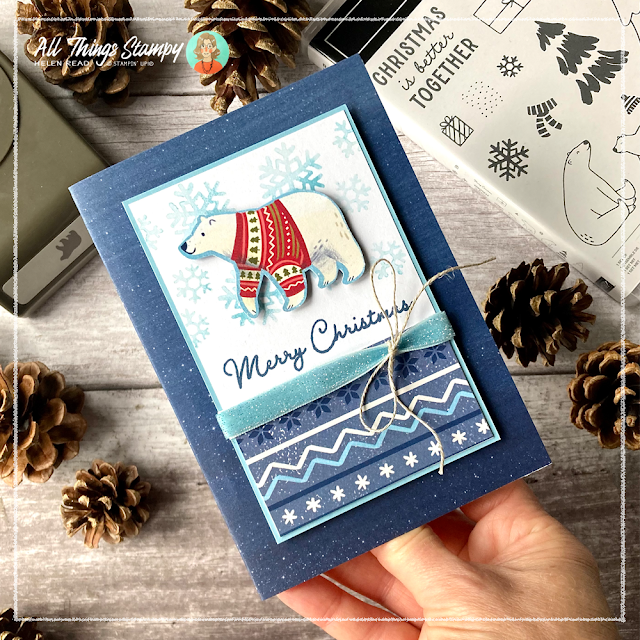
I could have carried on all day, making the same card design using all the lovely new Stampin’ Up!® papers for lots of different looks but I stopped at three, creating my third card using the same Beary Christmas Designer Series Paper.
The blue starry sky background is from a beautiful piece of paper which would look good in a frame in itself. I was reluctant to cut it up but that’s what it’s for, right? Plus you can slice off the top half without cutting into any of the lovely polar bears and ice floes.
I stamped the background as before, using Balmy Blue (stamped off) and the snowflake stamps. I put both stamps on the same block for speed, turning the stamp each time so I finished with a random effect.
Instead of stamping my bear this time, I punched out a cute polar bear from the paper itself. This also gives you a narrow Balmy Blue border which helps the bear to stand out from the white background.
Inside each card, which I forgot to photograph, I stamped Warm Wishes and a small bear, also from the same Beary Cute stamp set.
Finally, I wasn’t going to show these projects as they use retired Stampin’ Up!® cardstock but the stamps are brand new so why not? My husband needed a batch of thank yous to send to pupils at school who bought him end-of-term presents, and I thought it was a good opportunity to use up some Pear Pizzazz and Soft Suede cardstock.
I used another brand new Stampin’ Up!® stamp set called Fragrant Forest which I obviously adore as it’s trees. It’s just one big background stamp so I stamped this all over my card front. The cards were originally 12cm square to fit some envelopes I have, but I had to trim them to 11cm so the background stamp would fill the front.
Then it’s just a simple case of popping up a punched bear on a white square with a Thank You stamped from Go-To Greetings, before layering onto another square of cardstock. Simple but effective – and can easily be converted into a quick and easy Christmas card.
I hope you like my first Stampin’ Up!® Christmas cards of the year. If you would like to shop these products, they go live to customers on 6th September, but you can get them early if you join my Stampin’ Up!® team.
And if you live near enough to Derbyshire, why not spend the day with me in November when we will be crafting with these beautiful projects all day in a lovely country pub location.







No comments:
Post a Comment
Thank you so much for taking the time to comment.