Have you seen the gorgeous Stargazing Designer Series Paper in the Stampin’ Up!® Annual Catalogue? It features colourful planets and atmospheric starry skies.
It’s perfect for any stargazers in your life and for those who love all things astronomical. However, while creating with the Stargazing Designer Series Paper, I discovered it’s a must for anyone who loves a night sky background, too – and I have a great offer for you if you are in the UK and want to get some of this paper and All the Trimmings to go with it so you can get crafting right away.
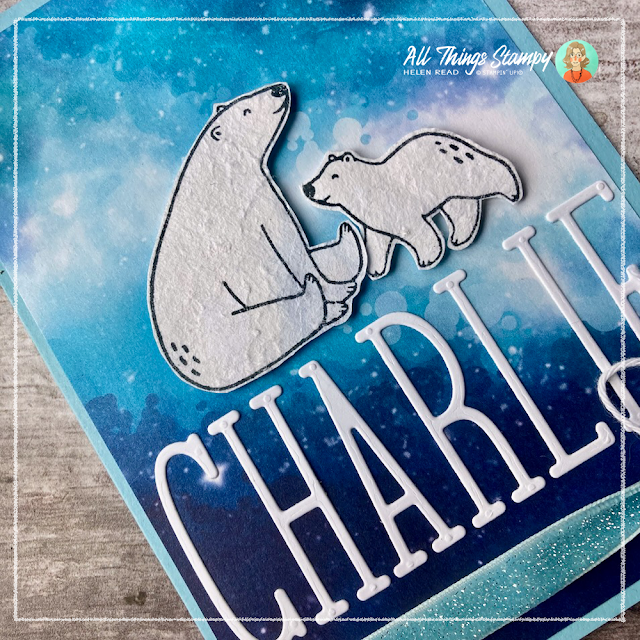
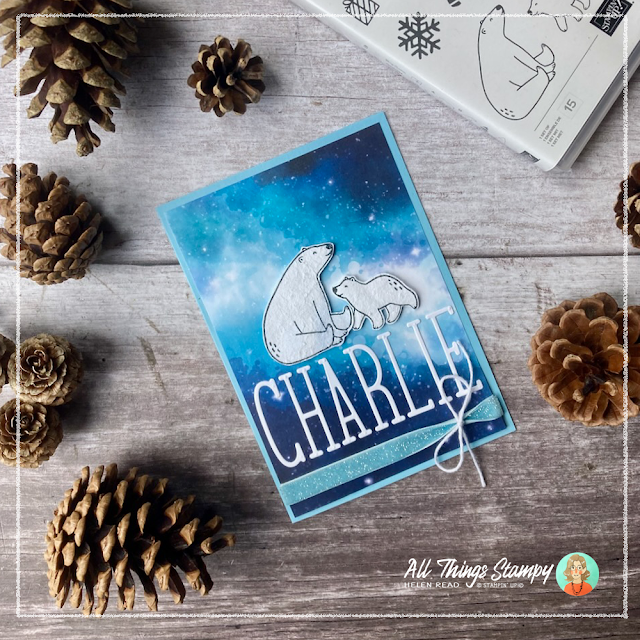
I love a night sky image so was drawn to this paper for what is probably considered to be the reverse side of each sheet. I loved this sky sheet and thought it was perfect for this new baby card, with the addition of a few other products.
Using Adhesive Sheets as a backing – these save SO much time! – I die-cut CHARLIE using Alphabet À La Mode dies. I arranged these very carefully on the front piece as they only just fit – I was hoping for a shorter baby name!
Next I carefully distressed some white cardstock to break down the fibres so it would split. This meant I could peel off the top layer of cardstock to reveal the rougher layer underneath, providing a fluffy texture for my polar bears.
The bears are stamped with the new Beary Cute stamp set from the upcoming September-December Mini Catalogue from Stampin’ Up!® (available 6th Sept 2023). There is a punch to go with this stamp set but it fits a different bear so I fussy-cut these... which I have to say is very, very easy when the paper has had a layer removed as it’s thinner and easier to cut.
The ribbon, too, is from the upcoming September-December Mini Catalogue from Stampin’ Up!® It’s Balmy Blue, glittery and feels like velvet so provides a plush feel to your projects. It is, however, quite bulky, which is why I only added a strip, tied off with some Baker’s Twine.
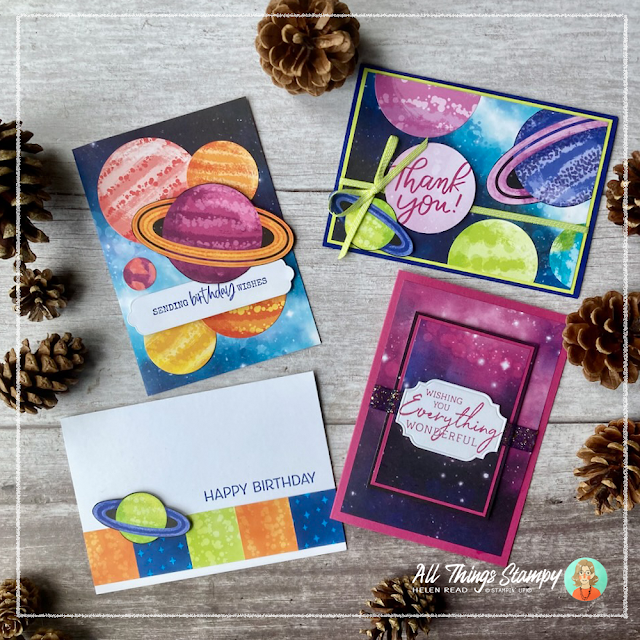
If you want to create with just the Stargazing Designer Series Paper, here are some more project ideas which you could make using my September All The Trimmings Kit.
If the planetary theme doesn’t float your boat, this vibrant card simply features a night sky, with some glittery ribbon playing on the theme.
This Night of Navy Glitter Ribbon also features in the upcoming September-December Mini Catalogue from Stampin’ Up!® and goes perfectly with the starry theme of this project. This greeting is from Charming Sentiments, stamped on to a label cut with the All That Dies (again, from my stash of pre-cut labels).
Of course, if you want planets – you can have planets! It’s easy to make fun projects using this paper as you can cut out the large planets freehand or, for the planets without rings, you can use circle punches or dies for perfect precision.
To make this card, I carefully cut out the main planet and its rings freehand. The four large planets are cut out with dies or circle punches, while the smallest is again cut freehand because it was an afterthought and I’d already packed away my dies.
I covered the whole card front using some Stargazing Designer Series Paper, then arranged the planets on top, popping up the ringed planet for greater impact. I realise now that the label I used has been created with a retired die – that’s because I always keep a box of pre-cut white labels ready for quick and easy cards.
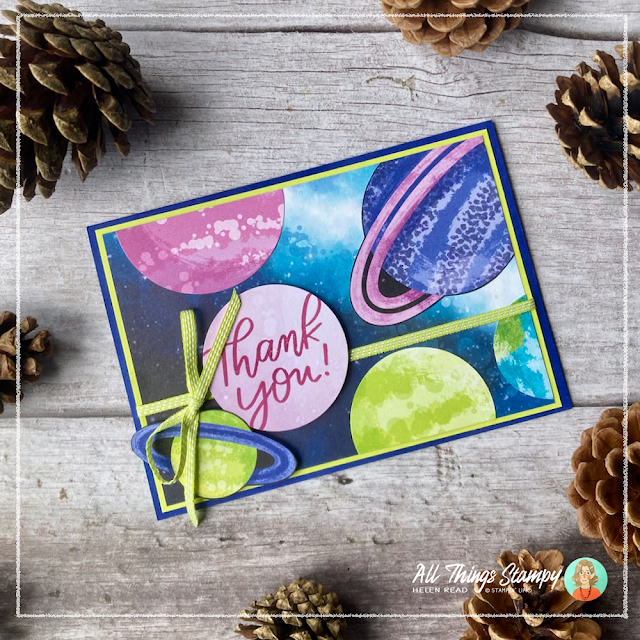
Planets feature heavily on this card, too. Again they are cut out using a combination of dies, punches and fussy-cutting and arranged on a night sky background. I punched a circle from one of the palest parts of a night sky sheet to stamp Thank You on top, and added some Lemon Lime Twist ribbon to finish.
My third planet card is really simple and uses a design which can be adapted to many different papers and stamp sets. I glued squares (well, not quite squares) of Stargazing Designer Series Paper on a piece of scrap grid paper, then trimmed the sides so the pieces are all the same height. Using scrap grid paper is ideal as it helps you to line up the pieces, and it’s lightweight enough not to add bulk to your project.
I stamped a greeting on top using Artistically Inked, then fussy-cut a ringed planet to pop up on Dimensionals to finish. Really clean and simple and ideal for a masculine or teen birthday card.
Buying a pack of Stampin’ Up!® Designer Series paper is a cheaper way of getting images for a particular theme you don’t normally use, such as the planets you see here. This is ideal if you need a card for someone and don’t want to invest in a full stamp set. Buying the paper means you can make as many cards as you wish, while having lots left over to use for other projects – in most cases the reverse patterns are geometric or at least more generic than the front.
Want to get your hands on a little bit of everything to make these projects and many more? Check out my All The Trimmings kit for September.
I am only taking reservations for this kit until Tuesday 5th September so reserve yours today (UK only).
Does
your wish list come to more than £99? Please get in touch and I will
help you get more for your money and unlock discounts all year round.


Hello Helen,
ReplyDeleteI really like the look of your bears on the card very much, especially the 'fur' part and I do not understand how you did te 'distressing' of the paper. Can you please explain a bit more.
Greetings from the Netherlands
Hi, I have now added a link to a video showing how to do this. Hope it helps
Delete