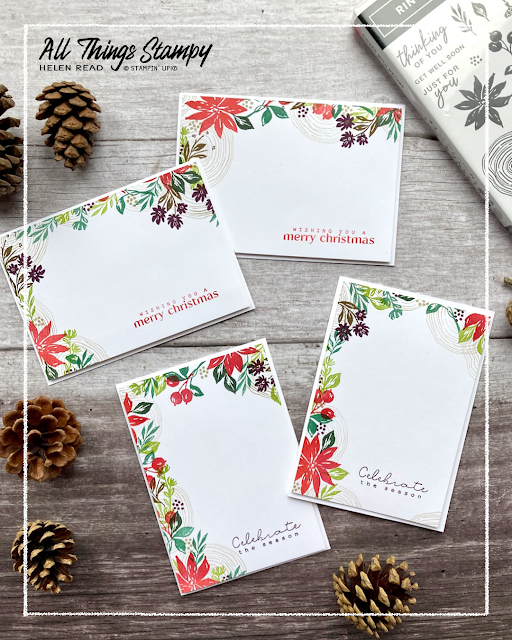
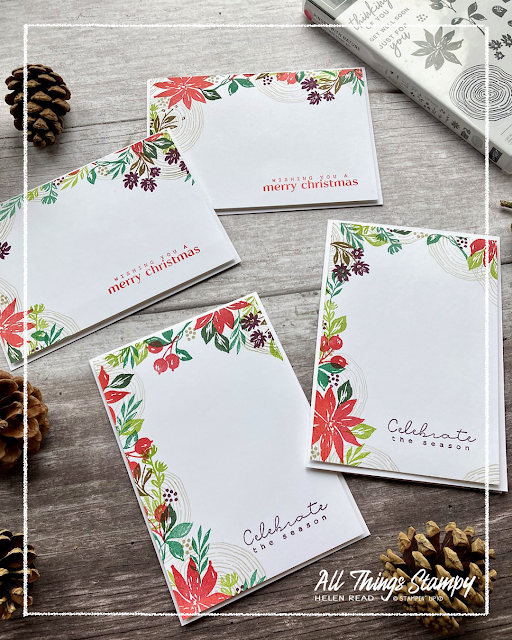
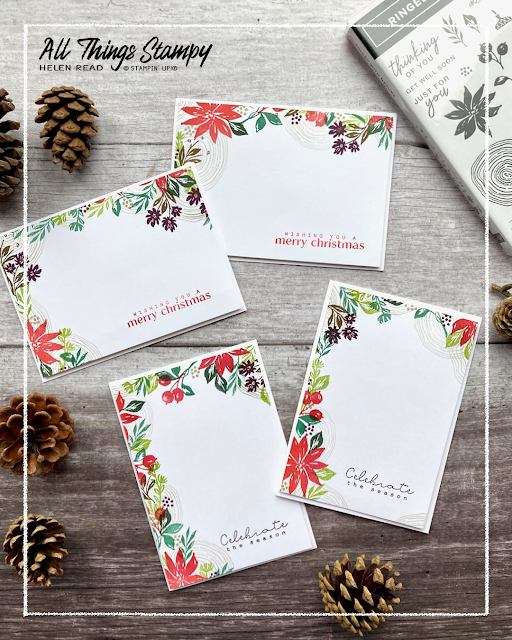
Today I am sharing a fantastic way to make four cards in one go, using any Stampin’ Up!® stamp set which features a variety of floral and/or leaf images – I used the Ringed With Nature stamp set.
This technique is ideal for Christmas cardmaking as it’s relaxing, fun and easy – plus, as I said, you get four cards in one go!
I don’t know what this technique is called; I’ve seen it called Criss Cross stamping (but that brings up a fancy fold) and Corner-to-Corner stamping (which just brings up a variety of corner stamps). Ultimately, it’s a very simple one-sheet wonder and here’s how you create it.
Unfortunately I don’t have photos of the process as I was stamping in the evening and the light was too poor.
You begin with a sheet of cardstock – I used Basic White and because I am in the UK, I use A4, but any size will do.
I drew a pencil line along the centre, in both directions, to create four quarters.
When drawing a line along the centre of my cardstock, I realised I couldn’t find my ruler so used my Stampin’ Up!® trimmer instead. Leaving the blade and scorer in place, I simply ran my pencil along the track.
Next, using the Ringed With Nature stamp set from Stampin’ Up!®, I stamped along these lines in traditional one-sheet wonder style. I like to start with the largest images and work to the smallest. I usually start with the palest ink and work to the darkest but the images in Ringed With Nature seem to ask for darker ink so I ignored that rule.
Once I had finished stamping, I cut along those pencil lines to create four panels, with stamping along two edges, which I then trimmed to mount on card fronts. At this stage you may see some gaps which you decide to fill in – it’s not too late! For instance, I added some more tree rings to create some balance.
There is a Merry Christmas stamp in the Ringed With Nature stamp set but I am particularly keen on these sentiment stamps at the moment; they come from the Cozy & Bright Cardmaking Kit, and I love the delicate style.
I kept the cards really simple – just the trimmed stamped panels mounted on to Basic White card front using Dimensionals. No ribbon, no embellishments; the stamps do all of the work.
So, what colours did I use? Well it was all a bit of a gamble if I’m honest due to the poor light but I am happy with how they turned out. I used Real Red, Shaded Spruce, Evening Evergreen, Granny Apple Green, Blackberry Bliss and, for the tree rings themselves, Crumb Cake stamped off.
I hope you like my Ringed With Nature cards and are inspired to have a go at this fun technique for yourself using this or any other Stampin’ Up!® stamp set.
If you are in the UK and would like to order, please
visit my store and, if you use the October 2022 host code 2CVP6XFF, I’ll send you a thank you gift next month.
Does
your wish list come to more than £99? Please get in touch and I will
help you get more for your money and unlock discounts all year round.


just lovely!
ReplyDelete