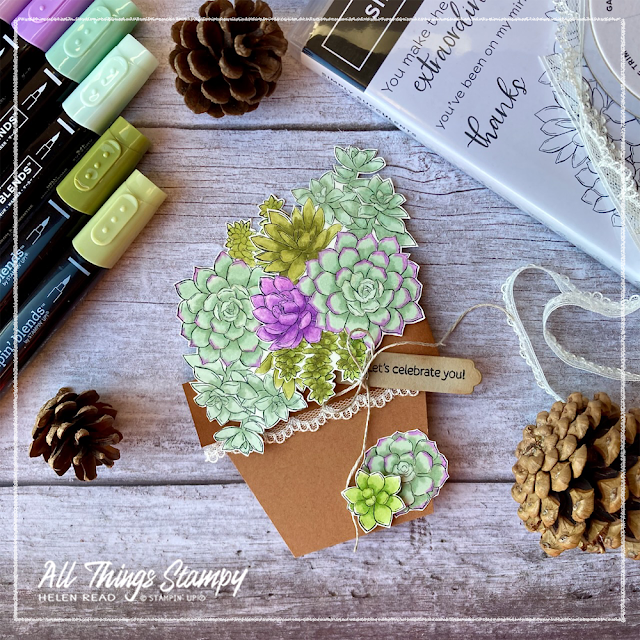
Sometimes it’s fun to revisit old designs with newer Stampin’ Up!® stamp sets and this is exactly what I did for my Crafty Friday class this month, by making a flowerpot pocket card using the Simply Succulents stamp set.
The event was held on Zoom as I was recovering from Covid at the time, and at least one of the ladies in attendance was also suffering from the virus. Thankfully Zoom allows us to carry on crafting and chatting almost as normal.
The beauty of the flowerpot pocket card technique was that everyone could use their own stamp set; everyone has a floral set they can use.
The card itself is really easy to make; you can download a free tutorial from my Stampin’ Up!® website here. The most time-consuming part of this card was the colouring and fussy cutting. Yes you can get the Potted Succulents Dies to go with the Simply Succulents stamp set but unfortunately I don’t own them.
There are two ways you can make
this card – I prefer to create a tent-fold card with a slit at the top
so the card stands up on its down. Then you just slot in the
flower-topped card and remove to read the greeting.
I made two
versions of this card. The first uses Cinnamon Cider cardstock for the
flowerpot, which I’ve sponged around the edges with a little Cinnamon
Cider ink.
I stamped the large image twice, cut them both out and coloured them using Stampin’ Blends in Mint Macaron (light and dark), Old Olive (light and dark) and Highland Heather (light and dark).
I used Very Vanilla Lace Trim to edge the flowerpot rim and finished it off with a birthday greeting on a label created using Seasonal Labels Dies.
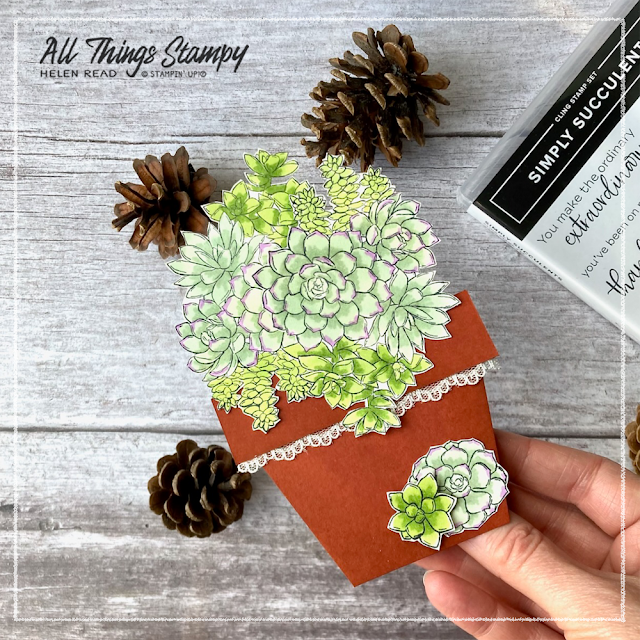
The second version was made in the class
and is slightly different in a few ways. For a start, I’d run out of
Cinnamon Cider cardstock so used Cajun Craze, which works equally well.
Secondly I arranged the succulents differently, which I actually prefer
as it is more balanced with the extra height.
I coloured this one with similar colours, swapping out the Old Olive and using Granny Apple Green instead. And finally I didn’t bother with a label simply because the class wiped me out and I ran out of steam!
Our second project was this little box. They’re called Sweet Little Boxes and they really are. They are exactly the right size to hold three little Hazelnut Chocolate Sticks from Lidl. I believe Aldi do something similar and Kinder has something the same size too.
This was simply a case of masking off to leave just the main panel and stamping some Mint Macaron succulents on top, along with a greeting.
It’s worth noting here that the ink takes a while to dry on this surface so be careful to avoid smudging. I finished mine off with two cut-out succulents and, even though the box closes very snugly, I tied some more lace trim around to make it look pretty.
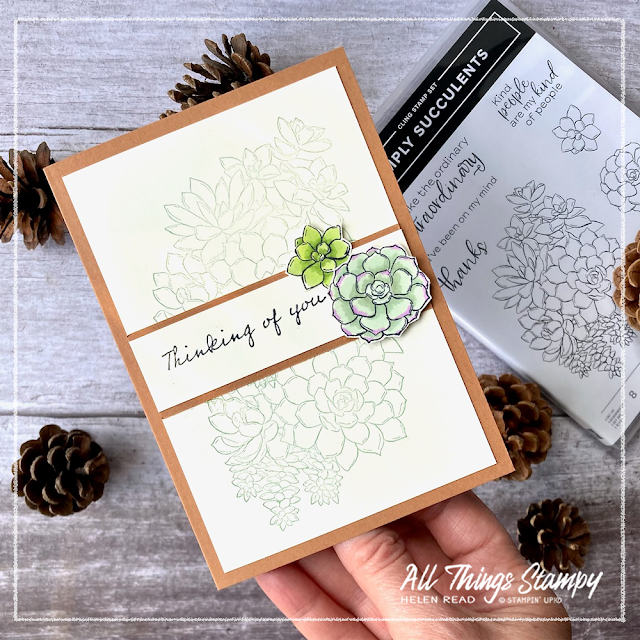
We had some leftover cardstock at the end of the class, so I showed the ladies how to use this to make a very simple card.
To make this I stamped the large succulents onto a Very Vanilla panel twice, overlapping them at the centre. This overlapped area was easily covered with a strip of Cinnamon Cider cardstock with a strip of Very Vanilla on top for the greeting. Finally, two more cut-out succulents added a little colour.
I hope you have enjoyed my Simply Succulents projects. If you are in the UK and would like to order, please
visit my store and, if you use the April 2022 host code YZH39MCB, I’ll send you a thank you gift in the following month.


No comments:
Post a Comment
Thank you so much for taking the time to comment.