Did you know you can earn some fabulous FREE Stampin’ Up!® Designer Series Paper during January and February? Yes, it’s Sale-a-Bration, and one of the free gifts you can earn when you spend £45 is this gorgeous Trusty Toolbox Designer Series Paper.
Read on for six easy ideas for making the most of this fabulous paper.
I am firmly of the opinion that masculine cards should be quick and easy because – and yes I am generalising here – they are unlikely to be appreciated.
I also believe that it is impossible to have a stamp set in your collection to suit every hobby, and it’s often not worth the investment, especially if you just want to make one or two cards.
But this is where Designer Series Paper comes in very handy, especially the more recent Stampin’ Up!® designs which feature images you can cut out and use instead of stamped images.
This is how I ended up holding a masculine cardmaking online class at the weekend, featuring the Trusty Toolbox Designer Series Paper. Everyone received one 6"x6" piece of each design, which was more than enough to make four cards. I had leftovers, so made a couple more, ready for an in-person class coming up this weekend.
We began by cutting out images from the Trusty Toolbox Designer Series Paper, including some of the incomplete images, which are still useful.
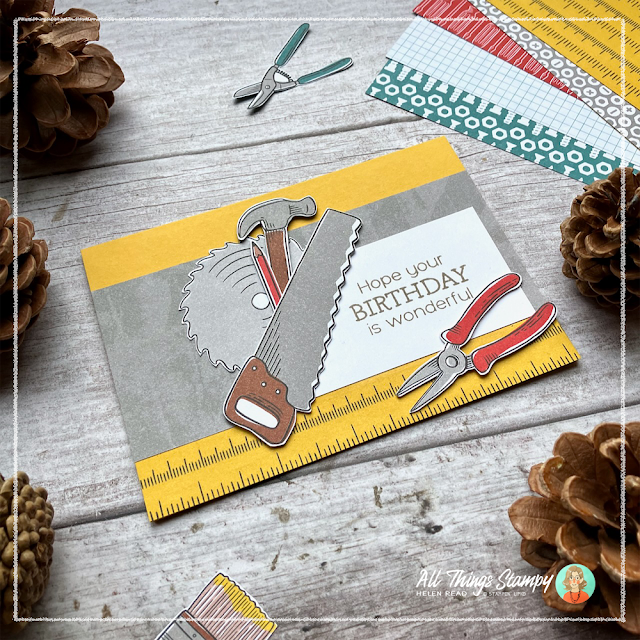
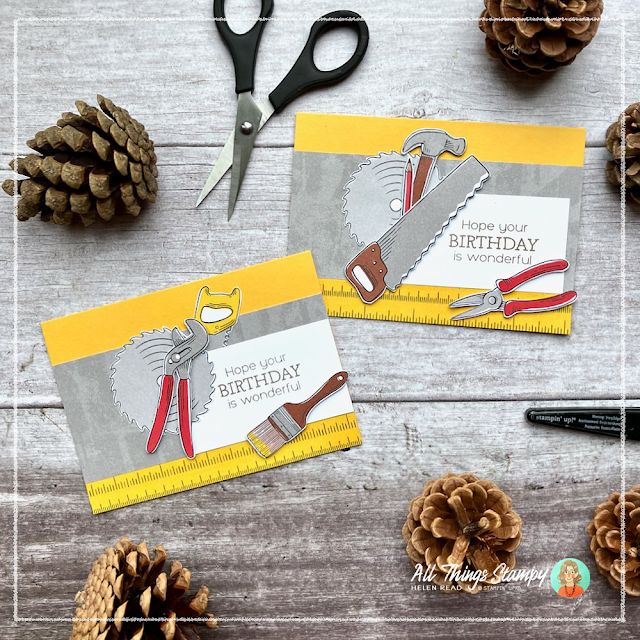
The first card has a Crushed Curry card base, with a strip of my favourite design from the Trusty Toolbox Designer Series Paper pack; the ruler image. On top of this is some grey concrete-style paper, a greeting panel and an assortment of cut-out tools.
As you can see, this looks pretty cool no matter which tools you choose, although I did stick to the Copper Clay, Crushed Curry and Real Red colour combo. The greeting on both of these cards is from Hooray for Surprises, a new Stampin’ Up!® stamp set.
The second card in our class has a Basic Gray background, with a strip of screwdriver paper and a smaller strip of the ruler paper. Again, sticking to the red and yellow tools, I created a mini display.
The tools poking out from behind the Designer Series Paper strips are some of those incomplete ones from the edges of the paper. I said they would come in handy!
Don’t ask me why the two grey card bases are different shades; is one a stray piece of another colour? Different batches? Old and faded? We’ll never know.
The third card is a 12cm square card from Copper Clay cardstock. That ruler design from the Trusty Toolbox Designer Series Paper pack gets yet another outing here, and its reverse pattern is the spotted design along the bottom of the card front.
This time I went with the same hammer and pencil on both cards, swapping out the sentiment to add versatility to my card stash.
The ribbon is a strip of Copper Clay, with Linen Thread tied around. I like this method for thicker Stampin’ Up!® ribbons as it saves adding extra bulk and making the card harder to post.
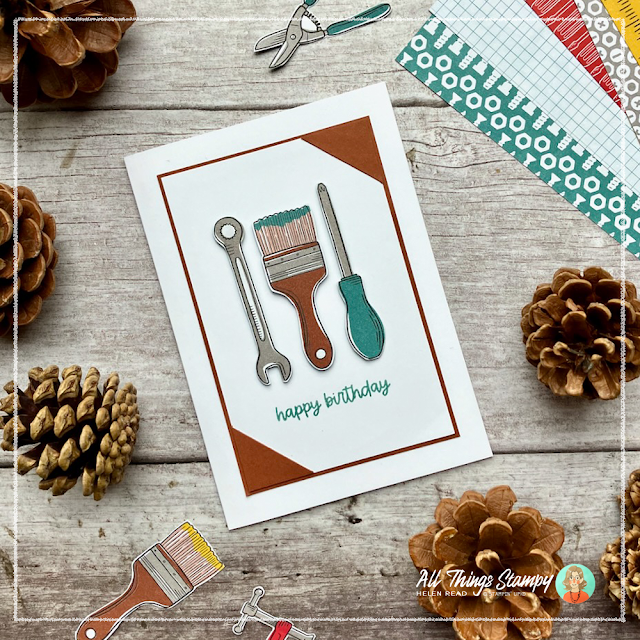
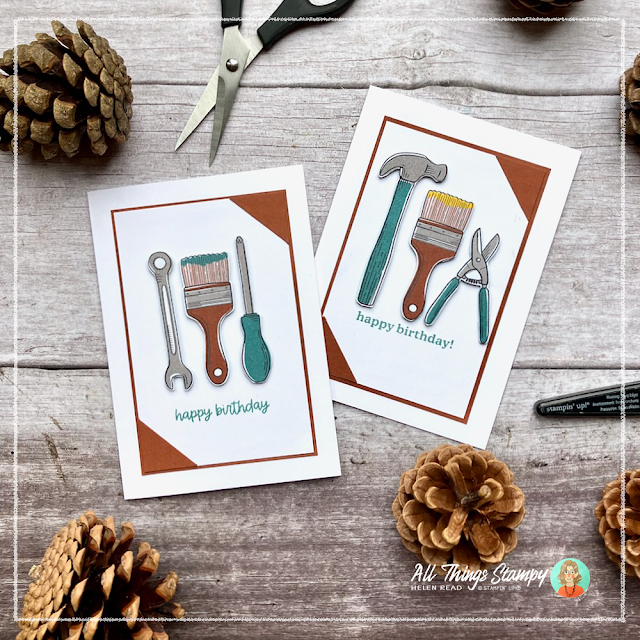
The final card from the online class is this one with three tools in a row, popped up on Stampin’ Dimensionals.
A little interest is added with some corner pieces. These are cut from a 2.5cm square of Copper Clay cardstock, which I’ve sliced in half on the diagonal to create two triangles to stick on top of the white layer.
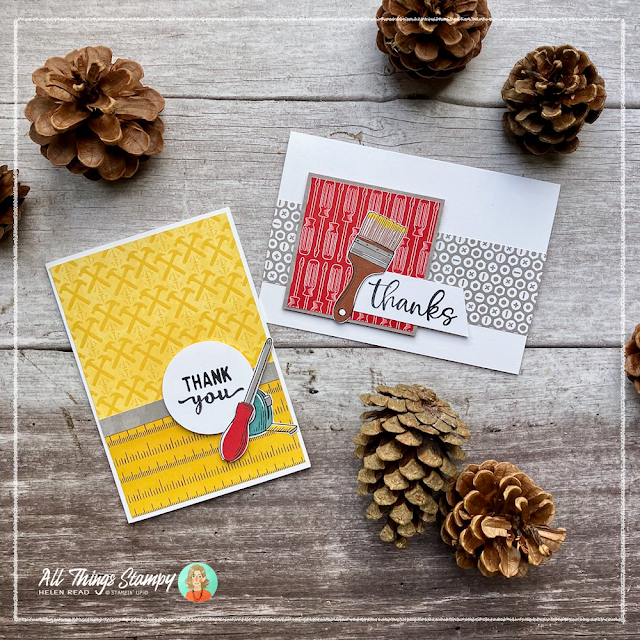
With my leftover pieces I made two further cards, which will be examples for an in-person class this weekend. This is a Use-Up event, where guests will have full access to a huge range of Stampin’ Up!® Designer Series Papers which they can use to copy a variety of simple designs.
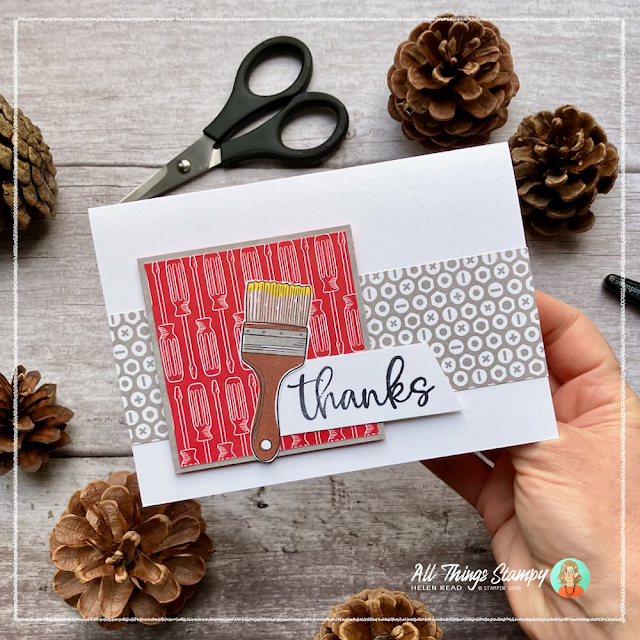
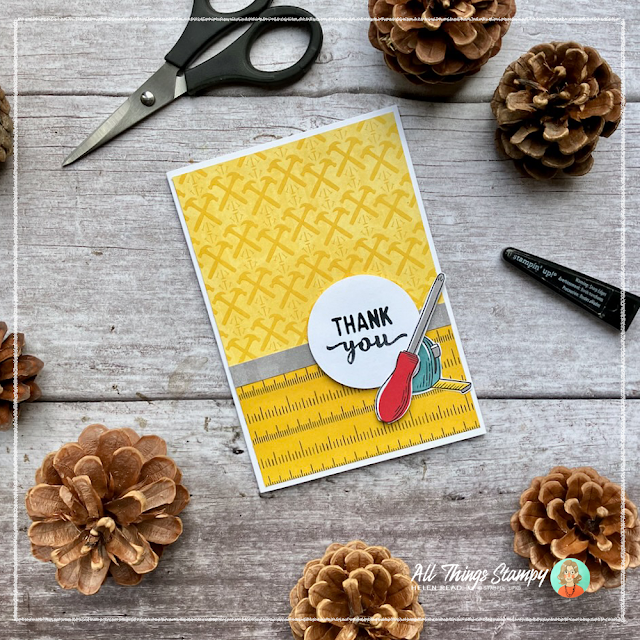
Both of these cards use nothing but white cardstock (Thick Basic White card base, standard Basic White for the greeting labels) and Trusty Toolbox Designer Series Paper.
This one has a strip of nuts and bolts paper which is topped with a square of the screwdriver paper, mounted onto some of the concrete-patterned paper. Thanks is stamped on white and a paintbrush is cut out to add interest.
The final card has more ruler paper – I told you it was my favourite – and some crossed hammers at the top. A strip of concrete paper forms a divider, and a stamped greeting is cut out with a circle punch. The tape measure was one of those incomplete images from around the edges so I poked it under the circle, and a screwdriver finishes it off.
I hope you like my Trusty Toolbox Designer Series Paper cards. Remember you can earn this fab paper FREE during January and February if you place a £45 Stampin’ Up!® order.
Please message me via my website






No comments:
Post a Comment
Thank you so much for taking the time to comment.