Here’s a fun technique which doesn’t require any special equipment – and can help you get more mileage out of your Stampin’ Up!® stamps.
It’s called the silhouette stamping technique and is so simple but is often overlooked.
All you do is stamp any outline image in black, then colour it in... black. This creates a silhouette and gives you a whole new look for your stamped image.
This is ideal if you want to stamp on a fun background, so your image stands out more clearly.
This technique was the topic of my Crafty Friday class this month. Each month we gather on Zoom to learn a new technique. All the consumable materials are supplied and attendees – based all over the UK – use their own stamp sets.
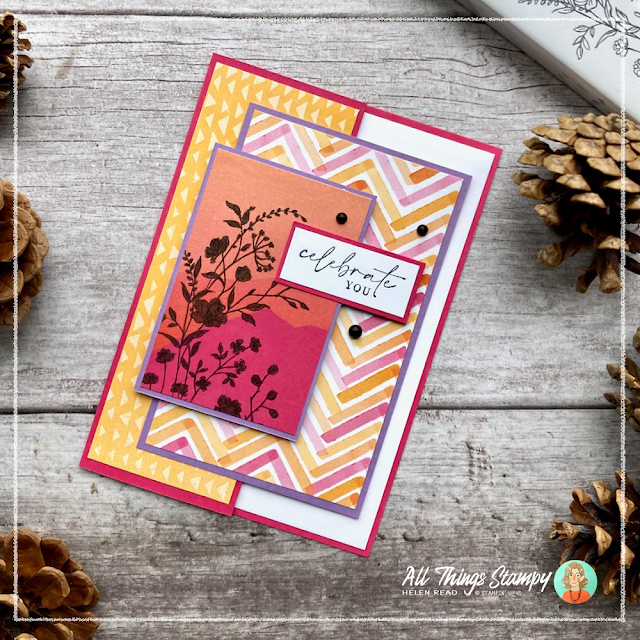
On this card, I used a vibrant background for stamping on – this comes from the retiring Enjoy the Journey Designer Series Paper – and used a delicate stamp from Dainty Delight, both from Stampin’ Up!®.
Here it is again without the white lining. I couldn’t decide so made both versions.
As you can see, the image could have disappeared into the background but colouring it in black really makes it stand out.
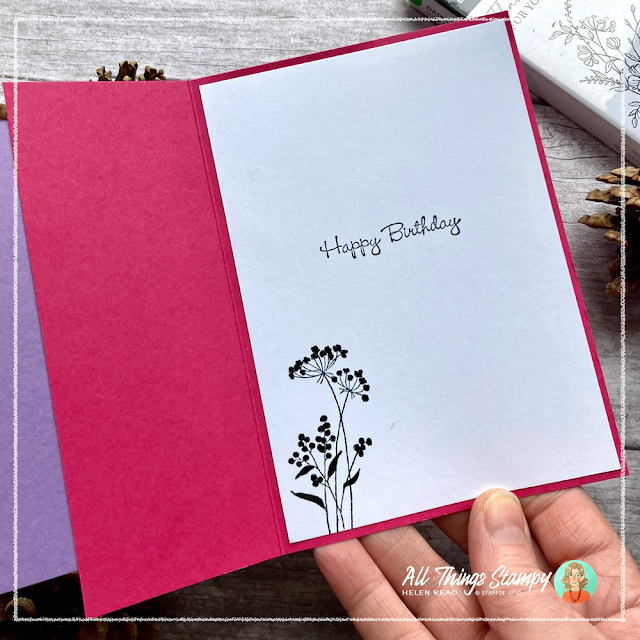
I used the same technique inside the card to show how crisply the image stands out against the white when the seed heads are coloured in black.
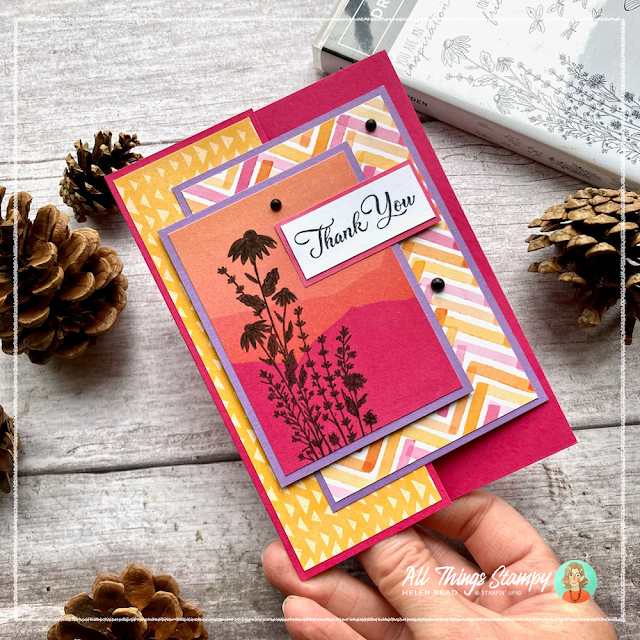
Here’s the same card design using the wild flowers from Dragonfly Garden. This beautiful Stampin’ Up!® stamp set is retiring soon and, at the time of writing, was still available at a bargain £8.80.
This stamp is one of my favourites ever but when you
colour it in black, it takes a LOT of work, and very fiddly too!
Colouring isn’t one of my favourite things, I confess but I do love how the image looks against those brightly coloured hills.
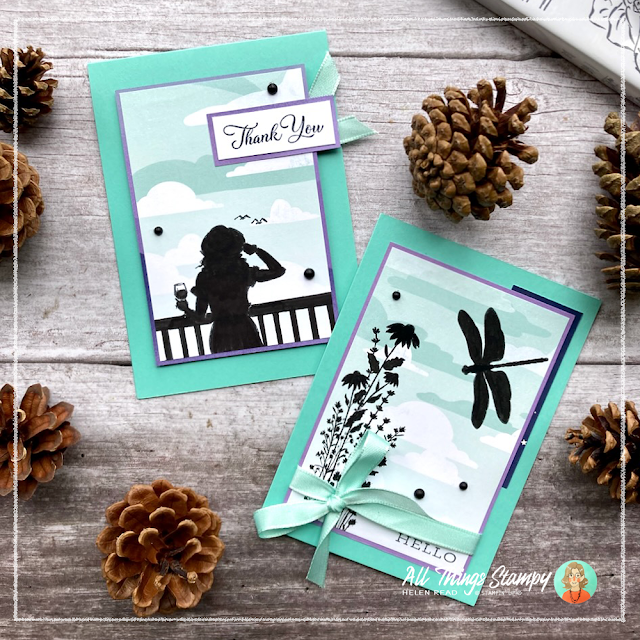
Here’s the same Dragonfly Garden stamp used one some of the Coastal Cabana paper from the Enjoy the Journey Designer Series Paper pack. To me the clouds were crying out for something in flight, so I added the dragonfly too.
Take a look what a difference it makes if you switch up the stamp set...
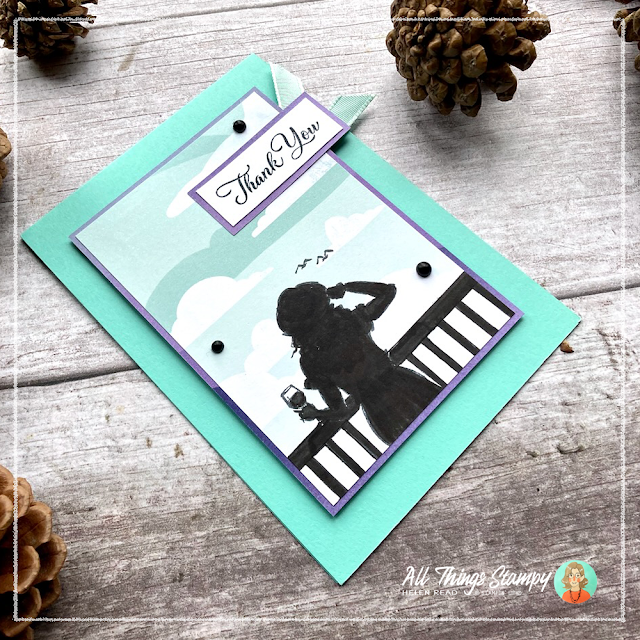
Here I’ve used the In The Moment Stampin’ Up!® stamp set to create this silhouetted lady looking out from her balcony. This illustrates how you can use this silhouette technique to alter an image in some way.
The balcony wasn’t long enough so I extended it by drawing in the lines. Similarly, you could combine two or more stamps which don’t quite work well together. For example, say you wanted to stamp a hat on a person but the art styles are very different, or you are left with an overlap and don’t want to mask the image. Colour the whole thing in black and you have a seamless silhouette.
I hope you enjoyed my silhouette stamping techniques and are inspired to have a go yourself. For all of these projects I used the Black Stampin’ Write marker which is currently unavailable as it has retired. But don’t despair – a new version will along with the new catalogue. All of our Stampin’ Write markers are being reconfigured to provide an improved brush end and a bullet nib which is better for journalling and indeed colouring.
If you’d like to join one of my technique classes, please sign up for my newsletter, or follow my Facebook page for the latest info.
Does
your wish list come to more than £99? Please get in touch and I will
help you get more for your money and unlock discounts all year round.






Love your cards here, Helen! I had never done this particular technique before so I had to give it a go today. I'll definitely be using it again, thank you for the inspiration :)
ReplyDeleteThank you so much. It's a fun technique; glad you're going to try it.
Delete