Are you ready for 25 Stampin' Up!® card ideas? They all use the Ringed With Nature stamp set... well most of them do. I do have some cards to show you which used the coordinating Rings of Love Designer Series Paper, which is no longer available as it was a Sale-a-Bration freebie back in the summer, but it seems a shame to miss them out.
The cards are all samples from my Stamp a Stack event which was held in a country pub here in Derbyshire.
Everyone received a pack of Kraft Note Cards & Envelopes and half a pack of the Rings of Love Designer Series Paper, which I’ve been hoarding since Sale-a-Bration. It meant they could have a really relaxed day out, either copying my designs or coming up with their own.
The main stamping event of the day was to create a fun one-sheet wonder which made nine cards in one go.
This works for any size of paper; just mark thirds along each edge and draw pencil lines to create nine equal sections. They don’t even have to be accurate; mine weren’t! For A4 you mark at 7cm from each side along the short edge and at 9.9cm from top and bottom along the long edge.
Then stamp along these lines, as much or as little as you like. We used Ringed With Nature, a beautiful and versatile stamp set from the July-December Mini Catalogue from Stampin’ Up!®
Most people brought their own ink pads so we had a good variety of colour combos. For my projects you see here, I used Poppy Parade, Soft Succulent, Evening Evergreen, Crushed Curry, Gorgeous Grape and Crumb Cake... although I stamped off the Crumb Cake onto scrap paper first to make it less overpowering.
That done, you cut along the pencil lines to create nine stamped panels, then trim these down a little to fit on mats. The mats were created from Evening Evergreen cardstock in the same way; measure thirds and cut into nine equal pieces. You do need to be accurate this time!
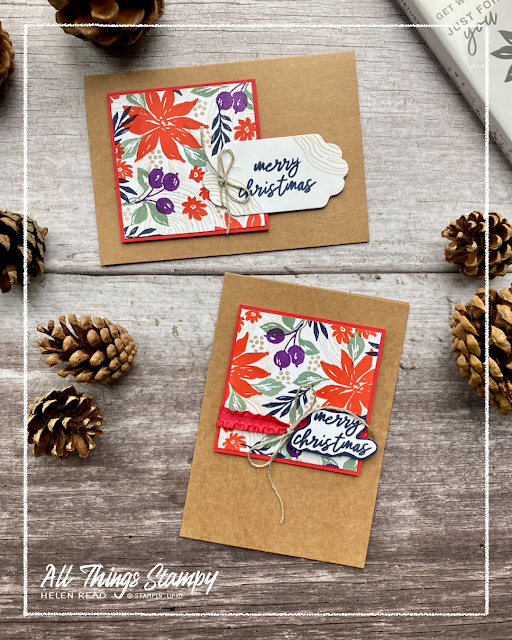
Where all has gone swimmingly, all you have to do is stamp a greeting, mount the stamped panel onto the darker panel and attach to a note card front.
But of course, unless you are extremely disciplined and a very neat stamper (I’m not!), that won’t work for all nine panels. As you can see, only five of mine fit the bill – so here’s what I did with the others.
On these panels I felt there was too much stamping to squeeze in a greeting stamped as well, so stamped onto a label instead. To make a border for a label, just punch it again in a coordinating colour, slice it in half and attach at the back, leaving a small gap. This creates the illusion of a border without needing any extra equipment.
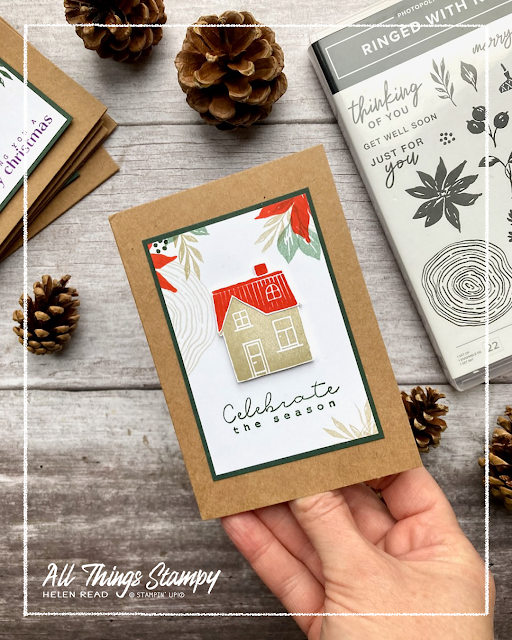
This panel was a little light on stamping. I could have simply stamped some more Ringed With Nature foliage images but I wanted to mix things up a little so stamped a house and a roof on a separate piece of white cardstock, cut them both out and popped them up on Dimensionals.
Tip: stamp and cut the house and roof out these separately; it’s quicker than trying to line up the roof on top of the house.
This panel had a smudged image on it; I’d missed a bit on one of the purple berries. tried to stamp directly on top and missed the mark. No problem; I just covered it up with one of these gorgeous (but delicate!) Textural Elements, which I coloured with a Real Red Stampin’ Write Marker. These take a while to dry; it’s quicker if you use a Stampin’ Blend but be careful you don’t damage the nib.
Here’s another variation of the same idea, just splitting a trimmed-down piece into four. I abandoned this idea for the class, but left the cards on display as further inspiration.
This is the result of the beginnings of another aborted one-sheet wonder. I started stamping on an off-cut and realised this level of intensive stamping would take ages! Pretty though...
Now onto the cards made with Rings of Love Designer Series Paper. I don’t usually show things that are retired but some of you may have some of this left over from Sale-a-Bration so here goes.
First of all houses. That sheet of houses is gorgeous and perfect for fussy-cutting to make quick and easy cards. Same with the log slices, which make a cute backdrop.
Talking of logs, I CASEd this from Julie at The Paper Haven using three log slices as a backdrop for a Christmas greeting. I stamped the acorns using Ringed With Nature – cleverly, it's the same stamp as the toadstool tops! I love little details like that.
Talking of toadstools, there’s a sheet full of them in this Rings of Love Designer Series Paper pack, so I cut lots of them out to use on these cards. The Get Well Soon card is another one CASEd from Julie!
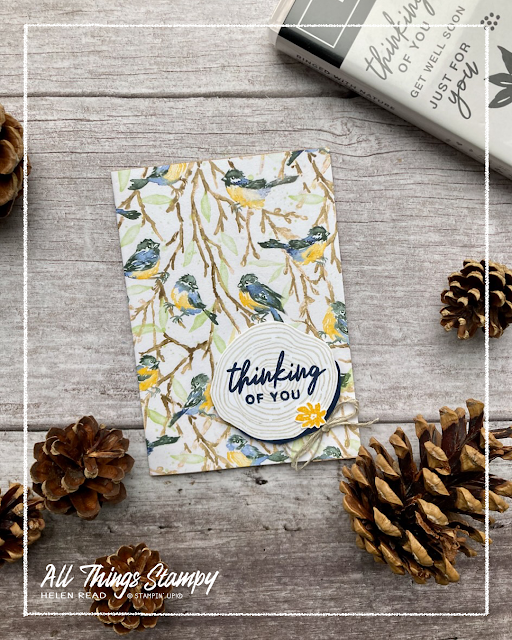
Finally, you can tell I’m running out of stamping steam when I cover the whole card front with DSP. But also no regrets because it’s such lovely paper!
If you are in the UK and would like to order, please
visit my store and, if you use the November 2022 host code 2FB3CGFD, I’ll send you a thank you gift in the following month.


No comments:
Post a Comment
Thank you so much for taking the time to comment.