I’m continuing my theme of masculine projects with some more made with the fab He’s the Man Suite from Stampin’ Up!®’s new Annual Catalogue. These ideas can all be adapted to use the supplies you already have.
Apologies to the lovely ladies who are attending my Crafty Wednesday class at the beginning of June; this is very much a sneak peek as we will be making two of the projects I’m showing you today.
I begin with my new Let’s Celebrate embossing folders. The really useful folder I’ve used here comes in a pack of two small folders which fit in the Mini Stampin’ Cut & Emboss Machine. They both feature greetings in lots of different languages; this one is for birthdays, the other is for congratulations.
It is perfect for those people you struggle to make cards for because the embossed panel provides the ideal backdrop for a greeting. When it comes to masculine cards or teen cards, this is really useful. Just emboss a panel, add some Designer Series Paper as I’ve done here and then top with a greeting label.
Instead of a greeting label, though, here I have used a pop-out image from He’s the Man Designer Series Paper. I don’t often do this but I strongly urge you to invest in a pack of this paper if you struggle to make masculine cards. There’s a bit of everything in it for the outdoors type, the barbecue type, the beer type, the handyman and more.
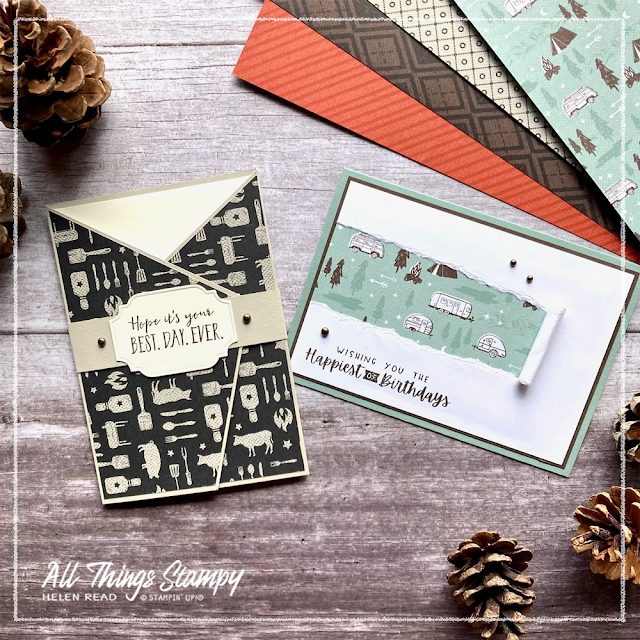
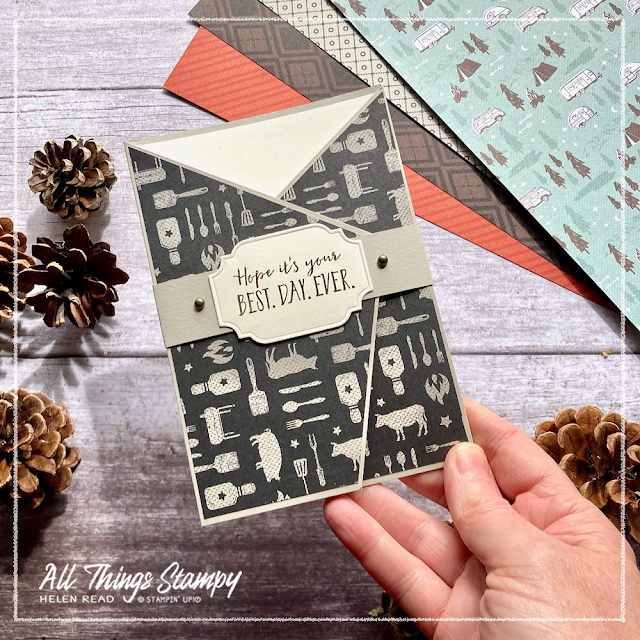
My second card is a fun fold which I keep seeing around on Pinterest and Instagram. I made my own template for A4 cardstock and C6 envelopes and kept it really simple.
It’s closed with a belly band but you could simply create a panel instead if that’s what you prefer.
For the Designer Series Paper panels, to keep things simple again, I created two panels the same size as the fronts, then trimmed a little off the vertical and horizontal edges. No measuring, just a small trim – I find this a lot easier than trying to get things 100% accurate.
Inside the card I used one of the cut-off triangles at the bottom to add interest. Don’t be tempted to stick one at the top as this will show through when the card is closed.
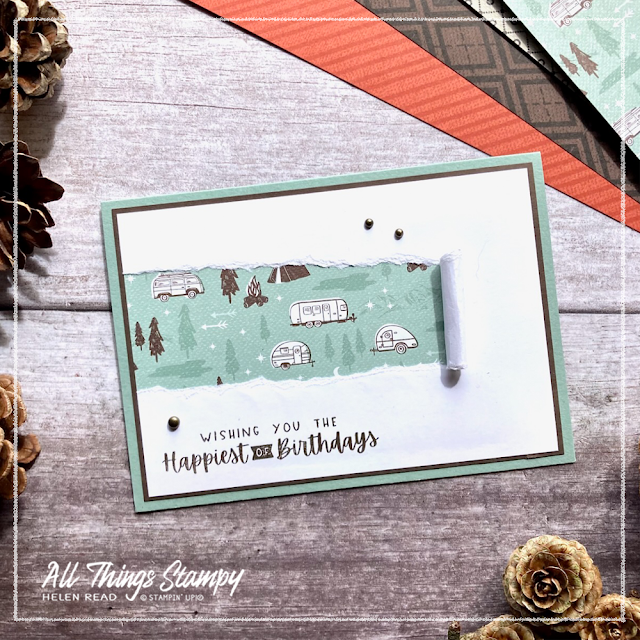
My third card is a fun roll-back technique. Again this one is doing the rounds at the moment but I was inspired by Alisa Tilsner’s Instagram reel which currently has an incredible 2.7million views! See her video here.
This is a brilliant way of using up small pieces of Designer Series Paper – or making a favourite design go further. Simply create a front panel then tear along partway. You then roll back the centre piece – but the key is to remove most of it so the card isn’t too bulky.
Place the torn panel over some Designer Series Paper to allow the design to show through, and finish off with a stamped greeting. It’s quick, it’s easy and it’s really effective.
I hope I have inspired you with some more masculine card ideas, which can be adapted for anyone, including those tricky customers; teenagers. Don’t worry, I will be moving onto another theme very soon!
If you are in the UK and would like to order, please
visit my store and, if you use the May 2022 host code YN9XZVTS, I’ll send you a thank you gift next month.
Does
your wish list come to more than £99? There’s an incredible special offer on until the end of May 2022 so please get in touch and I will
help you get more for your money and unlock discounts all year round.


.png)


No comments:
Post a Comment
Thank you so much for taking the time to comment.