Reducing waste and minimising our impact on the planet is a big passion of mine and my Stampin’ Up! UK customers – so I thought I’d make a theme of it for my social media posts this week with projects and tips all week long. Please visit my Facebook page or Instagram to get the full experience!
The starting point for this themed week is my very first Instagram Hop, on the theme of Zero Waste. Please visit my Instagram page to find the others in the hop.
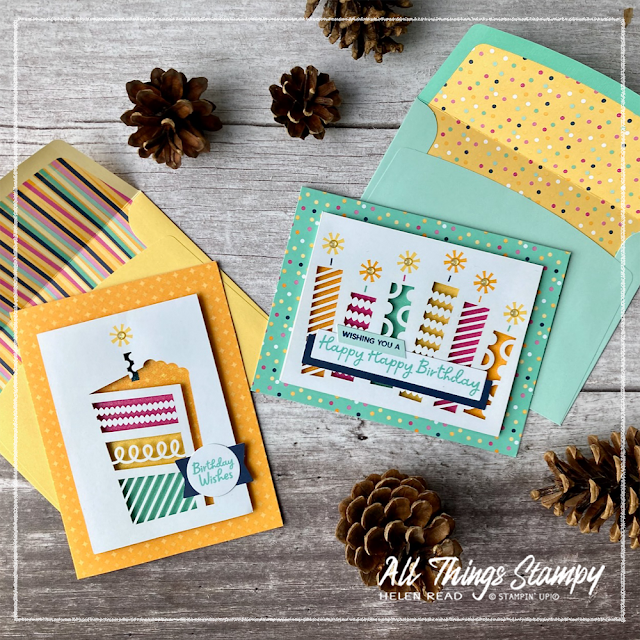
There’s a bit of a back story to my hop project. I went away last weekend and took the Light the Candles Kit with me for some relaxing crafting. I love these kits as you don’t have to think! And everything gets used, with very little waste.
However, there was a small amount of paper waste left over once I’d completed the kit and just as I was about to put it into the recycling bag, I had an idea for this Zero Waste project.
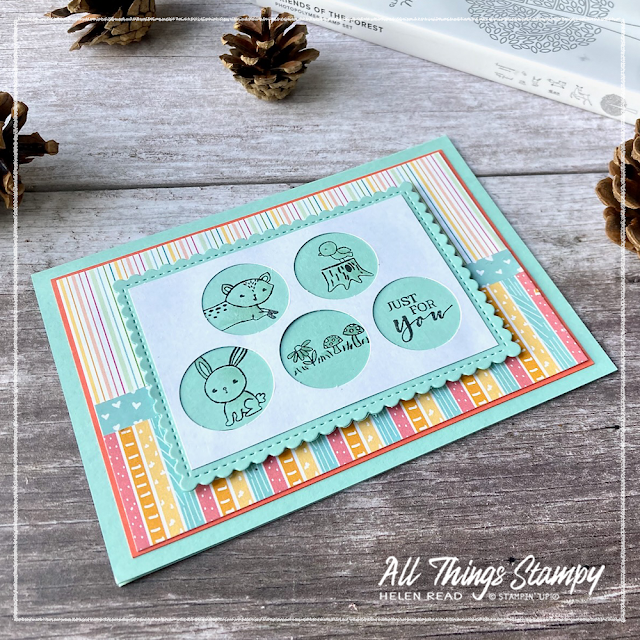
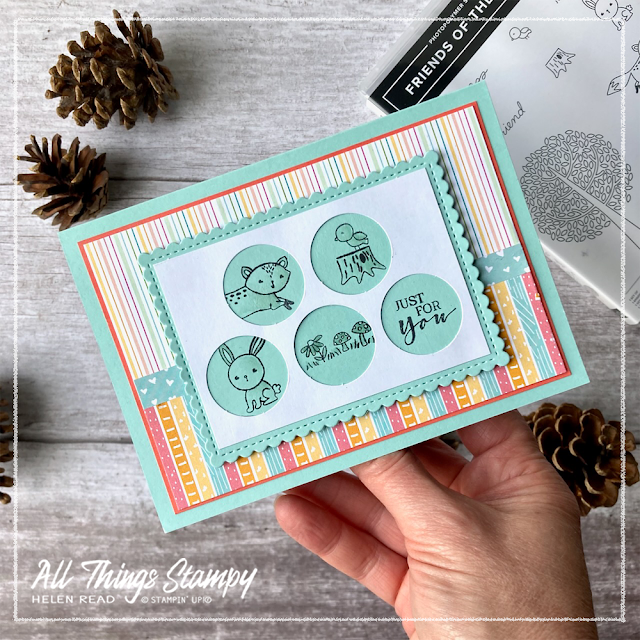
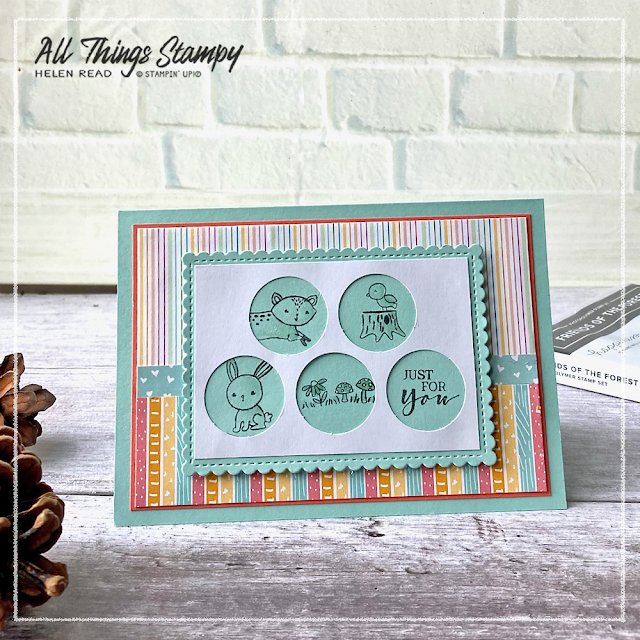
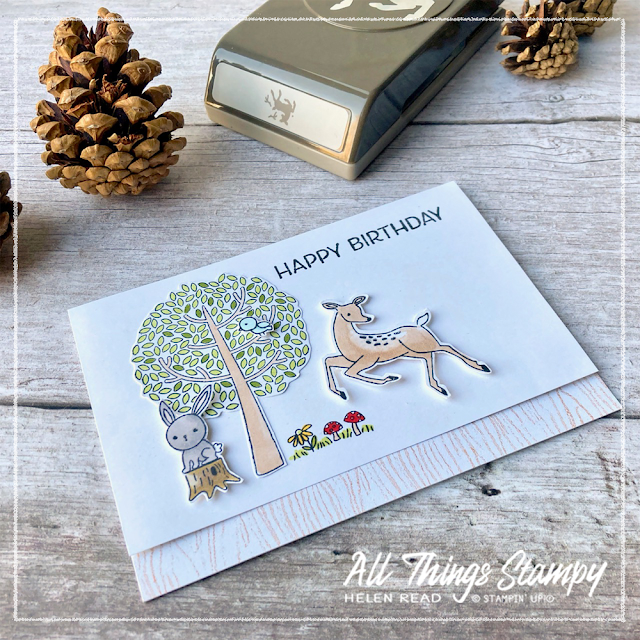
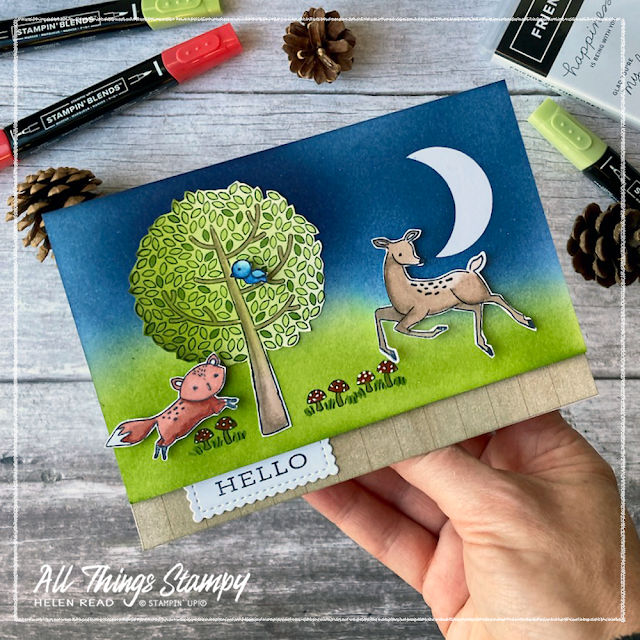
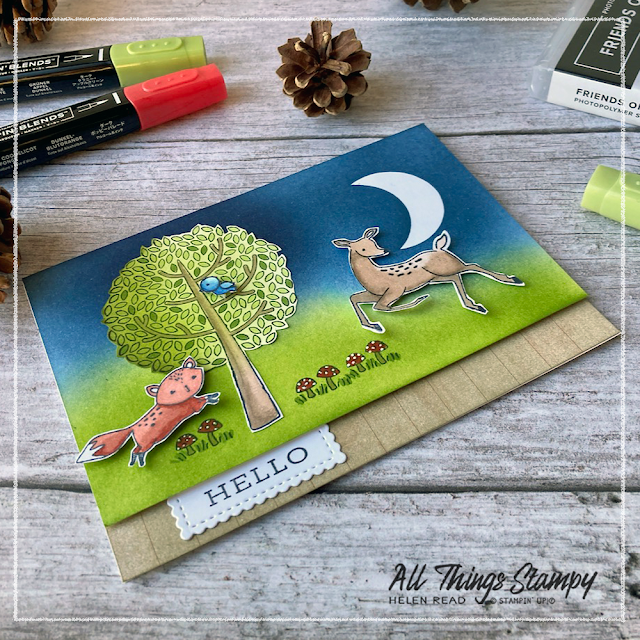
I searched through my stamp collection to find Friends of the Forest; the little creatures are just the right size to peep through the circles.
I didn’t want to stamp them onto white as I
knew the white wouldn’t match the paper from the kit but I thought Pool
Party (one of my favourite colours) was a nice compromise here and goes well with Sunshine &
Rainbows Designer Series Paper, a Sale-a-Bration product which is free
with a £45 order until the end of February.
Originally I had
planned to stamp the images directly onto the back panel but that was
never going to work as they would overlap. To save making more waste by
trying this several times, I stamped each animal onto a small piece of
Pool Party card so it could be positioned accurately with no overlapping
ink. However, these were all taken from my scraps box.
I also used scraps of Sunshine & Rainbows Designer Series Paper for the background. I managed to find pieces which were almost the right size so hardly had to trim these at all. In another attempt to reduce waste, I mounted these onto the backing piece from the DSP pack, then cut it to size before adding to the card.
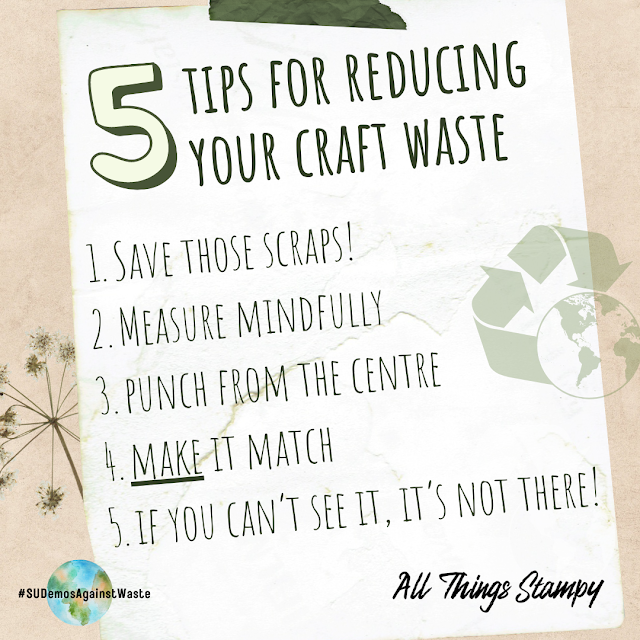
Here are some great tips for reducing waste when you craft:
1.
Save those scraps! Narrow strips are good for stamping greetings.
Smaller scraps can be used to make tiny punched shapes for confetti or
embellishments.
2. Measure mindfully. When creating multiples of
a project, think how you can cut your cardstock up into equal pieces to
avoid waste. With A4 cardstock, this could be 7cm x 9.9cm layers which
mean you get nine equal shapes from one sheet.
3. It’s in our
nature to die-cut and punch shapes up to the edge of a piece of
cardstock to avoid waste... but you can actually avoid waste by cutting
from the centre, as this means you can use the leftover piece as a
layer.
4. Have Designer Series Paper you don’t love, or which
doesn’t go with your project? Stamp on it, sponge it, colour it – you
can MAKE it match.
5. Finally, remember: if you can’t see it,
it’s not there. Cut out centres of cardstock layers and use on another
project. Don’t wrap ribbon all the way around layers or cards; just tape
it behind where you can’t see.
If you love any of the products
you see here and are in the UK, please consider shopping at my online
store as every order helps to support my small business. As a thank you, if you use the February 2022 host code 2FYQAK7T, I’ll send you a thank you gift in the following month.

