Tuesday, 25 January 2022
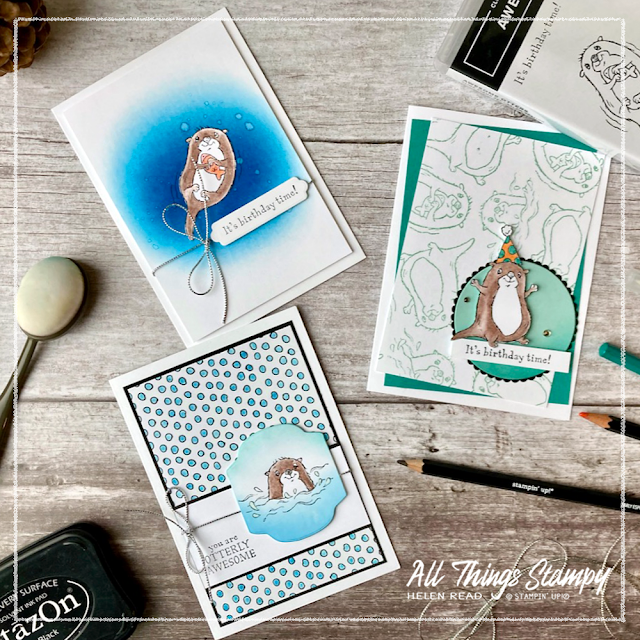
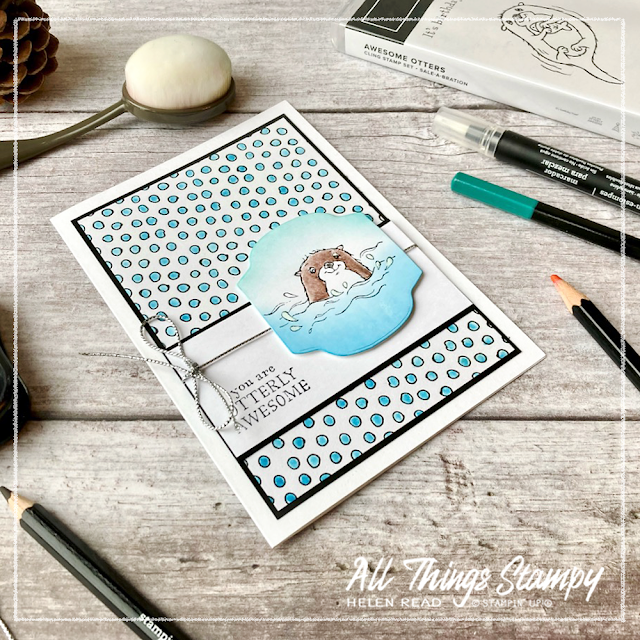
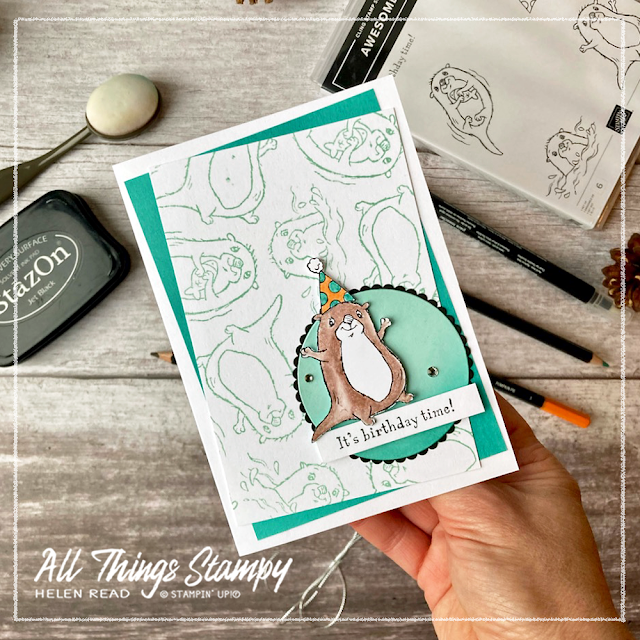
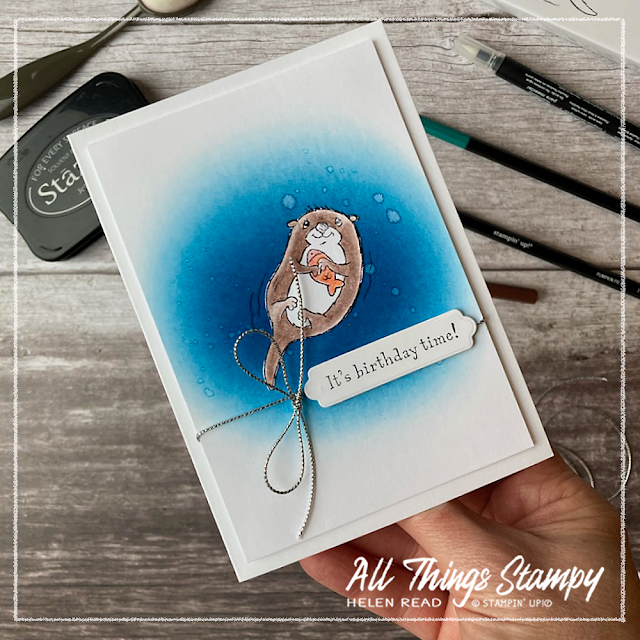
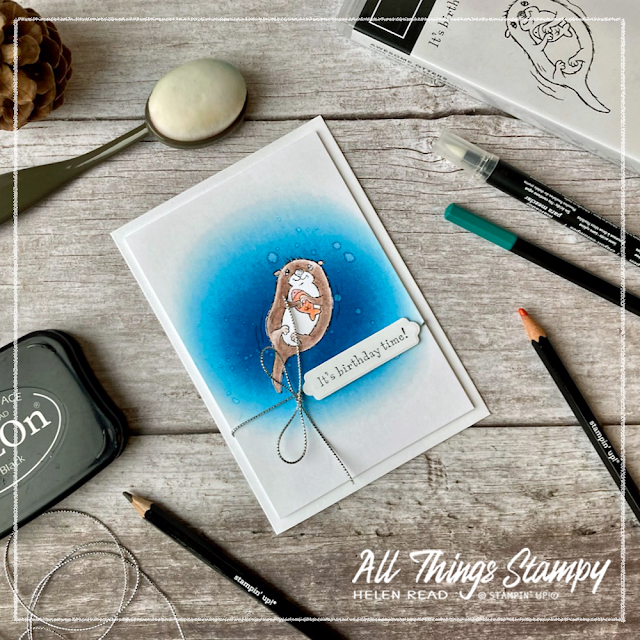
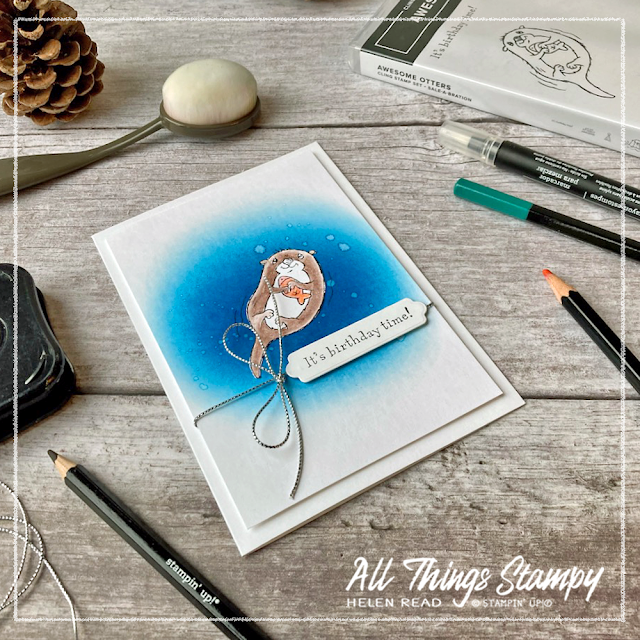
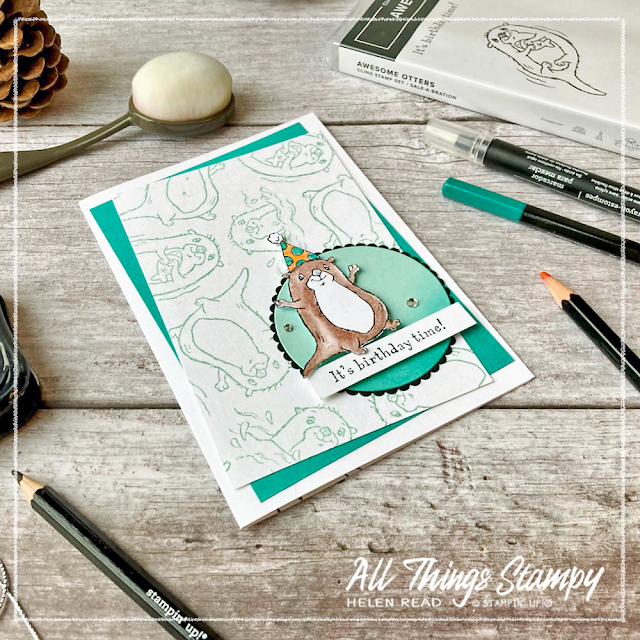
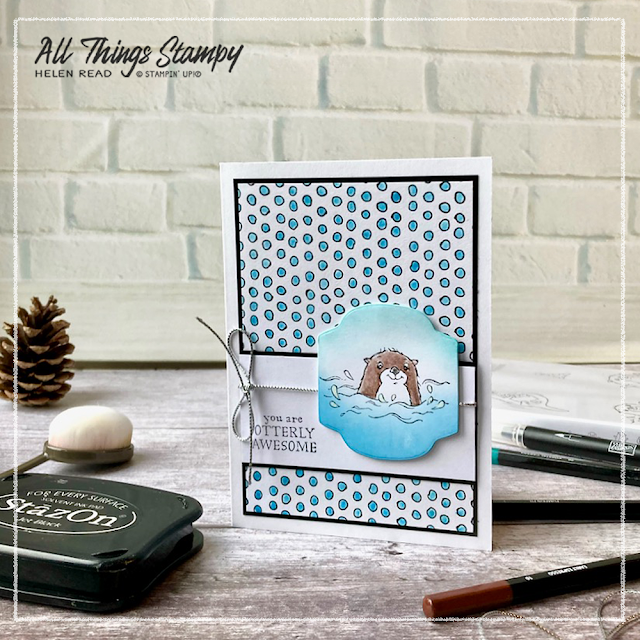
How to add colour to Awesome Otters using Watercolour Pencils, Blender Pens and Blending Brushes
Monday, 17 January 2022
How to make seeded paper from your Stampin’ Up!® scraps
Today I am proud to be taking part in a Zero Waste blog hop, showcasing Stampin’ Up!® projects which re-use or repurpose waste to create beautiful new projects.
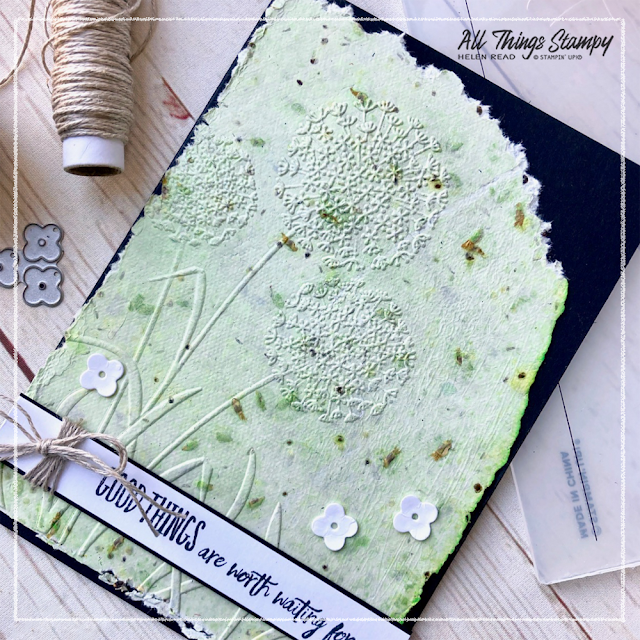
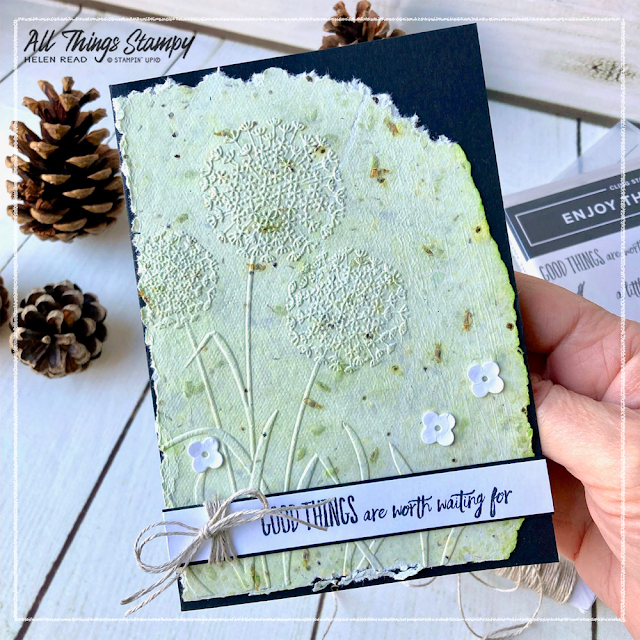
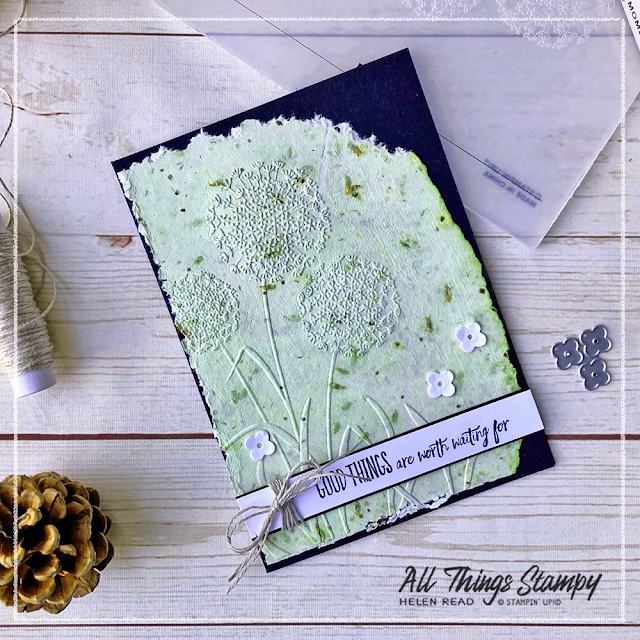
The three main principles of Zero Waste are Reduce, Reuse and Recycle... in that order. Recycling is the last resort so to repurpose my little scraps of Basic White cardstock for another day, I used them to make some seeded paper for this rustic-looking card.
This beautiful handmade paper can be used to make cards, gift tags and more – and the recipient can plant it in their garden to grow wild flowers to attract pollinating insects.
Tutorial: how to make seeded paper from your Stampin’ Up!® paper scraps
- Paper scraps. For this first attempt I used only Basic White but you could experiment with different colours
- Water
- Wildflower seeds - try to use wildflowers which are native to your area
- A food processor or blender. Most tutorials tell you to use an old one you won't use for food but as my Basic White scraps don’t contain any harmful inks, I used my usual processor and washed it thoroughly afterwards
- Ink (optional)
- Towels/tea towels. One tutorial I saw used kitchen paper which rather defeats the object I think. Use something you can use again!
- A flat baking sheet
- Greaseproof paper (optional)
- A rolling pin or glass bottle
- A wire cooling tray or cooking spatter guard.
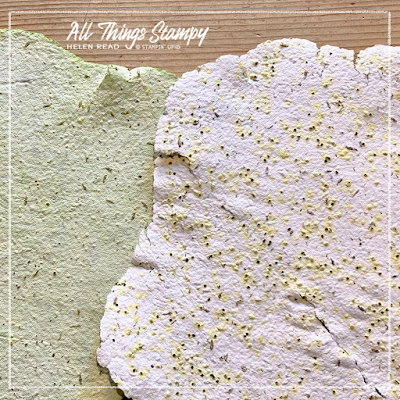
1. If you haven't already done so, cut or tear the Basic White cardstock scraps into small pieces. Place them in a blender; I filled my food processor about halfway which resulted in two sheets of handmade paper, each a little larger than a standard sheet of A4 cardstock.
2. Cover the paper with water and leave to soak. I left it overnight.
3. Blend in short bursts, moving it around with a wooden spoon between bursts. The texture you are aiming for is that of a very thick soup or cake mixture, so I added a little more water to achieve this. If you make it too wet, tip it onto a towel and squeeze of the moisture some out.
5. Now add the seeds to the half in the bowl. Go easy here – I think I added way many. I also noticed that some of my seeds stained the paper yellow. If you wish, add a few drops of ink or food colouring to dye it. I used some retired Wild Wasabi ink for my second batch and ended up with something akin to Soft Sea Foam.
6. Make a pad of towels on top of a baking sheet and press the paper as flat as you can. Cover with a fine-weave towel or piece of greaseproof paper and flatten further with the rolling pin or glass bottle.
7. Add a towel on top and carefully flip over so the new towel is at the bottom. This is where the baking sheet comes in really handy. Repeat the rolling a couple of times, removing the wet towel and replacing with a dry one.
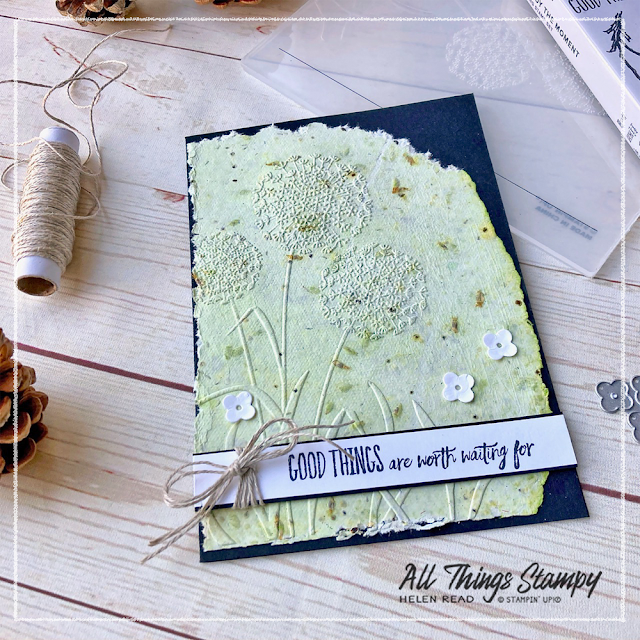
I embossed my dandelions towards the edge of my handmade paper – you can see where the ink is a little more concentrated – and tore the rest of the shape to fit the card. I folded the paper around the card which weakened the paper and allowed me to tear in a fairly straight line.
I have avoided all plastic on this card so used linen thread and some tiny die-cut flowers (from the Floral Squares Dies) as my embellishments. I want the recipient to be able to plant the whole card if they wish.
The greeting says “Good things are worth waiting for” from the Enjoy the Moment stamp set, which is especially relevant in this case as the flowers won’t be blooming until the summer at least.
This Zero Waste blog hop has come about as a result of the recent launch of the SU Demonstrators Against Waste Facebook Group (#SUDemosAgainstWaste), which already has 250+ members. I am constantly seeking ways to live a greener lifestyle and do my best to reduce waste wherever I can. All my class kits are sent out in recyclable or reused packaging – and many mailing boxes get used time and again as customers kindly return them to me.
I'm not going to save the world but every little helps – which is the whole point of #ZeroWaste. We as individuals can never achieve Zero Waste but, as Anne Marie Bonneau, author of The Zero Waste Chef, said:
“We don’t need a handful of people doing zero waste perfectly. We need millions of people doing it imperfectly.”
Please now follow the links below to see what other Stampin’ Up!® demonstrators around the world have made for this Zero Waste blog hop.
If this project has inspired you and you are a Stampin’ Up!® demonstrator, please get in touch for details of the SU Demos Against Waste Facebook Group. If you are a customer in the UK and would like to order any Stampin’ Up!® supplies, please consider me as your demonstrators. If you shop online using the January host code RNU3JCR9, I will send you a thank you gift next month.
Tuesday, 11 January 2022
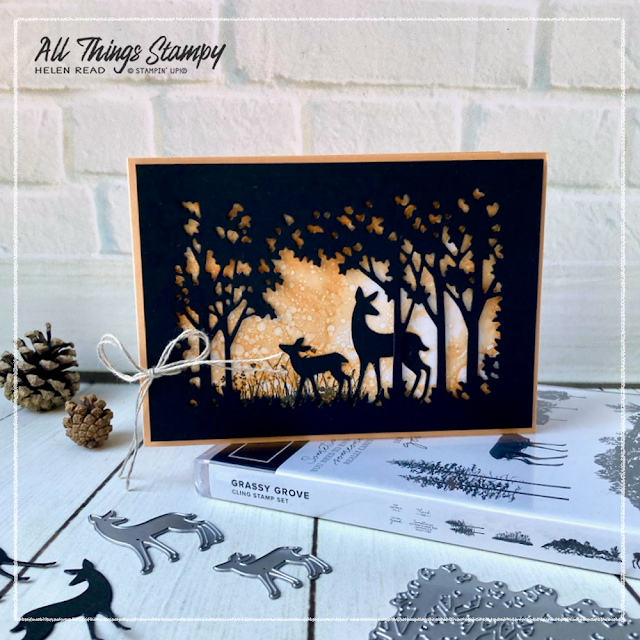
Grassy Grove bundle cards with Expressions in Ink DSP
This card uses a different and more intense piece of Expressions in Ink Designer Series Paper to create a lovely orange sky. Again I have stamped with the grasses directly onto the paper to add further interest.
In this version (how many did I make? I think I’ve lost count!), I added a small thank you banner on a die-cut panel using Tasteful Labels Dies, plus some coordinating Pale Papaya ribbon.
For a gorgeous enchanted woodland effect, there is this piece in the Expressions in Ink DSP pack, with its dreamy greens and threads of gold. For this card, I have added an extra die-cut piece behind the main trees. This die cuts out a stamped image of a grassy mound, but I think it works well on its own too.
Alternatively, if you would just like to order the bundle, or anything else from Stampin’ Up!®, I would love it if you used my store. If you use the current host code RNU3JCR9, I’ll send you a thank you gift in the following month.
Thursday, 6 January 2022
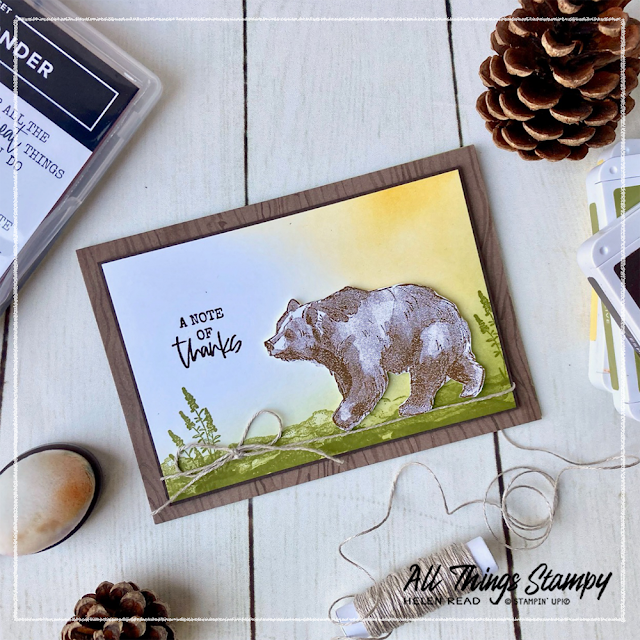
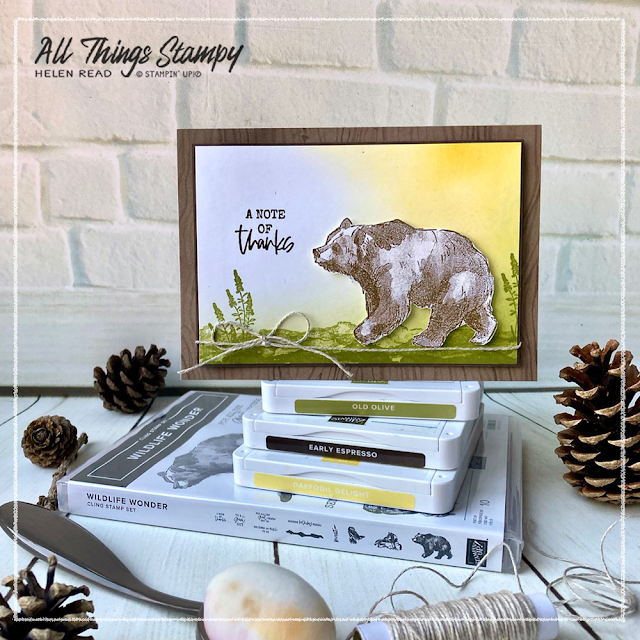
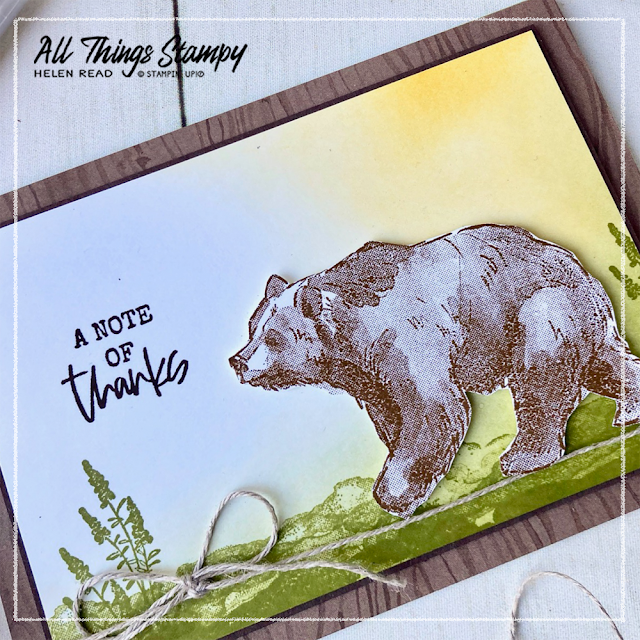
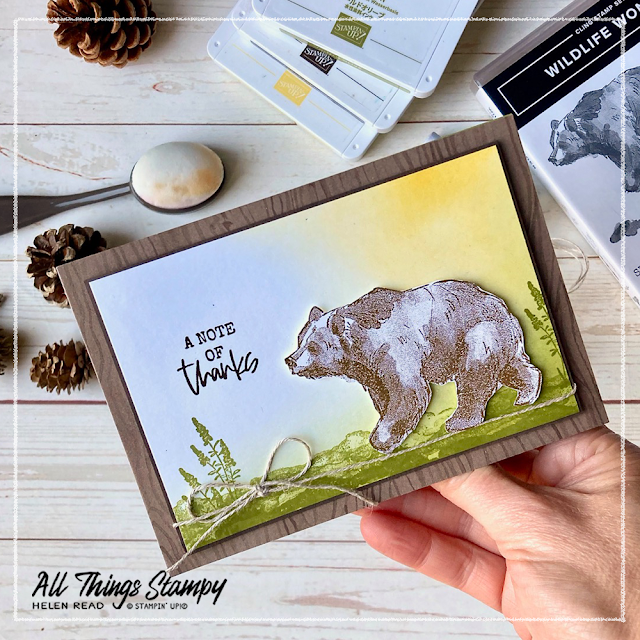
Jan-June Mini Catalogue Blog Hop - masculine card with Wildlife Wonder
It’s been a long while since I took part in a blog hop but January
always brigs with it good intentions so here I am. Today I invite you to
hop around the world to see some amazing projects featuring brand new
Stampin’ Up!® products from the January-June Mini Catalogue.
It’s been a long while since I took part in a blog hop but January
always brigs with it good intentions so here I am. Today I invite you to
hop around the world to see some amazing projects featuring brand new
Stampin’ Up!® products from the January-June Mini Catalogue.

